Introduction
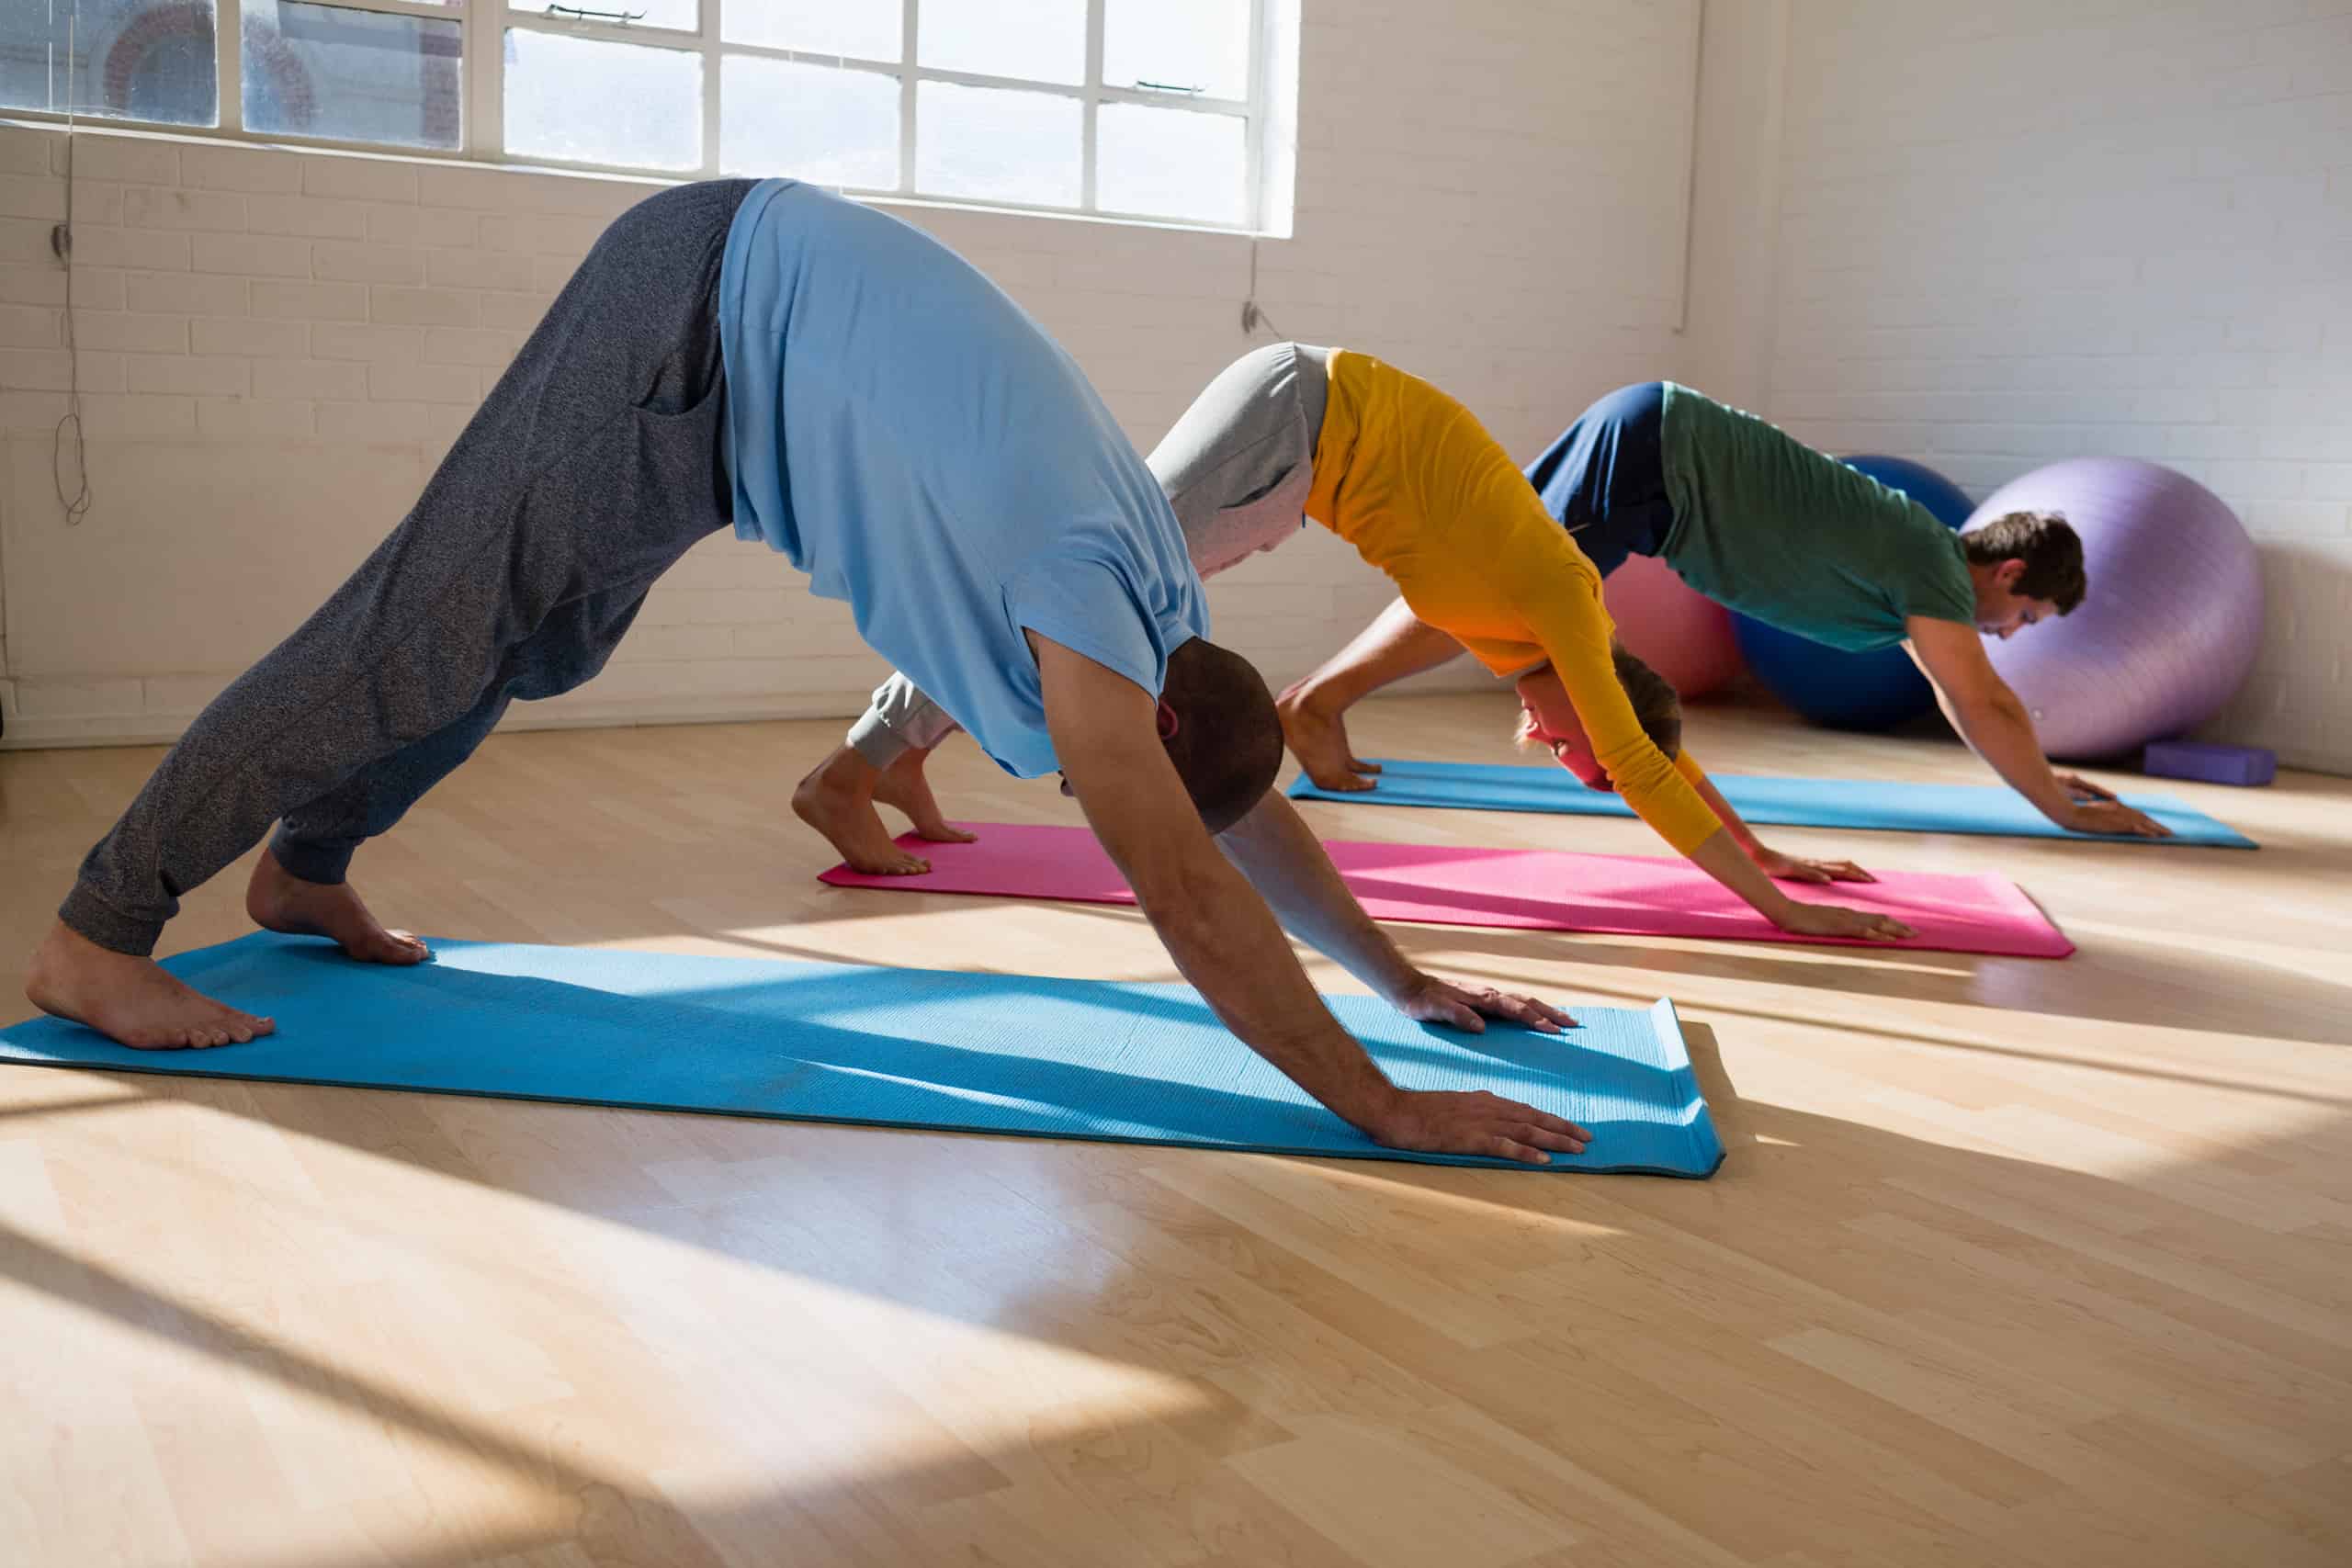
We all know back pain. From sitting at a desk for long hours, to heavy lifting at the gym. To ease aches and pains, yoga is a great solution. Let’s explore yoga sequences which build strength in the spine and provide relief from life’s wear and tear.
Benefits of yoga for spine health
Yoga has been used for centuries in many cultures to help with health and well-being. It can help with spine health too! Practising regularly can make you stronger, more mobile, better balanced, and reduce pain in the area.
A good yoga practice includes postures that both lengthen and shorten the spine. These postures are put together in sequences for a full-body workout. Regular practice of these sequences can:
- Make your core muscles strong, which supports the spine
- Increase your flexibility in the spine, hips, shoulders and neck
- Lessen stiffness and chronic pain from bad postures
- Reduce stress and improve wellbeing.
Warm-up Sequence
Kickstart your yoga sesh with a warm-up! It’s a great idea for prepping your body for the workout and avoiding injury. Plus, it helps reduce muscle tension and boosts circulation.
This warm-up sequence will help you strengthen your spine and ease pain. It includes a variety of gentle movements that’ll get you ready for the rest of your practice:
Cat-Cow Pose
The Cat-Cow Pose is great for preparing your spine for other poses and activities. It’s a two-part sequence that strengthens and stretches your back. Listen to your body as you do it.
Start on all fours. Your hands should be shoulder-width apart and your knees directly under your hips.
Inhale deeply and drop the belly towards the mat. Look up and arch the back. Tuck in the chin slightly away from chest. This is Cat Pose (Marjaryasana).
Exhale, engaging core and pulling belly button towards spine. Focus gaze down towards navel.
Do this 5 times. Be mindful before transitioning to the next pose.
Transition to Cow Pose (Bitilasana). Inhale deeply. Let hips sink lower towards ground. Push chest forward and shoulders & head up toward ceiling. Keep neck neutral. Exhale fully when done.
Repeat these two poses 5 times. Gradually access more intensity if comfortable.
Child’s Pose
Child’s Pose is a resting position that opens the chest, hips and buttocks. It also encourages relaxation in the body.
To do this pose, have your knees hip-width apart and feet together. Place your hands out in front of you with elbows bent and chest slightly lifted. To go deeper, widen the knees a bit. You can also modify by keeping one knee up or adding a blanket.
Hold this pose for 5-10 breaths while focusing on deep, steady breathing. This will help relieve stress and tension. Try to relax deeply during each breath and surrender to the pose. This gentle exercise can be beneficial after a long day or a tough yoga practice.
Thread the Needle Pose
Thread the Needle Pose, or Sukhasana Variation, is a seated posture. It stretches the spine and opens the chest and shoulders. It is part of a yoga warm-up sequence. To practice it, you need strength in the lower back and hips, and flexibility.
- Sit upright. Cross your right leg over left. Place right hand behind you on mat. Slide down until you feel slight hip resistance.
- Reach above with left arm, wrapping around the back of your head. Fingertips near or on top of ear. Gently press into both feet equally. Elongate spine but don’t strain or go too deep.
- Breathe deeply. Find release in every exhale. Unwind out of it with control. Right hand, reveal body length, then release elbow before lifting out.
- Repeat on opposite side for full body release. Practice regularly for best results!
Core Strengthening Sequence
Searching for a yoga sequence to increase core strength and alleviate back pain? Core strengthening is essential in yoga and helps with posture and discomfort. This yoga sequence is perfect for activating and fortifying core muscles to support the spine and relieve any pain. Let’s start!
Plank Pose
Kumbhakasana, or Plank Pose, can help build strength and stability. This asana strengthens the abdominals, quads, arms, and wrists. It also supports the spine and promotes alignment. It can be used to warm up the body before more challenging poses.
To do Plank Pose, start in tabletop position on hands and knees. Place hands flat on the floor at shoulder height, with fingers spread wide apart. Press firmly through each hand, then extend the legs back until they’re in line with the head and feet. Draw one foot back at a time until the shins are parallel with the floor. Engage through each foot by pressing evenly through ball-mound-heel. Hold for five breaths. Release back into Tabletop position or move onto other poses such as Downward Dog or Sphinx Pose.
Side Plank Pose
The Side Plank is a great pose to give you core strength. It helps with power and stability.
Instructions:
- Lie on your side with feet together. Line up your shoulder with the elbow.
- Put one hand on your hip and the other on the ground in front of you. Draw in your belly button and press firmly into your feet.
- Lift one hand from either hip or floor. Reach it up towards the sky. Hold for 5-10 breaths. Then switch sides and repeat.
If you want more challenge, stack one foot on top of the other. Try dynamic movements like Star Pose or Three-Legged Downward Facing Dog. For an extra challenge, sweep arms out wide with eyes up until both palms meet above head. Maintain balance on standing leg/hand with control and grace. Remember to go slowly to avoid injuries.
Upward Facing Dog Pose
Upward Facing Dog Pose (Urdhva Mukha Svanasana) is a yoga posture. It helps to build strength in the spine and abdomen. It also stretches the chest, lungs, shoulders and abdomen. This can improve posture and reduce neck and upper back pain.
To do this, lie flat on your stomach. Position your shoulders above your wrists and your chin into your chest. Bend your legs behind you, and tuck your toes under.
Press into the tops of your feet, and roll onto them. Exhale as you lift off the ground. Only your palms and balls of feet should be touching the floor.
Inhale deeply. Draw your navel toward your spine, engaging your core muscles. Move your shoulder blades down towards your pelvis, and extend from your head to your heels.
Exhale and press firmly into your hands. Keep your elbows slightly bent, and your head aligned with your heart center. Look slightly forward, but don’t strain your neck or head beyond a vertical plane line. Maintain the pose for 30-60 seconds, then release back onto your stomach.
Spinal Stretch Sequence
Do you feel pain in your spine? Is your posture poor? This can really affect your quality of life. Luckily, yoga has poses to help. These poses strengthen and stretch your spine, improving motion.
A great way to start is by doing a spinal stretch sequence. It will help to reduce pain and tension in your back. Here, we’ll look at a simple and effective sequence to stretch and strengthen your spine:
Seated Spinal Twist Pose
The Seated Spinal Twist Pose is a rotating pose for yogis learning spinal stretches. It relieves lower back discomfort, helps posture, and promotes relaxation and peace.
- Start by sitting on the floor with one leg bent in front of you and the other behind. Put your left hand on the outside of your right knee. Inhale, twist at the waist to the right so your gaze goes to your right knee. Put your right hand on the floor behind you for stability. Stay here for five or more breaths. Notice any sensations of lengthening or twisting in your spine.
- To end, place both hands on either side of your body. Gently press them into the floor. Gradually work your way up, keeping a straight back until you reach an upright seated position. Take a few breaths here before repeating the stretch sequence on the other side. Switch legs and twist in the opposite direction.
Bridge Pose
Bridge Pose is a soothing spinal stretch. It relieves tension in the lower and middle back.
- Lie comfortably on your back. Feet together, knees pointing outwards. Hip-distance apart.
- Take a deep inhale. On your exhale, press into your feet and engage your glutes. Lift your hips to the sky. Keep pressing down with your feet. Until resting on the tops of your shoulders and the base of your neck.
Your arms can trace along either side of your body or come out to a T shape. Focus on creating length along each vertebrae. Experience each one pressing gently into the other. To maintain stability, keep shoulders squeezing down and ankles flexing towards shins. Hold for 8-10 breaths. Exhale and release downwards gently.
Reclining Hand-to-Big-Toe Pose
Reclining Hand-to-Big-Toe Pose is a mild spinal stretch to release tension in the lower back. It’s a simple, restorative pose that encourages mobility in the spine and hips.
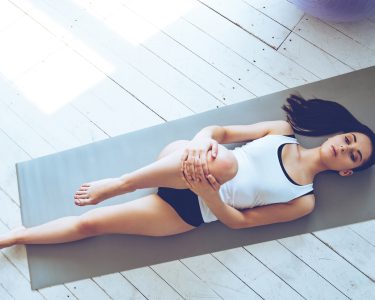
To start, lie down on the floor or bed. Gently bring the left knee towards the chest and grab the big toe with two fingers. If you can’t reach, use a belt or yoga strap to loop around the arch of the foot. Stop if discomfort or pain arises.
Once settled, keep the hips square. Engage both sides of the hip and glutes to hold position. Hold for 5-10 breaths. Then move each leg, sidebending each knee or tensing and releasing each quad muscle. Repeat 5-10 times. Next, squeeze both knees together and release them outwards from the internal rotation point.
When done, finish with Savasana (Corpse Pose). Lie flat for several minutes until relaxed. Then proceed with the day!
Cool-down Sequence
Finish your yoga session with a cool-down sequence! It’ll help your muscles and spine to relax. Stretch and release tension that built during practice. Also, it will eliminate any pain or discomfort in your back and spine.
Here are some poses to help strengthen your spine and lessen pain:
Supported Fish Pose
For a soothing experience, Supported Fish Pose is the way to go! It helps reduce back pain and relax the mind.
To start, lie down on your back and place blankets beneath mid-back and shoulder blades for support. Bend knees near buttocks and put pillows behind head. Spread arms wide with palms up. Rest for 5 minutes or more.
Regulate breathing by inhaling quickly and exhaling slowly. Connect every breath with relaxation throughout your body. When ready, lift both knees evenly, without raising your upper back or shoulders. Lower them one at a time, taking a breath between. Hug your knees into chest if desired. Afterward, rest in whatever position you feel most comfortable in. Enjoy the inner healing!
Reclined Bound Angle Pose
For Reclined Bound Angle Pose, a yin yoga pose, lie on your back with knees bent and feet flat. Place hands away from body, shoulder-width apart. Draw shoulder blades towards midline and relax. Reach for feet to intensify stretch, head and neck neutral. Hold for 5 minutes, focusing on deep breaths. Release one knee at a time, then roll over for Savasana.
Advanced: For an increase of intensity, use a strap or two blocks under feet, open book style. Breathe deep into hips with contractions, exhale releasing low back. Remain here for 3-4 minutes, then release and lie still for Savasana.
Corpse Pose
Corpse Pose (Savasana) is a deeply calming and rejuvenating posture. It’s one of the most important poses in yoga, bringing physical, mental, and spiritual benefits.
To practice Corpse Pose, start by lying on your back. Put your arms slightly away from your body and your legs slightly apart. Close your eyes and let your upper back expand away from your mid-spine. Relax and release any tension in your body. Feel into the texture and quality of each part that touches something else.
Stay in Corpse Pose for 5-15 minutes. Focus on your inhales and exhales, allowing gravity to guide them. Without judgment or attachment, observe the thoughts that drift by. When you’re ready, open your eyes slowly. Feel refreshed, relaxed, and revived. You may also feel a calming of anxiety and a stimulation of creativity. Enjoy the soft inner expansion throughout your body!
Frequently Asked Questions
1. What are some yoga sequences that can help alleviate spine pain?
A: Some yoga sequences that can help alleviate spine pain include cat-cow stretches, downward facing dog, child’s pose, and cobra pose.
2. How does yoga strengthen the spine?
A: Yoga strengthens the spine through a combination of stretching and strengthening poses that improve flexibility, balance, and posture.
3. Can yoga be harmful to the spine?
A: If practiced correctly, yoga can actually be beneficial for the spine. However, it is important to use proper form and listen to your body to avoid any injuries.
4. How often should I practice yoga to alleviate spine pain?
A: It is recommended to practice yoga at least 2-3 times per week for best results in alleviating spine pain.
5. Is it necessary to have prior yoga experience to practice spine strengthening sequences?
A: While having prior yoga experience can be beneficial, it is not necessary as long as you listen to your body and use proper form.
6. How long will it take to see results from practicing yoga for spine pain?
A: Results can vary depending on the severity of the pain and how often yoga is practiced. Some individuals may see results within a few weeks, while others may take longer.

