Introduction
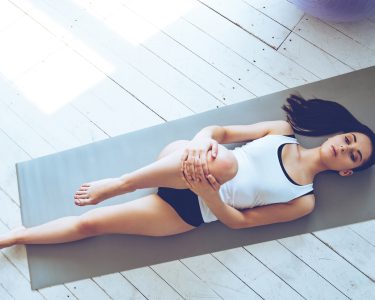
Yoga poses can help ease chronic back pain, and make your body more flexible. This guide is tailored for beginners. Read it to learn the right way to do the poses. They will reward you with the benefits of yoga.
Benefits of Yoga
Yoga can aid in easing chronic back pain. Physically, it brings increased flexibility, more muscular strength, better posture and a stronger core. Asana, or physical postures, is just one part of yoga, with postures ranging from standing to seated and twists.
Mentally, it brings a sense of peace and stress relief, plus heightened body awareness. This can be beneficial for those with chronic pain. It can also help cultivate mindfulness, which can aid in managing persistent pain. This can give short-term pain relief, as well as long-term effects.
Types of Yoga
Yoga is an old practice from India and other Eastern countries, with many years of development. It is said to give physical, mental, spiritual, and social benefits. There is no single type that is suitable for everyone, and the type that works best for you changes based on your fitness level and what you want to get out of your practice.
The most common kinds of yoga today are Hatha, Iyengar, Viniyoga, Kundalini, Ashtanga Vinyasa (Power Yoga), Hot Yoga (Bikram), Sivananda Yoga (Traditional/Classical Yoga) and Yin or Restorative Yoga.
- Hatha: This type is usually done slowly, and includes basic poses. It focuses on building strength, flexibility, awareness, and relaxation.
- Iyengar: Developed by BKS Iyengar, this style concentrates on exact alignment. Students move through poses with attention to detail, and props are used to help them hold poses longer than usual.
- Viniyoga: Usually done at a slow pace, and poses are tailored to individual needs and goals. Props, such as chairs or blocks, are used. Breathing techniques, pranayama, and alternate stretching and relaxation are used. It is often taught one-on-one, so the teacher can give special attention. Adaption is key, and the student finds their own way to progress with breathing guidance from the teacher. Once mastered, Viniyoga is a very powerful practice.
Basic Poses
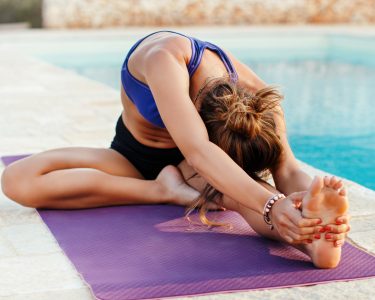
Yoga is amazing for relaxation and decreasing back pain. Doesn’t matter if you’re a beginner or a guru, there’s some basic poses that will help you the most with your practice. Let’s explore the best poses for back pain relief!
Cat-Cow Pose
Cat-Cow Pose is a restorative, back-strengthening exercise. It can improve spinal flexibility and release tension from the spine, hips, and torso. It’s usually one of the first poses taught in yoga classes, to build a foundation of effortless movement for more difficult poses.
Start in tabletop position. On the inhale, drop the belly and arch the spine up like a cat stretching. Keep your gaze slightly forward or up, not at the floor. On the exhale, relax into Cow Pose. Tilt the tailbone to the ceiling and push down through the hands and feet. Draw the shoulder blades together.
Do this gentle movement for 10 breaths. When finished, slowly go back to Tabletop Pose with one big inhale. Then rest in Child’s Pose for 1-2 minutes. Put the forehead on the mat and extend the arms forward, palms down for extra rest.
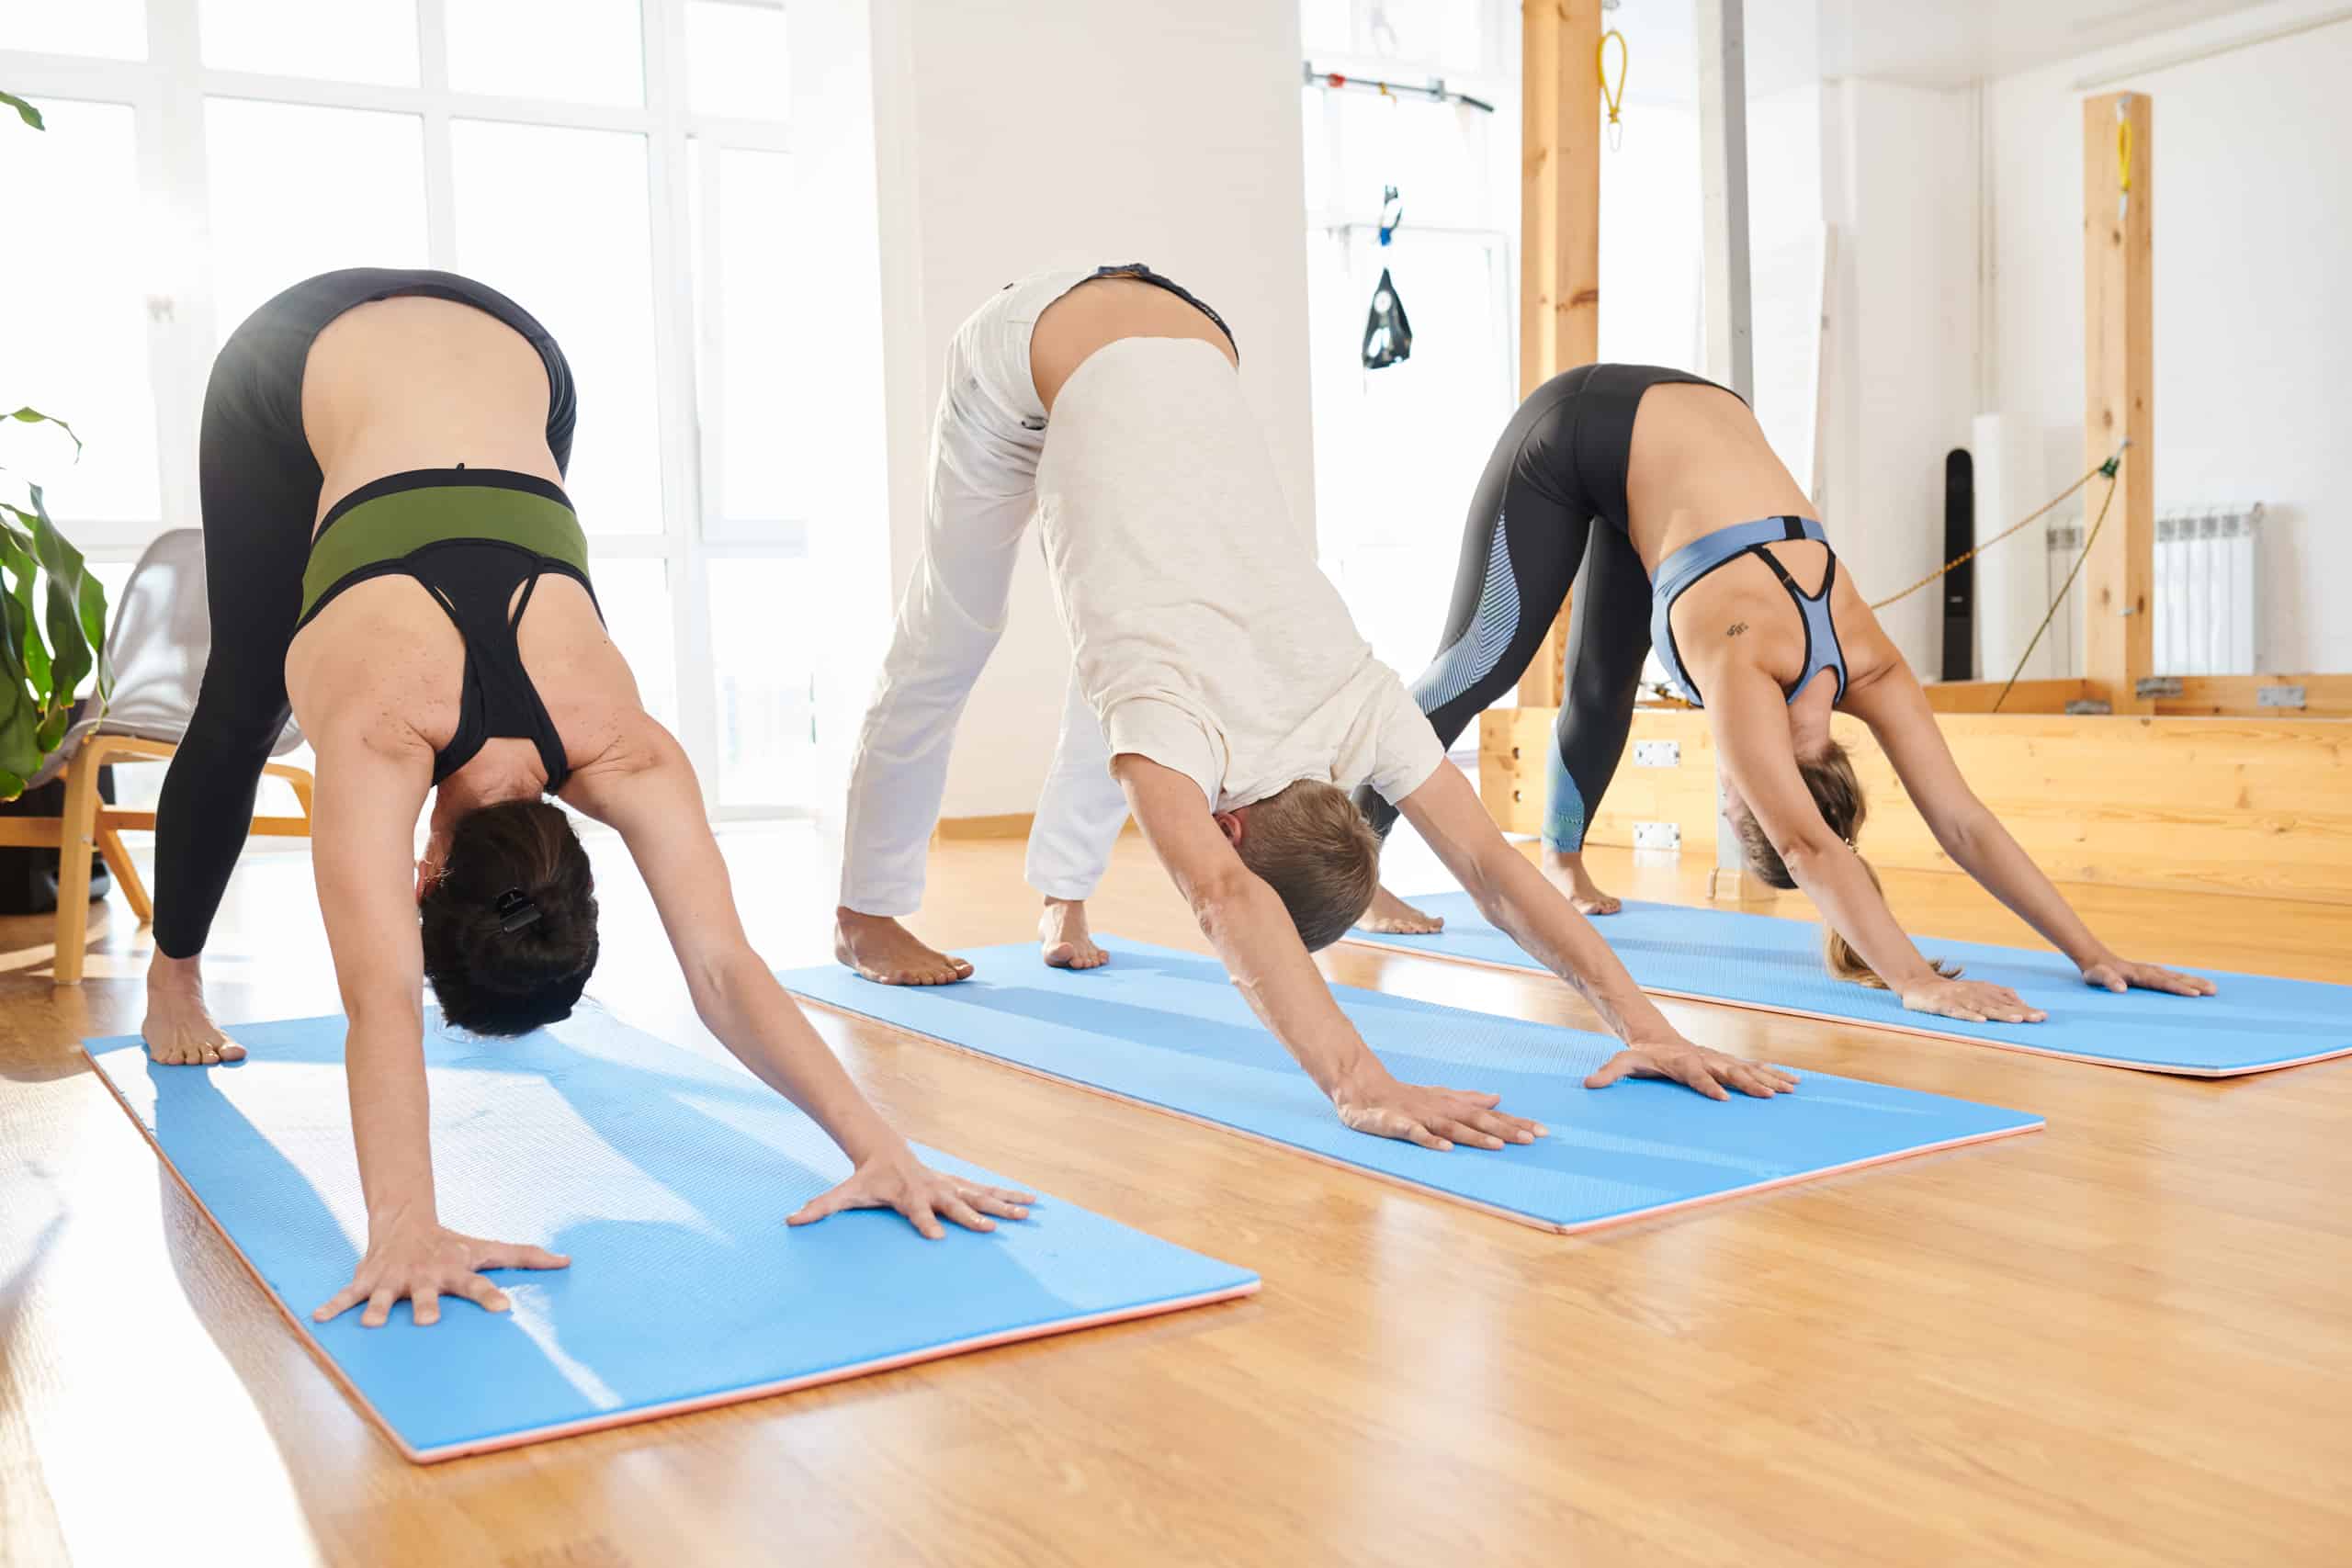
Downward-Facing Dog
Downward-facing dog is a yoga pose easy for beginners. It stretches the back, arms, and legs and strengthens abs. Regularly practicing this pose helps posture and reduces discomforts from sitting too long.
To get into downward-facing dog:
- Start on all fours with hands shoulder-width apart, knees underneath hips.
- Exhale and push tailbone to sky, sink chest to floor. Draw shoulder blades in, shoulder away from ears, and let head hang heavy with a neutral neck. Press firmly into hands, spread out knuckles, and activate quadriceps. Don’t lock out the knees.
- Hold 10-30 seconds, depending on comfort level.
- When ready, exhale and lower knees to all fours with control and awareness of breath.
Child’s Pose
Child’s Pose is the key pose to connect with your breath and take a break from more intense poses. It helps with back pain, so it’s important to learn how to do it right!
To get into Child’s Pose, kneel on the floor. Sit on your heels and stretch your arms out in front of you. Put your forehead on the floor. Make sure your arms are in line with the direction you’re sitting. Put pressure on your fingers (not knuckles). Stay in this position for a minute or longer.
Focus on releasing tension in all your body parts: shoulders, chest, hips, lower back, and feet. Take deep breaths and let gravity help you relax. Move deeper into the pose or out of it slowly, if needed. Rock forward and backwards, or side to side. Gradually increase the intensity, according to your comfort level. Don’t push yourself too much. If you feel pain, stop moving immediately.
Allow yourself time in this pose. Lie down passively or move actively, depending on what feels best. Knowing proper form helps prevent further back pain and damage in other poses.
Cobra Pose
Cobra Pose (Bhujangasana) is a back-bending yoga pose. It can strengthen and stretch the spine. It’s one of the 12 basic yoga poses. It’s great for beginners or those with chronic back pain.
To do it,
- lie on your stomach.
- Place hands below shoulders on either side.
- Take a deep breath.
- Straighten arms like a cobra snake rising to sun. Look up slightly. Keep neck relaxed.
- Maintain pose for up to 15 breaths. Then slowly release.
- Close eyes and rest. Repeat as desired. Each time should be more comfortable.
Cobra Pose can improve spinal flexibility and gently increase strength. It gives immediate benefits and lasting pain relief.
Bridge Pose
Bridge Pose, or Setu Bandhasana, is great for anyone wanting to relieve tension in their lower back. It can be adapted for any level of flexibility and strength.
Start by lying down with your knees bent and feet flat near your buttocks. Place your arms at your sides with palms facing down. Push into your feet and lift your hips towards the ceiling. Clasp your hands beneath you and draw shoulder blades down and together. Hold this position for 5 breaths. Then, gently roll back onto the floor while being aware of each vertebrae.
Alignment is key. Listen to your body if you feel discomfort, especially in your lower back. To modify Bridge Pose, you can use a block beneath your sacrum or lower spine. Or, a strap around your thighs for stability before lifting up.
Advanced Poses
Going beyond basic yoga poses is essential for soothing back pain. Advanced poses may be tougher, but they can help you gain suppleness, strength, and stability. Practicing them regularly can further reduce your backache and benefit your well-being.
Let’s explore a few of these poses:
Warrior I
Warrior I is a traditional yoga pose to stretch and strengthen your body. It’s great for building strength in the quads and hip flexors. Also, it helps with mind-body awareness and concentration. It’s important to practice proper form.
Start with feet hip-width apart. Step one foot four/five feet back. Make sure it’s perpendicular to the front leg. Find a point to focus on. Take a few deep breaths and then exhale as you sink into your lunge. Place both hands on either knee for support. Relax into the pose. Be aware of any tension.
- Lift the back knee off the ground. Press down through the heel on the back leg. Lengthen from head to toe as you inhale. Engage the abdominal muscles. Keep chest lifted. Maintain stability in arms and shoulders.
- Stretch arms over head while breathing deeply.
- Stay here for three-five breaths. Release by dropping onto all fours into child’s pose.
Warrior II
The Warrior II pose (Virabhadrasana II) is perfect for those with lower back pain. It helps build leg strength and stretches the chest, lungs, and shoulders. Plus, it improves posture and circulation throughout the entire body.
To do this pose, start in a standing position with feet hip-width apart. Step back with the right foot so both feet are parallel with each other. Your legs should be in line with your hips. Keep your spine straight and draw the tailbone down. Bend the right knee until it forms a 90-degree angle above the ankle. Stretch your arms out in opposite directions, as if you’re ready for battle. Relax into this pose for 3-5 breaths. Focus on even breath and balance between the front and back legs. Release from this pose by either returning to Tadasana or transitioning into another variation.
Triangle Pose
Triangle Pose (Trikonasana) is an advanced standing yoga posture. It stretches the muscles of the legs and spine, increases flexibility, strengthens the arms and legs, and improves balance. With practice, it can become a keystone yoga posture.
To begin Triangle Pose:
- Stand with feet slightly more than hip-width apart. Turn right foot out to 90 degrees. Toes should be facing forward, and left toes should be slightly inwards. Extend both arms out parallel to the floor. Ground down evenly through both feet.
- Bend at the waist to the right as far as possible. Keep right knee straight, but not locked. Place right hand on top of an ankle, or reach it up towards the ceiling. Lower left hand towards the floor, if possible. If not, keep it extended along side torso. Keep both sides of waist equally long as you rotate from within navel center. Ground down through both feet.
- Gaze towards ground for few breaths. Then, shift focus up towards ceiling. Lengthen side body evenly under armpits. Use inhalations/exhalations pattern for next five breaths before releasing pose slowly with exhale.
- Repeat on other side, if desired. After few moments, pause or rest in Child’s pose.
Half Moon Pose
The Half Moon Pose (Ardha Chandrasana) is an advanced intermediate pose. It stretches outer thigh and hip muscles and strengthens abs and spine. This also stimulates digestion, circulation and prevents back pain.
Start in a standing position with feet wide apart. Take deep breaths. Step left foot back two to three feet and turn it at 45 degrees. Hips should face forward. Bend right knee over ankle with toes still touching the floor. Rest right hands on either side of foot. Squat down. Take more breaths. Press evenly into down legs. Raise up through hips. Reach forward with both arms over head. Shoulder blades draw down back body. Get parallel to the floor – like a half moon. Stay here for six to eight breaths. Release and return to downdog or stand. Contract tummy towards spine on inhales. Squeeze back glutes on exhales.
Revolved Triangle Pose
Parivrtta Trikonasana, or Revolved Triangle pose is an advanced asana. It stretches the body, creating space between the vertebrae, and relieves back pain. It increases flexibility in tight areas and reduces stress.
Beginners should warm up the spine with Cat and Cow poses before attempting Revolved Triangle. From standing position, take a wide stance, with left foot around 3-4 feet away from the right. The legs should be shoulder-distance wide. Keep both knees bent and chest up. Lower left arm and extend right arm up into the sky. Line up the elbows with the fingertips, and engage the shoulder blades. Inhale and twist through the spine with an exhale, gaze up.
Stay in this position for 10-15 breaths. Sink lower with each inhale and exhale. To deepen further, engage your core muscles while twisting the torso. When ready, release both hands. Extend arms back out, press into downward dog or child’s pose as a counterpose.
Conclusion
Yoga is awesome for easing back pain! Get your alignment right and be consistent – you’ll see long-term gains. But don’t push too hard – pay attention to your body. Remember, yoga isn’t a replacement for medical treatment. If you’re still in pain, it’s best to get professional help.
Tips for Staying Motivated
Staying motivated with yoga can be tough. But there are some simple ways to help out. Here are some tips:
- Start with easy poses. Beginners should focus on basic postures. This will build confidence and help improve technique and strength.
- Enjoy it. Find a style or instructor that fits your needs and interests. Knowing you’ll enjoy it will help keep you motivated.
- Set goals. Increase flexibility, decrease back pain or focus on breathing? Set achievable goals to give structure to practice. Give yourself rewards for progress made.
- Take time for yourself. Making time for yoga might seem hard. But dedicating 20 minutes a day for practice can help make it part of a healthy lifestyle!
Benefits of a Regular Yoga Practice
Yoga has many benefits! It helps the mind relax, boosts focus and concentration, reduces stress and anxiety, builds strength and supports physical health. Those with chronic back pain can use yoga to lessen tightness and tension. It can also help increase flexibility, improve circulation in the spine area, and strengthen back muscles.
Practicing often helps bodies become more comfortable in various postures, like sitting for long periods, which can help relieve pain. In addition to regularly doing poses that target back pain, being conscious of your posture in daily life is key for managing chronic back pain. A mindful approach can help you find balance between body and mind, and learn more techniques for long-term healing.
Frequently Asked Questions
1. What is yoga?
Yoga is a physical, mental, and spiritual practice that originated in ancient India. It involves performing various postures, breathing techniques, and meditation to enhance physical strength, flexibility, and mental clarity.
2. Can yoga help relieve back pain?
Yes, practicing yoga can help alleviate back pain as it promotes better posture, increases strength and flexibility, and reduces stress and tension in the body. However, it is essential to practice under the guidance of a trained yoga instructor, especially if you have a pre-existing medical condition.
3. What are some beginner yoga poses that can help relieve back pain?
Some of the beginner yoga poses that can alleviate back pain include Child’s pose, Cat-Cow pose, Downward-facing dog, Sphinx pose, and Cobra pose. These poses stretch the spine, strengthen the abdominal muscles, improve blood circulation, and reduce stress and tension in the body.
4. Is it necessary to have a yoga mat to practice yoga?
While it is not mandatory to have a yoga mat, it is highly recommended as it provides cushioning and support to your joints and prevents slipping. A yoga mat also creates a personal space that helps you focus and center during your practice.
5. How often should I practice yoga to alleviate back pain?
You can practice yoga for back pain relief 2-3 times a week. However, the frequency and duration of your practice depend on your individual requirements and comfort level. It’s best to consult a yoga teacher to create a personalized yoga plan that suits your body type and needs.
6. What precautions should I take when practicing yoga for back pain relief?
When practicing yoga for back pain relief, it’s crucial to listen to your body and not push beyond your limits. It’s also essential to inform your yoga teacher about any pre-existing medical conditions or injuries. Avoid twisting or bending your back abruptly, and always maintain a neutral spine during poses to avoid straining the back.