Introduction
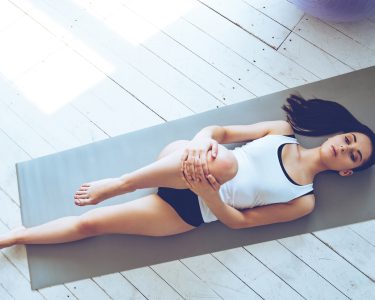
Back pain can be a real struggle. However, many people choose to ignore the issue, instead of seeking help. Fortunately, yoga sequences can be used to ease back pain. Yoga postures and techniques can help to reduce pain, and also improve posture and body balance.
In this guide, we will discuss the advantages of yoga sequencing for back pain. Plus, we will explain how to perform various yoga postures in a sequence.
Benefits of Yoga for Back Pain
Yoga is an old physical practice used to boost strength, flexibility, and mental focus. For people dealing with chronic back pain, yoga can be an amazing aid in reducing pain, moving better, and restoring balance to life. Doing postures that softly stretch muscles and connective tissues can help ease existing tension and revive range of motion in areas of tightness.
The specific benefits of yoga vary depending on the person’s type and degree of back pain, but there are some general advantages, including:
- Reducing inflammation in weakened muscles
- Enhancing well-being by cutting down feelings of stress and anxiety linked to chronic pain
- Strengthening core muscles
- Improving balance through increased body understanding
- Improving posture with release of tight muscles
- Restoring spinal flexibility through soft stretches
Yoga also brings psychological benefits such as improved mood and concentration. In addition, combining breathing exercises with postures helps one gain a greater sense of self-awareness which brings about enhanced serenity throughout each position. This can provide relief from everyday stressors which often worsen back and neck issues for many people.
What to Consider Before Starting
Before getting started with yoga, be sure to consider a few things:
- Begin slowly, even if you’re experienced.
- If you have back pain or chronic conditions, talk to your doctor. They may suggest modifications or limitations.
- Listen to your body, don’t push too hard. It’s progress, not perfection.
- Be mindful of changes in your posture and stress.
- Yoga has psychological benefits and can help heal preventable back pain.
- So, make safety your top priority and stick to a routine.
Basic Sequences
Suffer from chronic back pain? Yoga is an excellent method to ease your pain. Certain yoga poses can reduce inflammation and tension, and also stretch and strengthen muscles for better posture.
Here are some yoga sequences specifically created for back pain sufferers. Build a strong foundation with these basic sequences, and modify them to fit your needs:
Cat-Cow Pose
Cat-Cow Pose is a gentle stretch and strengthener for your back. It shifts your spine from neutral to arching and back. The Cat part of it works on the flexibility of your spine by drawing in your tummy and curving your back. Hold it for a few breaths without straining your lower back.
For Cow Pose, rise up your chest, looking forward, and hold the stretched feeling. Don’t push with your arms to deepen the arch. Both poses help relieve tension and lower back pain. When doing Cat-Cow, listen to your body. If there’s discomfort, address it, don’t push past it.
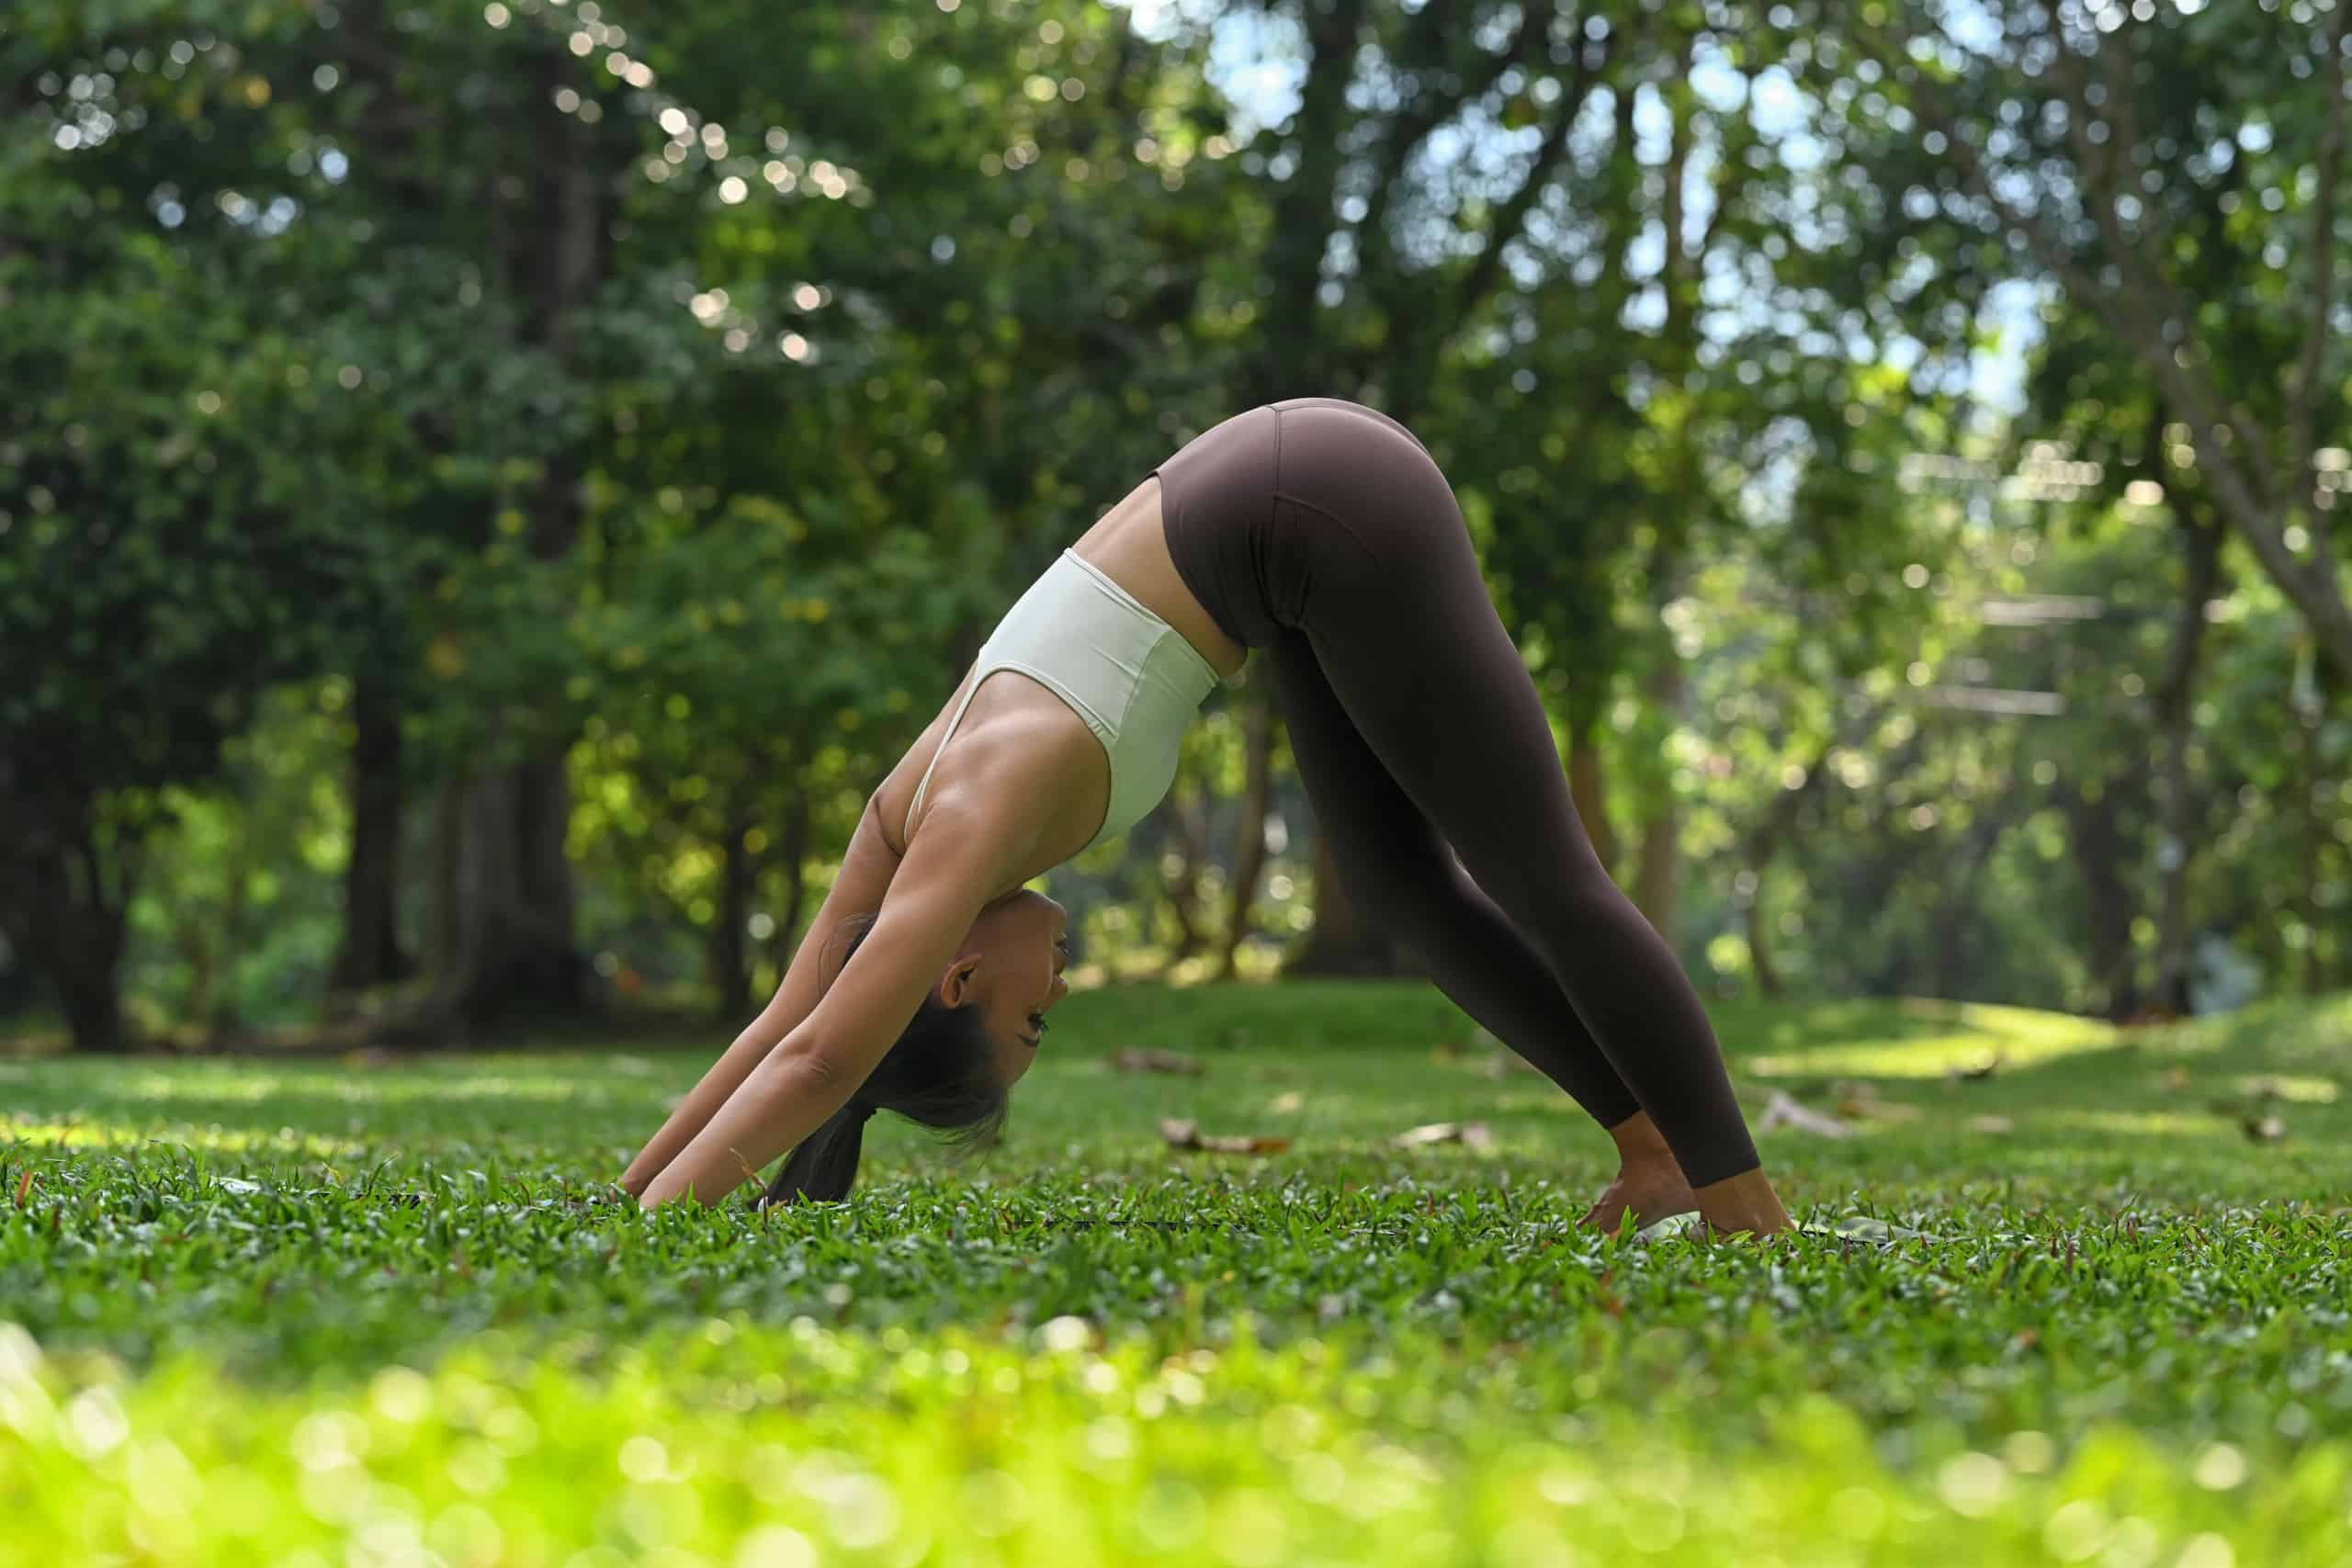
Downward-Facing Dog
Downward-Facing Dog, or Adho Mukha Svanasana, is a widely-recognized yoga pose. It is used to warm up and cool down a yoga practice, and helps those with back pain.
Begin in a tabletop position. Curl your toes under and press your hips back and up as you straighten your legs and arms. Firmly press through the palms of your hands and feet into the floor. Extend firmly through the crown of the head and relax the chest towards the thigh bone. Take five breaths before releasing into Child’s Pose or Tabletop on an exhale.
This pose relieves tightness around the shoulders and neck. It stretches out lower back compression pain caused by poor posture. It relaxes tense muscles in the hips due to daily activities. It also increases strength, balance and form when practicing poses, and reinforces proper form to help improve functional mobility. This enables increased mobility during activities without shoulder/neck pain.
Child’s Pose
Child’s Pose (Balasana) is a restful and calming yoga pose. It reduces tension in the back, stretches, and releases the hips, groin, and thighs. It’s especially helpful for those with chronic lower back pain or injuries.
Start by kneeling on all fours. Place your knees wider than hip-width apart and bring your big toes to touch. Then sit back onto your heels as you keep your hips on your heels. Lower your chest toward the mat. Keep your palms flat on the mat, shoulder-width apart. Focus on areas that hurt or are tight. Sway gently from side to side with each exhale. Use gravity to assist with further relaxation. Melt into the ground with each exhale until completely relaxed.
Seek out blankets and supports for tactile feedback and comfort. Stay in this posture for one minute or longer if desired. Modify or come out of the pose if too much tension is created. Practice self-love for continued comfort and healing.
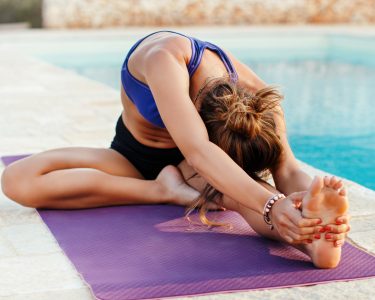
Seated Forward Fold
Gently rock from side to side with your palms on your thighs or with a yoga block between them. As you exhale, allow gravity to take hold and collapse forward with control. Keep equal weight in both feet and engage the strong muscles around both legs. To take it to the next level, imagine yourself surrounded by plants and trees while feeling their reminiscence radiating strength and joy. Hold for 5-10 deep breaths, pausing if needed. When finished, come back up slowly and evenly. Then proceed to the next yoga poses for back pain.
Intermediate Sequences
Developing a yoga practice? Yes! It can help to reduce back pain. Intermediate yoga sequences are perfect for those with some yoga experience. These postures help to soothe the back, and prevent strain. Here’s an overview of intermediate sequences. Get ready to strengthen and increase agility!
- Warrior I: This pose strengthens the legs and stretches the hips.
- Half Moon: This pose helps to open the chest and hips.
- Cobra: This pose strengthens the back and opens the chest.
- Triangle: This pose helps to stretch the sides and open the hips.
- Tree: This pose helps to strengthen the legs and improve balance.
Bridge Pose
Bridge Pose is an excellent full-body pose. It helps back pain sufferers by releasing tightness in their hips, arms and core. This provides improved posture, alignment and flexibility. It can be as simple or as challenging as you need it to be.
To enter the pose, lie flat on your back. Put your feet flat on the floor and your hips pointing toward the ceiling. Gently rest your hands beside you with palms facing up.
Then press through both feet and lift your hips off the ground. Make sure your shoulders, hips and thighs form a straight line. Hold for about three breaths then lower back down. Engage your core muscles and maintain good posture. Lift your shoulders away from ears and chest elevated towards the ceiling. Tilt to one side or the other but don’t let your hips drop too low.
For those who are more flexible, Bridge Pose can be more challenging. Bring either arm into Prayer Pose (Namasté) under your chest for additional upper body strengthening. Or press palms into the ground with fingers pointing outward. Don’t strain yourself if any version seems challenging or uncomfortable – modify if necessary!
Upward-Facing Dog
Urdhva Mukha Svanasana, also known as Upward-Facing Dog, is an intermediate yoga pose. It opens the chest and relieves tension in the upper body. Plus, it strengthens arms, wrists and abs!
Begin on your stomach. Place hands next to ribcage and draw in navel. Press palms into floor. Gaze forward and tuck pelvis bone. Lift chest off floor. Stretch legs out behind, engage feet and lift hips away from ground. Lower jaw towards chest and keep neck relaxed. Open arm pits towards ceiling. Hold for 5 breaths.
To exit, settle onto stomach. Release palms to floor. Stretch legs back out. Relax pelvis. Take 5 slow breaths. Then, continue your sequence!
Reclining Hand-to-Big-Toe Pose
Supta Padanghusthasana, or Reclining Hand-to-Big-Toe pose, is a gentle yoga move. It stretches hamstrings, aligns pelvis, and strengthens abs. It can help those with back pain.
To do it, start by lying on your back. Arms and feet should be on the floor. Bend one knee and bring the heel to your torso. If you can’t reach your toes, use a strap or belt around the arch of your foot. Then, do Half Lord of The Fishes (Ardha Matsyendrasana) on one leg. Repeat on the other leg.
For an advanced variation, sit in sukhasana. Reach for the ankle of one foot. Inhale deeply. Exhale and hug the ankle towards you. Keep your lower back protected. Lift your chest away from your belly button. Hold for a few breaths. Release the ankle into the full Reclining Hand-to-Big-Toe pose. Turn your head to the opposite side and repeat on the other side.
Reclining Hero Pose
Reclining Hero Pose is an intermediate yoga sequence great for relieving back pain, boosting strength, and improving body awareness. It’s a variation of the classic Hero Pose but with less intensity.
To do it, start by sitting on your heels on a folded blanket, feet together, hands flat on the floor behind you. Lean forward until your forehead touches the floor and your chest is resting on your thighs. Find the right alignment: engage your leg and thigh muscles while pressing lightly against the tops of your feet—elbows bent to the sides.
Next, create a wave motion with your spine. Lift your tailbone off the heels until just your shoulders are touching. Keep your feet together. Slowly return to the starting position and repeat several times. On inhale, lift up from the floor; on exhale, come back down.
As you become more experienced, focus on extending the movement up through the mid-back and arms for full body extension before reclining back down through the lower and mid-spine until your tailbone touches the heels again. Gradually increase the length of each arch (wave). Focus on releasing each vertebra down into the floor as you relax your hips toward the heels. Engage your core more deeply through your legs and thighs with every exhale. Do this until you’ve completed the desired number of repeats.
Advanced Sequences
Want to reduce back pain? Advanced yoga sequences are here! Complex poses require strength and flexibility. Consider practicing with an experienced instructor first.
Now, let’s look at some of these sequences that can aid in relieving back pain:
King Pigeon Pose
King Pigeon Pose is a variation of the Pigeon Pose. It’s great for back pain relief. It strengthens and stretches your body and releases the lower back muscles. And it increases spinal flexibility. You can do it standing or sitting.
Align yourself. Sit tall, feet hip-width apart. Bend forward from the hips. Put your chest in front of your legs. If you can reach the ground (or a block), reach down. If not, put one hand in prayer position.
Bend your knees outward. Lay down on one side. Keep both shoulders flat. If it’s uncomfortable, put a block under your right shoulder. Inhale and lift your left foot off the floor. Reach up until you feel tension in a hip crease area. Keep your kneecaps slightly engaged.
Come up. Don’t arch your body. Stay connected with lengthening sensations. Come down onto something comfortable like a folded blanket. Even if it’s painful, stay connected to your breath. Find the desired amount of stretching/strengthening.
Wheel Pose
Wheel Pose, or Urdhva Dhanurasana in Sanskrit, is a gentle backbend. It helps reduce and manage back pain. It strengthens the spine and warms up the muscles around it. It also provides fascial release. It combines strength and flexibility to give relief and stretch. It is ideal for those with chronic back pain, as it improves physical performance outside of yoga practice.
When doing Wheel Pose, proper alignment is important. Start lying on your back with feet flat and knees bent. Place hands beside head like for a push up. Press feet into the floor and lift onto shoulder blades, bringing both off the ground. With straight arms, press into palms and engage into Urdhva Dhanurasana. Keep feet strong and release any tightness in them.
If it is too challenging, start by lifting one foot at a time and coming onto knees. Extend legs behind until comfortable, lifting all four corners with straight arms. Engage both legs to hug inward for more stability. Lengthen through each vertebrae to create more space between joints. Form a wheel shape for even strength throughout the body. Allow lower back’s natural curvature to form over each breath. This helps reduce and manage back pain, especially in the upper thoracic region.
It is important to take back pain seriously, as most conditions are reversible with harmonized postures. This will bring balance and peace of mind and protect from long term problems. Practicing Wheel Pose regularly will help achieve contented outcomes and restore positive vibrations.
Revolved Triangle Pose
Revolved Triangle (Parivrtta Trikonasana) is an advanced yoga move. It helps improve spinal mobility, tension, and rotation in the lower back. It also strengthens and stretches abdominal muscles and hamstrings, to relieve back pain. It’s often used to prepare yoga practitioners for deeper back-bending when treating specific issues, like sciatica or spinal disc issues.
To do this pose, start in Mountain Pose (Tadasana). Step feet three feet apart. Point left foot forward and right foot slightly outward at 45 degrees. Bend right knee so it aligns with the arch of the right foot. Keep left leg straight. Reach down with both arms. Place right hand on inside of right ankle and left arm to the ceiling. As you inhale, look up at left hand. Rotate from deep in the abdomen as you exhale into Revolved Triangle Pose. Both arms extend out from each side of your body. Hold for 5-10 breaths. Reverse directions to come out and return to Mountain Pose on exhalation.
It’s important to practice revolved triangle pose slowly and cautiously if dealing with chronic back pain or injury. Ask for professional guidance if needed, before attempting a yoga practice tailored to addressing chronic lower back pain issues.
Headstand
Headstand, or Sirsasana, is an inversion done with the help of a wall. It’s great for dealing with chronic back pain as it builds strength in your upper back, shoulders, and arms.
To come into this pose:
- Take an inversion like Downward Facing Dog and tip your toes towards the wall.
- Place your forearms on the ground, shoulder-width apart, with your palms facing up and fingers interlaced.
- Gently shift your weight forward until the crown of your head is arm’s length away from the wall.
- Press evenly through your hands and arms to keep your torso off the floor. Palms should face slightly away from each other for stability.
- Press your toes into the wall for support.
- Concentrate on centering gravity in your abdomen.
- Press your quads into your triceps.
- Imagine lengthening from your feet and legs through your torso all the way up to the crown of your head.
When coming out of the posture:
- Extend both legs gradually by releasing your feet first before taking your hands off the floor.
- Keep your spine long as you come onto the crown of your head last!
Conclusion
This guide has gone over using yoga for back pain relief. We’ve discussed the best poses, what to do and what not to, and common blunders to dodge.
We hope this guide has been helpful in giving you the tools, information, and resources you need to get going on your yoga venture for back pain aid.
Tips for Starting a Yoga Practice
Yoga for back pain? Here’s some tips for a safe, mindful practice!
- Ensure all poses are good for you. Listen to your body and address pain/discomfort. Modify or step out if need be.
- Begin gentle, focus on your breath. Intensity builds over time as directed by instructor.
- Breathe slowly & mindfully throughout each pose. Check you’re doing poses correctly, not going too far.
- Commit to regular practices. This helps progress better than cramming classes.
- Challenge yourself, but don’t go overboard. Balance mindful approach with breaks when needed.
- Acknowledge progress. Don’t focus too much on outcomes. Find self-awareness & celebrate small steps.
- Yoga has no room for judgement. Introduce compassion towards yourself.
Final Thoughts
It’s easy to underestimate yoga’s ability to relieve and maintain back pain. Dedication and perseverance can make a real difference to your pain and mobility. With a tailored home practice, you can find relief and stay healthy.
Yoga is so beneficial. It keeps us flexible, energized, and connected with our breath. And, with commitment, anyone can benefit from yoga.
Take care when trying new poses. Only you know what is good or bad for your body. If a pose is too intense or uncomfortable, stop and reach out to a certified teacher to help you with your specific needs.
Frequently Asked Questions
What is the Ultimate Guide to Yoga Sequences for Back Pain Sufferers?
The Ultimate Guide to Yoga Sequences for Back Pain Sufferers is a comprehensive resource that provides information about yoga poses and sequences that can help alleviate back pain.
Who can benefit from the Ultimate Guide to Yoga Sequences for Back Pain Sufferers?
Anyone who suffers from back pain can benefit from the Ultimate Guide to Yoga Sequences for Back Pain Sufferers. It is also helpful for individuals who want to prevent back pain or improve their overall back health.
What types of yoga poses are included in the Ultimate Guide to Yoga Sequences for Back Pain Sufferers?
The Ultimate Guide to Yoga Sequences for Back Pain Sufferers includes a variety of yoga poses, including gentle stretches, strengthening poses, and poses that help with spinal alignment.
How often should I practice the yoga sequences in the Ultimate Guide to Yoga Sequences for Back Pain Sufferers?
The frequency with which you practice the yoga sequences in the Ultimate Guide to Yoga Sequences for Back Pain Sufferers will depend on your individual needs and goals. It is recommended to practice at least 3-4 times a week for optimal results.
What are the benefits of incorporating yoga sequences into my routine?
Incorporating yoga sequences into your routine can help alleviate back pain, improve flexibility and range of motion, reduce stress and anxiety, and improve overall physical and mental well-being.