Introduction
Yoga: A great way to stay fit and healthy! Beginner poses are simple and help your spine, increasing flexibility. Plus, you’ll feel better too! Let’s look at some easy yoga moves you can do in your own living room:
Benefits of Yoga
Yoga is a mix of physical poses, breathing exercises, and meditation techniques. It can boost strength and flexibility, improve posture, reduce stress, and help with better circulation, lower blood pressure, and better sleep. Plus, it promotes mindfulness and calmness in life.
Yoga is suitable for everyone. Even if you’re a beginner, simple poses can be challenging due to lack of mobility or strength. But there are beginner poses that focus on strengthening the spine to build a foundation for more advanced ones.
This guide outlines easy yet powerful poses to help you gain the core strength for tougher asanas:
Overview of Spinal Anatomy
It’s key to know the human spine’s anatomy before beginning your yoga practice. 24 movable bones, called vertebrae, make up the spine. Between each vertebra is a disc, filled with jelly-like material and lots of ligaments, muscles and nerves.
The spine has four natural curves: cervical (neck), thoracic (upper back), lumbar (lower back), and sacral (tailbone). Staying in alignment with these curves helps absorb shock when we move, sit or lift. But if you strain your spine with bad posture or incorrect movements, these curves can become exaggerated, leading to back, neck, and hip pain.
Yoga can help improve your spine’s strength and flexibility. Here, we’ll go over some beginner spinal health poses. Yoga can ease minor aches and pains, and help fix any bad habits built up from running, jogging or cycling.
Cat-Cow Pose
Do the Cat-Cow Pose! This stretch will help strengthen and relax your spine. It increases your spine’s flexibility and releases pain. Perfect for beginners, no matter your fitness level. Here’s how:
- Start on your hands and knees, with your wrists directly below your shoulders and your knees directly below your hips.
- Inhale and arch your back, lifting your chest and tailbone towards the sky. This is the Cow Pose.
- Exhale and round your back, tucking your tailbone and chin towards your chest. This is the Cat Pose.
- Continue to alternate between the two poses for several breaths.
- Enjoy!
Benefits
Cat-cow stretch is great for all ages. It increases flexibility and range of motion in the spine, reduces pain in muscles and joints, and opens the chest, shoulders and lungs. It builds strength in the back and boosts joint health. Plus, it calms physical and mental stress.
For those looking to improve balance, it’s great for transitioning between poses. The alternating movement helps keep the mind focused, while strengthening core muscles and increasing stability.
How to Perform
Cat-Cow Pose is a beginner-level Vinyasa yoga sequence. It opens the spine, strengthens your core and brings flexibility to your lower back. It’s often used in warm-up sequences or sun salutations. When done regularly, it reduces stress and improves posture.
To do it:
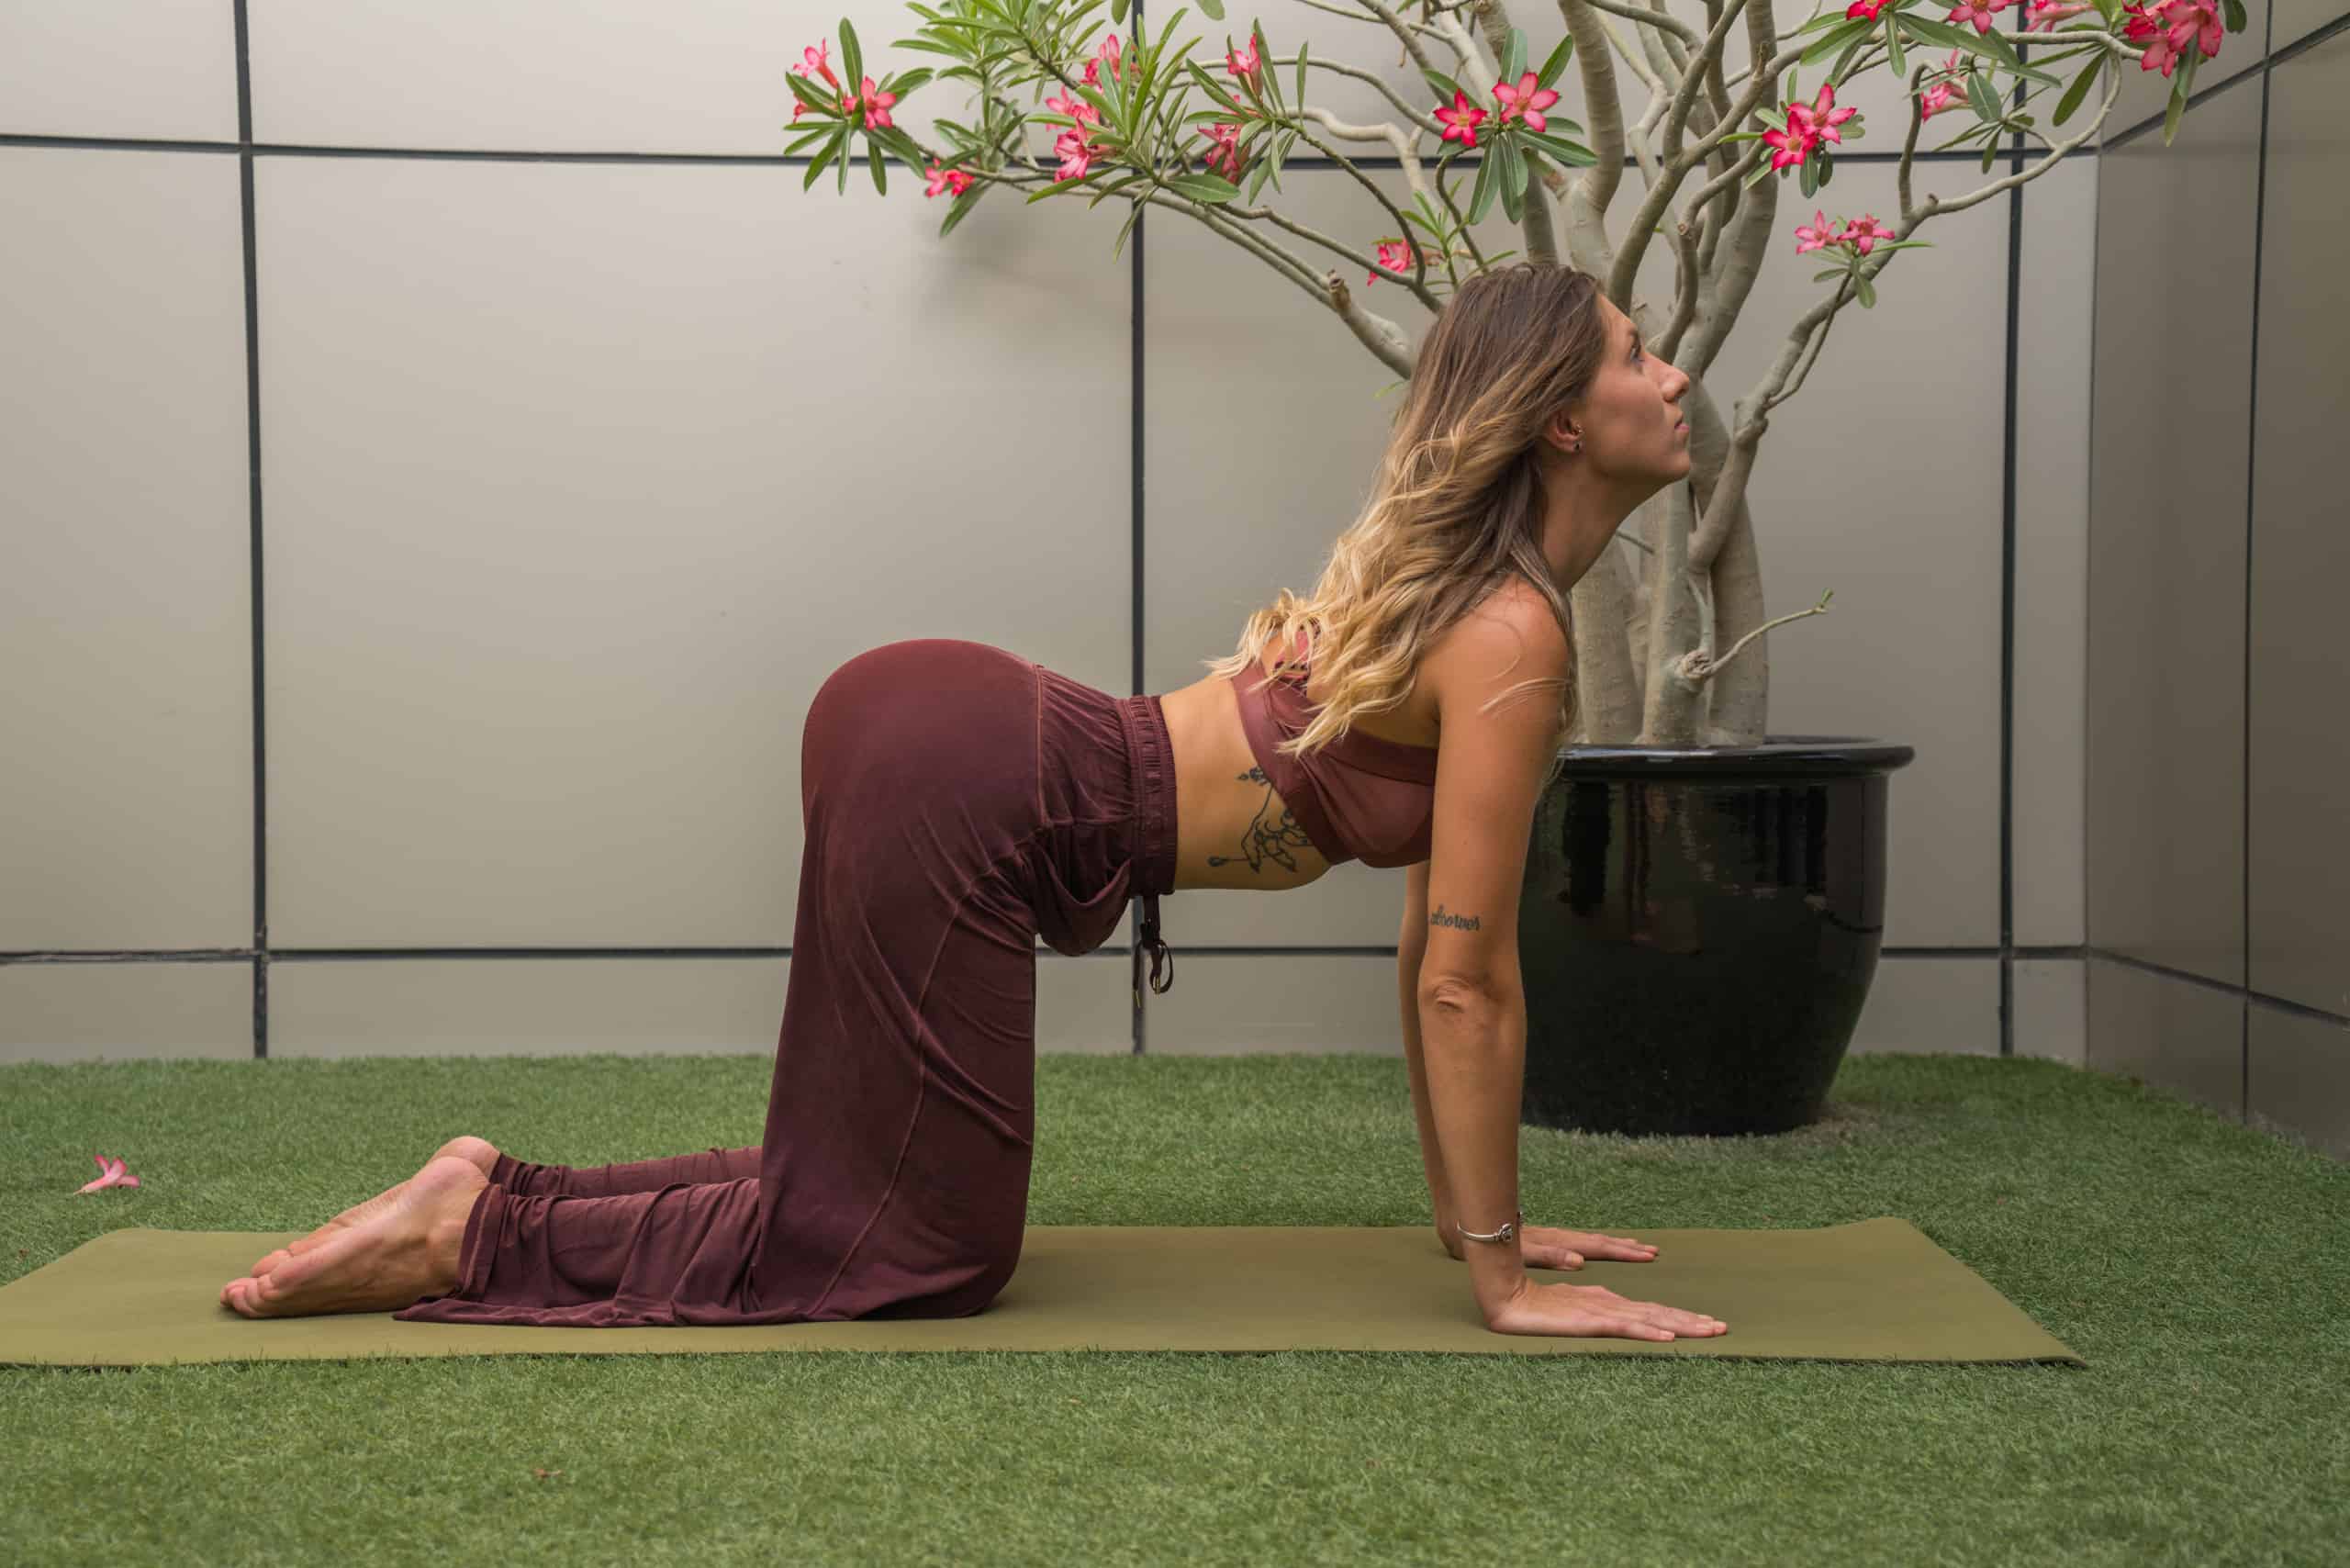
- Get down on all fours. Put your feet flat on the floor. Your knees should be under your hips, and arms under your shoulders. Press your hands into the floor. Your spine should be in neutral – not rounded or arched.
- Inhale and lift your tailbone. Arch your back towards the sky. The head should be drawn down towards the stomach. This is Cow Pose.
- Exhale and round your spine. Draw in your navel, head down to your chin. This is Cat Pose.
- Move between these two poses five times. Inhale in Cow and exhale into Cat. Keep your breath steady.
Finally, come back to all fours. Inhale deeply, then exhale and rest in Child’s Pose or Savasana.
Downward-Facing Dog
The Downward-Facing Dog is a classic yoga pose. It’s helpful for stretching and strengthening the spine. It’s a perfect choice if you’re just starting out with yoga. Additionally, it aids in opening up your shoulders and chest. Plus, it strengthens your core!
Here, we’ll learn how to do the Downward-Facing Dog pose correctly. And, we’ll discover how to get the most out of it.
Benefits
Downward-Facing Dog can be helpful physically and mentally. It can help with posture and back pain. It also strengthens arms and legs, tones abs and elongates the spine. It increases circulation and can reduce stress.
This pose is great for beginners since it is adjustable. Those more advanced can add more challenging elements.
It offers mental benefits too. Practicing regularly can bring clarity of mind. It’s a great way to relax and refocus. Holding the pose for several breaths encourages breathwork. This results in being aware of movements and leads to greater self-awareness.
How to Perform
Adho Mukha Svanasana, otherwise known as downward-facing dog, is a widely practiced yoga pose. It’s used to stretch and strengthen the body and often seen as a base for more challenging poses.
To start, get into table-top position, with your knees below the hips and hands slightly ahead of the shoulders. Spread your fingers wide and press firmly into the mat. As you breathe out, tuck your toes and lift your knees, pushing your hips up towards the sky. Make sure your feet are hip-distance apart, with all ten toes facing forward. You should form an inverted V shape with your body. Push both legs straight back and hold for 1 to 5 breaths, or up to 2 minutes.
As you inhale, focus on lengthening your spine from tailbone to head. With each exhale, draw your navel towards your spine, widen your mid-back, and sink into the pose. As you become more flexible, explore micro movements such as pressing your heels wider or lifting each knee off the ground. When you’re ready, release the pose by coming down onto your feet or hands. Repeat the steps.
Cobra Pose
Do the Cobra Pose! It’s a great beginner yoga move for stretching and strengthening your spine. It’s simple to learn and can be adapted for all levels. It’ll help increase the range of motion in your back.
Check out the details to do it correctly and safely – no injuries here!
Benefits
Cobra Pose is a restorative backbend with many benefits. It can improve spine flexibility and strengthen the core. Plus, it stretches and revitalizes abdominal organs and improves digestion.
- Physically, it can help with proper spinal alignment. You can increase your range of motion by doing Cat Pose on an inhale and Cobra on an exhale. This can lead to better posture and reduced back pain.
- Mentally, it calms the mind and refreshes energy levels. It also opens up the chest, allowing for deep breaths. This helps reduce stress and you’ll feel relaxed and energized due to the pose’s restorative effects.
How to Perform
The cobra pose is an invigorating beginner yoga pose. It helps open the chest, strengthen the spine and stimulate abdominal organs. Be mindful while doing the pose. Use your breath work and body awareness.
Here’s a guide:
- Lie on your stomach. Feet together. Arms by your sides.
- Place your hands flat on the floor. Elbows bent near your ribs. No pressure on your lower back.
- On an inhale, slowly push up onto your forearms. Engaging the muscles of your upper back and lower shoulder blades.
- Find length in your spine. Lift up until only your lower abdomen is on the floor. Don’t strain or cause pain.
- Hold for five breaths. Repeat up two more times. Three rounds in total. Come out of the pose on an exhale breath.
Bridge Pose
Do Bridge Pose! Perfect for strengthening spines. Open the chest, stretch out the spine and engage the core and glutes. Great for relieving lower back pain and increasing spinal flexibility. Also, stimulates abdominal organs and activates pelvic floor muscles.
Let’s get into the nitty-gritty of Bridge Pose.
Benefits
The Bridge Pose is great for beginners! It can boost flexibility, strength and blood circulation. Plus, great posture and core strength. Regular practice may help with spinal alignment, reduce tension headaches and boost confidence. This pose can also balance hormones. This helps with menstrual cycles and hot flashes in post-menopausal women. Plus, it strengthens muscles around bones which can improve bone health.
Lastly, it soothes stress and anxiety by boosting relaxation and calming the central nervous system.
How to Perform
Bridge Pose is a restorative stretch for the spine. It’s used in all types of yoga, from Hatha to Kundalini to Restorative.
- Lie face up on the floor. Bend your knees and place feet flat on the ground. Your heels should be close to your buttocks.
- Bend your elbows and put your hands on either side of your spine. Take a deep breath. Push your feet and arms into the ground. Arch your back. Draw your shoulder blades together and slide them apart. Feel an even stretch across your back muscles. Close your eyes. Stay in the pose for 3-5 breaths.
- Exhale and press back down onto the ground. Do 1-3 rounds. You can also do this pose with one bent leg. Make sure you feel comfortable before pushing further.
Seated Spinal Twist
Do the Seated Spinal Twist! It’s called Ardha Matsyendrasana. Great for beginners and experts in yoga alike. It releases tension in the spine and opens the chest. Improves posture and reduces back pain. Perfect for people with lower back pain. Realigns spine and increases flexibility.
Let’s learn how to do it!
Benefits
The seated spinal twist has many advantages! It can improve posture, reduce stress and make your spine more flexible. It also stretches and strengthens your abdominal, spinal and hip muscles, and helps with circulation. It even boosts digestion while decreasing tension in the hips and shoulders.
Do it regularly in your yoga practice and you’ll have more energy, better sleep at night, improved focus and clarity of thought – especially if you’ve been sitting for long periods.
The seated spinal twist can reduce tension headaches too, by giving more space between the vertebrae in the lower neck and upper back. It is the perfect complement to other spinal exercises and helps strengthen core muscles. Plus, it provides a healthy dose of relaxation when done regularly and as part of a full yoga practice.
How to Perform
The seated spinal twist pose is a great way to stretch and strengthen the spine, as well as increase flexibility in the shoulders and neck. It can be used by advanced yogis to prepare for more difficult poses, and as an exercise for beginners to relax tight muscles. Follow these steps to do it:
- Sit tall and comfortably on the floor or on a yoga mat.
- Cross the right leg over the left, resting the feet together on one side.
- Exhale and rotate your torso to the right. Keep your hips facing forward and both sit bones flat against the floor or mat.
- Place your left hand behind you on the floor (or use a blanket or cushion). Put your right hand around your right knee, looking over your shoulder at the right wall.
- Relax into the pose and keep breathing deeply. Hold for 3-5 breaths before repeating on the other side.
Conclusion
Yoga is a great way to strengthen and improve your spine’s flexibility. Focus on each pose and do it precisely. Don’t push yourself too hard. Start with simple poses and gradually increase the difficulty as you get more confident in your movements. Listen to your body and take breaks or stop practicing if you feel like it.
The best way to care for your spine is to be aware of how you move. Always do postures and breathing exercises safely. With regular yoga practice, you’ll find that strength, flexibility, and range of motion will improve naturally!
Frequently Asked Questions
1. What are some beginner yoga poses that can help strengthen my spine?
Some beginner yoga poses that can help strengthen your spine include downward facing dog, cobra pose, child’s pose, cat-cow pose, mountain pose, and warrior II pose.
2. Can practicing yoga really help with spine strength?
Yes, practicing yoga can help with spine strength by improving flexibility and alignment, as well as reducing stress and tension in the muscles surrounding the spine.
3. Do I need to have prior experience with yoga to do these poses?
No, these poses are beginner-friendly and can be done by anyone without prior experience with yoga. However, it is important to listen to your body and practice at your own pace.
4. How often should I practice these yoga poses to see results?
It is recommended to practice these poses at least 3-4 times per week for optimal results. Consistency is key in any fitness or wellness routine.
5. Are there any modifications I can make to these poses if I have limited mobility or injuries?
Yes, modifications can be made to these poses to accommodate for any limitations or injuries. It is recommended to consult with a certified yoga instructor for guidance on modifications.
6. Can these yoga poses help alleviating back pain?
Yes, these yoga poses can help alleviate back pain by reducing tension and increasing flexibility in the spine and surrounding muscles. However, it is important to consult with a healthcare professional before starting any new exercise routine, especially if you have chronic or severe back pain.