Introduction
Back pain can cause major disruptions to our lives. Sadly, 8 out of 10 people deal with it. Fortunately, yoga is a great way to handle it. Specific postures can help stretch and strengthen the areas that hurt.
This article will discuss how yoga can help with back pain. Additionally, it will include tips and sequences for targeting different parts of the spine. Regular practice can help you say goodbye to back pain!
Basic Yoga Sequences
Yoga – an ancient remedy! It’s been around for centuries, to battle pain and stress. To help you out, why not learn some basic yoga sequences? They’ll sort out your back pain and give you balance and joy.
In this article, we’ll explore the various yoga sequences to bid farewell to back pain:
Cat/Cow Pose
Cat and cow poses are a fun duo. They warm up your body, move energy and can help with lower back pain. Plus, they’re great for everyday posture.
To start, do cat pose (Marjaryasana). Get on your hands and knees. Put your wrists slightly in front of your shoulders and your knees behind your hips. As you breathe in, arch your back and drop your belly. Relax your head and neck and widen your collarbones. Notice every breath.
Then, exhale into cow pose (Bitilasana). Same position – wrists under shoulders, knees under hips. Release your stomach to the floor. Lift your chest and chin up. Take three mindful breaths.
Repeat both poses a few times. Pause on both inhales and exhales for added mindfulness.
Downward Facing Dog
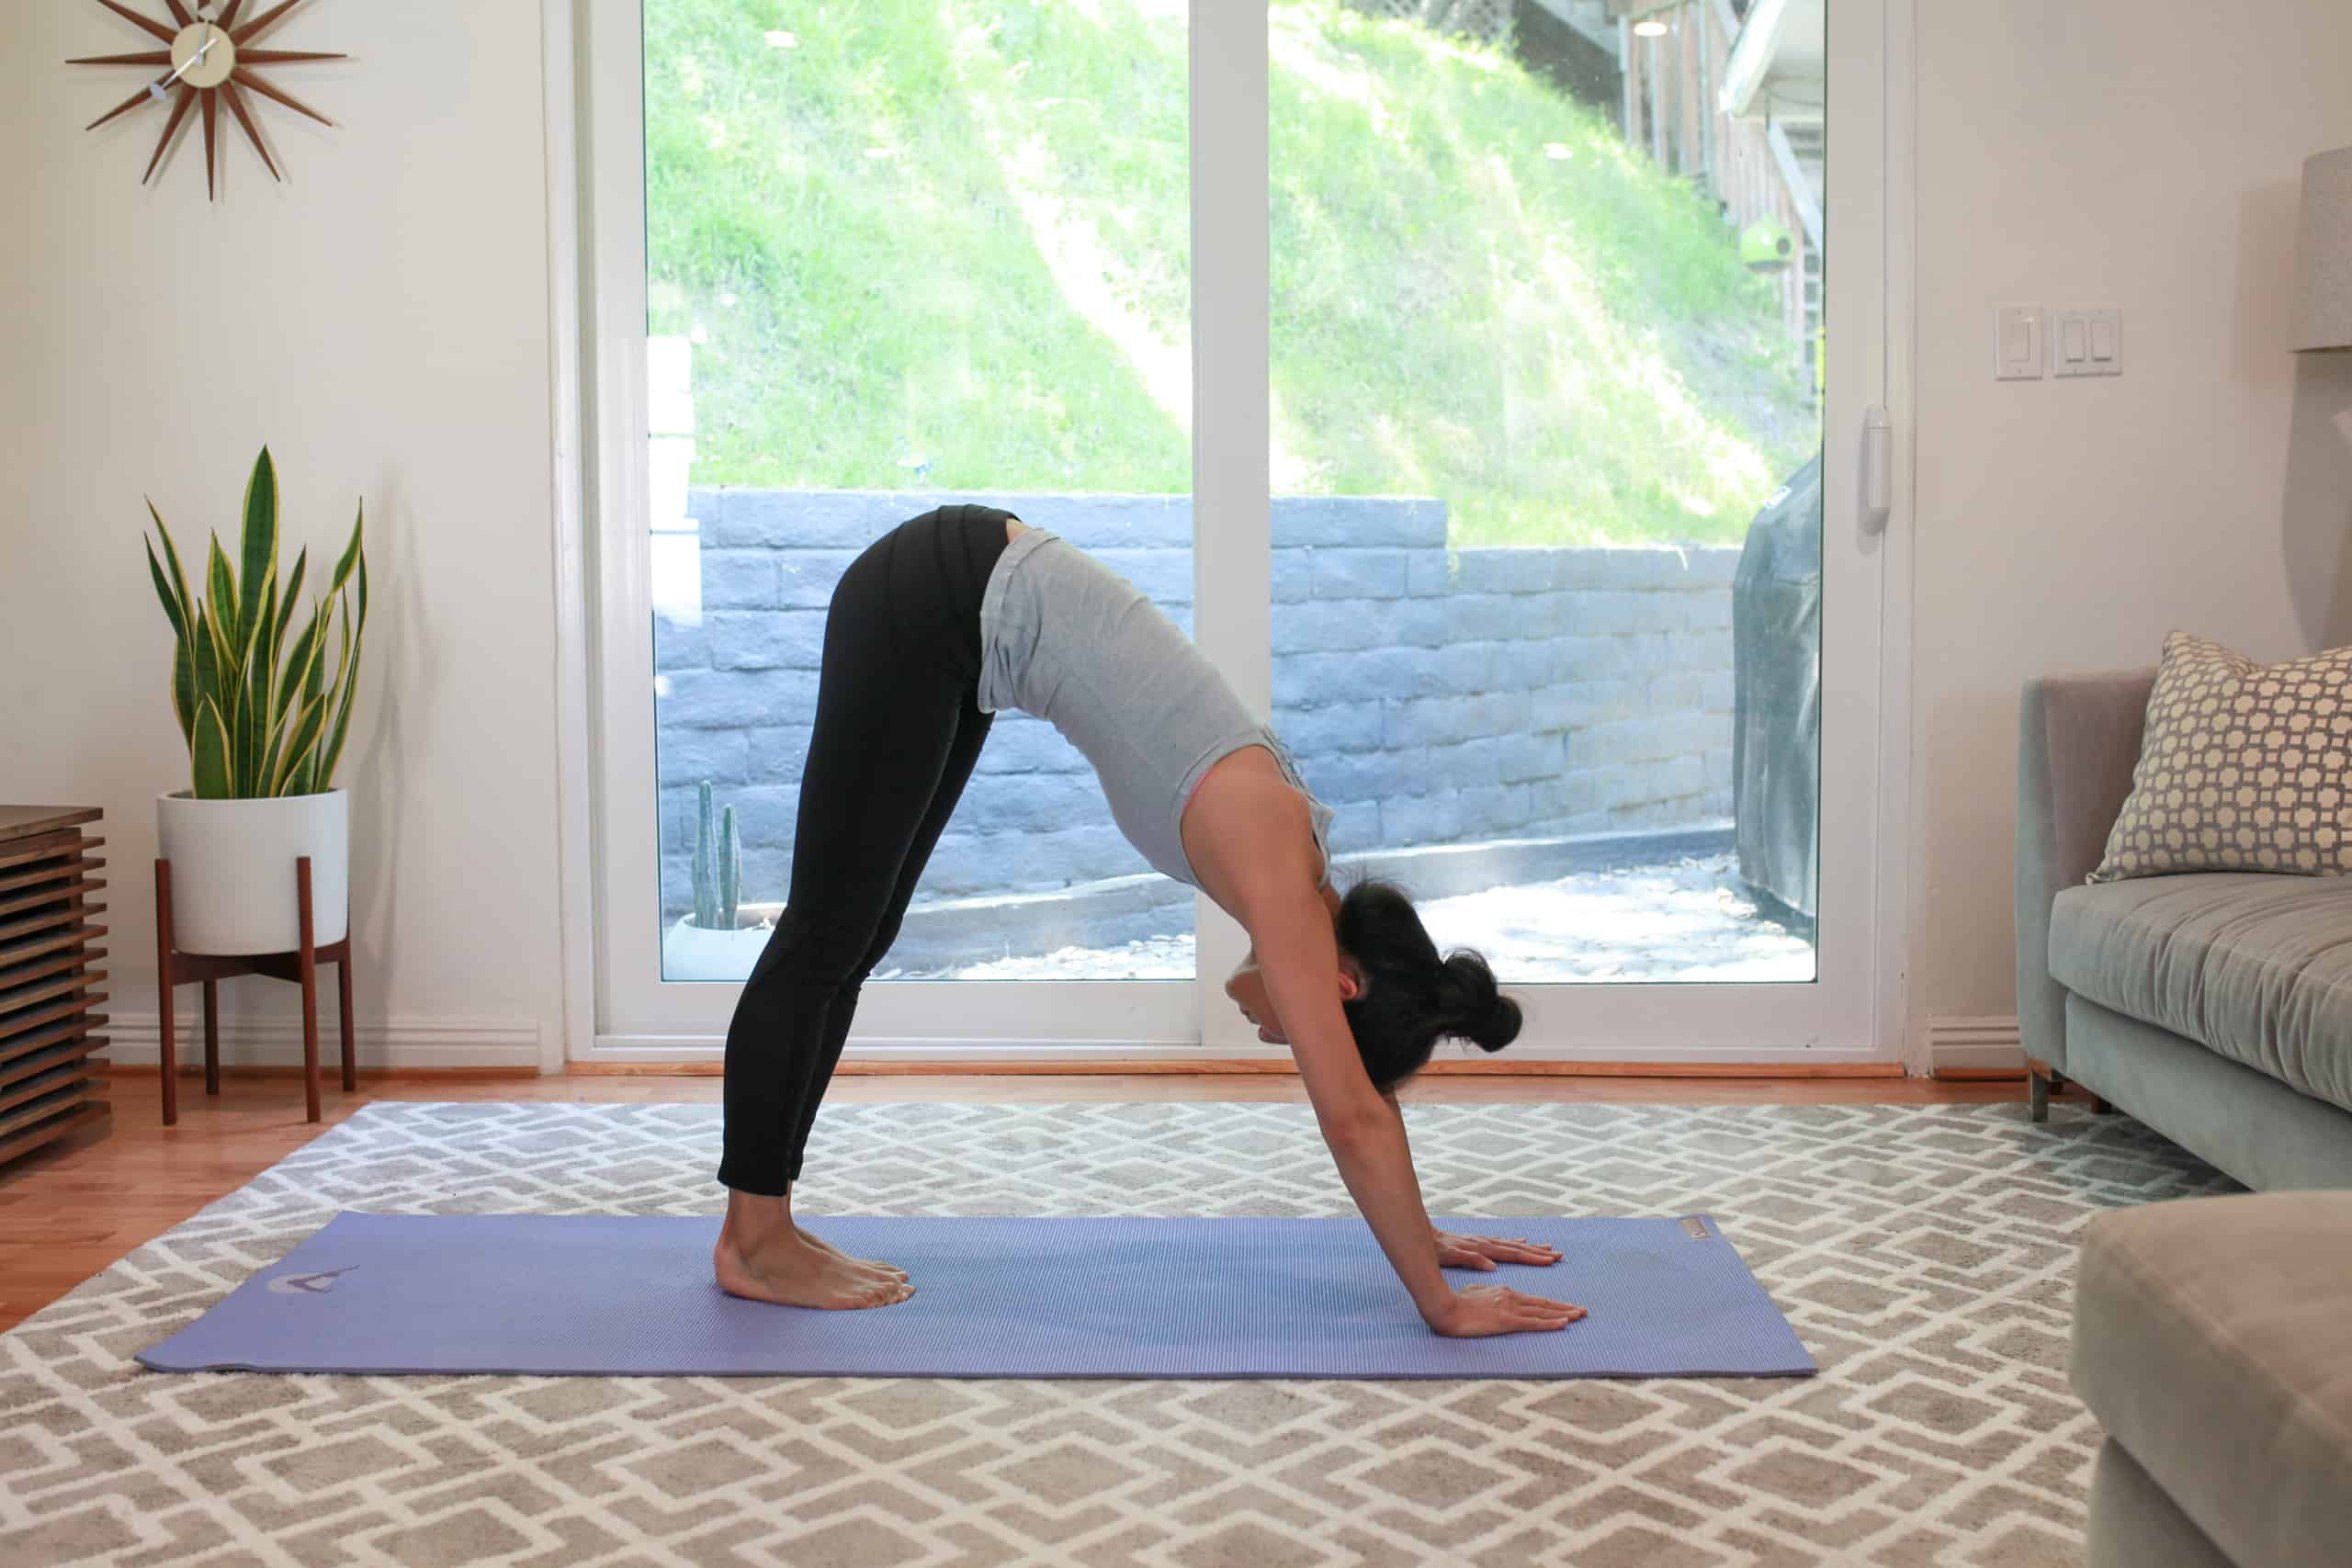
The Downward-Facing Dog is a mainstay of yoga. It’s great spiritually and physically; providing energy, and helping to ease back pain. It’s simple to learn, and can be done in various ways, depending on flexibility and strength.
To start, stand with four points. Feet apart, hands shoulder-width apart, and spine vertical. Then start to bend forward while keeping your core tight. Hands should be flat on the floor, and hips high in the air (the traditional pose). If it’s uncomfortable, or you feel strain in your shoulders or back, keep one foot slightly bent (modified version). This helps reduce strain on the wrists.
Once you’re settled, inhale deeply into the chest and extend through the legs. Push down through all ten toes, creating length. Arms should be strong but relaxed. Palms press strongly into the floor. Breathe deeply for five rounds of inhalation/exhalation, then release the pose. Fold forward with bent knees. Stand up slowly and enjoy a few cycles of breathing.
Cobra Pose
Cobra Pose, also known as Bhujangasana in Sanskrit, is a powerful and simple asana. It strengthens and tones the back muscles, particularly the area between your shoulder blades. This pose can bring relief from lower back pain, improve digestion, reduce fatigue, and increase flexibility.
To perform Cobra Pose, lie on your stomach in the ‘vajra’ asana position. Place your palms flat on the ground and bend your elbows at a 90 degree angle, pressing them slightly backward. While keeping a slight curve in between each vertebra, extend your torso forward and align the top of your head with the midline of your body by dropping both shoulders. Hold this pose for no longer than 10 seconds, then stay in this position for 30 seconds up to 1 minute before releasing out of it slowly while inhaling deeply. Go onto all fours or into child’s pose for recovery.
When doing Cobra Pose, be aware of any sensations in areas such as your lower back or neck. If you become uncomfortable, modify the pose by using a yoga block or blanket for support. Don’t strain or push beyond your capacity to feel comfortable. Safety always comes first!
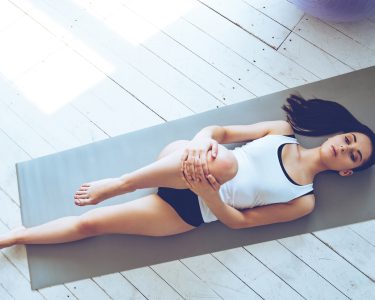
Child’s Pose
Child’s Pose (Balasana) is great when you’re feeling tired, overwhelmed, or stressed. It’s also a nice break between other poses. While the other poses stretch and strengthen the body, Child’s Pose helps reset your breath and connect with yourself.
To move into it:
- Start by kneeling on the floor. Big toes touching, and knees slightly wider than hip-width apart.
- Reach your arms forward on the ground in front of you. Exhale, and slowly sit back onto your heels.
- With another exhale, bend forward at the hips. Lay your torso on top of your thighs and bring your forehead towards the mat (or block). Let go of tension as you bring yourself here.
- Inhale and exhale deeply each time. Eventually rest still for several breaths. Notice how each breath helps you let go throughout your body.
- To leave the pose, slowly press back up to sitting on your heels with an inhale.
Intermediate Yoga Sequences
Ease your back pain with yoga! Not only can it reduce discomfort, but it also stretches tight muscles and increases flexibility. Want to give it a go? Here’s some intermediate sequences to try.
Learn more about how yoga can help you bid farewell to back pain.
Triangle Pose
Utthita Trikonasana, or Triangle Pose, is an intermediate yoga move. It stretches the spine, hips, thighs, and ankles. It also improves balance and gives physical and mental benefits. It can even help reduce back pain.
Here’s how to do it:
- Stand in mountain pose with your feet hip-width apart and your hands by your side.
- Turn to one side and step your feet wider than hip-width apart. Point your right toes out at a 45 degree angle and press the outer edge of your right foot firmly into the floor.
- Inhale deeply and reach up both arms towards the ceiling. Exhale as you bend towards the right side, keeping both legs straight. Extend through your waist or lift up on your side body with a flat back extending over to the right hand. Use a block for extra support if needed.
- Place one hand on top of the opposite knee or calf. Bring your left fingertips below your shoulder level to complete triangle pose. Hold for a few breaths before bringing it all down. Be mindful when coming in and out of this postural balancing act.
- Switch sides & repeat 3 times!
Half Moon Pose
Half Moon Pose, or Ardha Chandrasana, is an intermediate yoga posture. It helps to increase energy and focus. It also aids in relief of lower back pain.
To begin, stand at the top of your mat with feet together. Then, lift your left leg straight back, bringing your arms to shoulder height. Point front toes down, hinge from the hip with a straight left leg, and open up to the left side. Press through your left heel, lifting your chest up. Exhale, and engage your abdominals, squeezing glutes together. Stretch arms forward and pull shoulder blades down. Hold for five breaths. Release and return to center.
Beginners can modify this posture with blocks or chairs. This variation allows beginners to keep balance while stretching. If needed, bend deeper when transitioning out of Half Moon Pose. Hold onto blocks or chairs for support. Take slow movements, allowing time between poses for stability and easing pressure off lower back. Consult physical therapist if needed.
Warrior II
The Warrior II pose is commonly used in vinyasa yoga. It strengthens and stretches legs, groins, hips and shoulders. It’s great for reducing back pain and opening up the hips.
To begin: Stand in Mountain pose (Tadasana). Step your left foot back four feet, turn it out 90 degrees, keep both legs straight, and bend your right knee over your right ankle creating a 90-degree angle at kneecap level. Stretch arms parallel from the floor and pull energy up. Engage core into spine and breathe deeply. Gaze slightly higher than your front middle finger and keep neck vertebrae straight. Lift chin and soften eyebrows. Visualize yourself grounding downward and feeling an energetic pull upwards. After 5–10 breaths, rise up on an inhale and switch sides. Step back right foot and repeat on the other side. Repeat as necessary.
Chair Pose
Chair Pose (Utkatasana) is a yoga pose. It strengthens the feet and legs, increases balance, and improves body alignment. It may feel challenging, but it is important for regular yoga practice.
Start by standing with feet together and arms extended towards the sky. Balance your weight between both feet. Squat down until you are sitting in a deep chair-like position. Put your palms in prayer position. Draw shoulder blades together. Press down into all four corners of each foot. Stay for five deep breaths.
To increase intensity:
- Lift one foot at a time.
- Engage inner thigh muscles on each leg.
- Reach each arm forward as if trying to touch two walls.
- Draw front ribs in and up away from belly button.
- Rock back onto heels and draw energy out of fingertips.
Hold for five breaths, then release with an exhale.
Advanced Yoga Sequences
Want to reduce back pain from tight, aching muscles? Advanced yoga sequences could be the solution. They can target specific body parts, improve flexibility and ease pain.
In this article, we’ll look at different advanced yoga sequences to help target key muscles and reduce back pain.
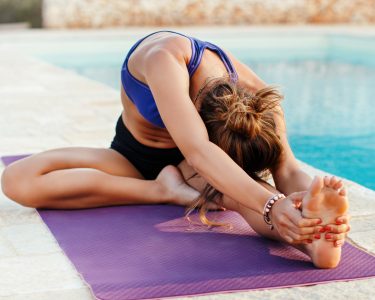
Standing Forward Bend
Standing Forward Bend, or Uttanasana, is a beginner-level yoga pose that can bring many benefits to your body and mind. It stretches lower back muscles and lengthens hamstrings, creating balance and strength. Physically, it helps relieve stress and tension and improve posture. Mentally, it relieves anxiety and depression and encourages deep breathing and restfulness.
To practice Uttanasana:
- Stand up tall with feet hip-distance apart. Place hands on hips with palms facing forward.
- Hinge at hips and bring torso towards legs. Bend knees slightly if needed, always keeping spine neutral.
- Continue folding forward until torso is all the way down to legs. This is position two.
- Inhale deeply while in this lifted posture to deepen stretch and create space in spine.
This pose can help counteract onset of back pain due to tightness from sitting for long periods. It can also act as a prelude before dynamic exercises associated with grappling wisdom yoga lifestyle regimes. It encourages peace inwardly, allowing for higher mental peaks and deeper self-realization. Through mindful practice, it can promote bliss, cleanse the mind, and invoke creative joy. This can lead to stronger emotional balance, curing the ills of modern civilization and connecting to inner forces. Ultimately, it can prepare us for future challenges, allowing us to be a serene, courageous leader and reap the rewards of our journey.
Upward Facing Dog
Yoga can help to both prevent and ease back pain. Upward-facing Dog is a great posture for this. It stretches the spine, torso and chest, and strengthens the abdominal muscles. It also helps with posture. Here is how to do it:
- Lie down on your stomach, legs extended behind you. Place your palms on the ground next to your chest, toes flexed underneath.
- Press the tops of your feet into the mat, engaging your quads. Push up with your hands towards your ribcage, arching your spine like a bridge. Keep elbows slightly tucked in.
- Lift your shoulders away from your ears. Create a long line of energy between neck, shoulders and elbows up towards your hands at shoulder level. Spread your fingertips out beyond shoulder width.
- Lift through the inner edges of your feet. Activate muscular energy and your range of motion along your spine into an arching shape. Press firmly onto the ground to keep your pelvis stable while stretching your torso. Don’t overstretch. Stay soft and relaxed.
- Hold the pose for 5-10 breaths. On each exhale, expand your body further. Then, carefully release downwards. Touch your palms down first, then roll your vertebrae forward and backward to end the posture. This concludes the Upward Facing Dog Pose sequence!
Revolved Triangle Pose
Revolved Triangle Pose is a posture to make your spine, hips and hamstrings more flexible. It can reduce tension in your lower back and boost circulation. It also tones your stomach and soothes your body and mind.
- Stand with feet hip-width apart.
- Put your left foot forward and angle it 45 degrees from your body’s center line. Turn it out an extra 5-10 degrees. Stretch both arms out to either side and keep them parallel to the floor. Push them outward actively.
- Slowly lower down at your hips towards your left foot. Let both arms reach down on either side of this leg. Rotate your torso as much as possible. Keep equal weight on both feet and don’t overbend one knee. If you can, let your right arm reach through your back foot.
- Sweep up your other arm above your head, so it faces forward. Balance for 5-10 breaths.
- Gently roll up with an even lift through both sides. Stand back in Mountain Pose. Take a few breaths. Release your arms down to sides.
- Repeat the same on the opposite side for the same amount of time.
King Pigeon Pose
King Pigeon Pose is an advanced yoga pose. It gives a deep stretch to the legs, hips, and lower back. When used with other poses, it can reduce pain in the lower spine and release pressure. It requires strength and flexibility.
To do King Pigeon Pose, start in tabletop position on your hands and knees. Place your right knee behind your right wrist and roll your ankle up so it lines up behind the left wrist. Push through into the full pose. Press down through your left knee until it touches the ground behind you. Reach for your foot or ankle with both hands. Pull the heel closer to your groin or sink deeper into the pose. Keep the chest up as you go deeper. Switch sides if you want to.
The key benefit is restoring mobility and easing tension in the hips. This is caused by sitting for long periods or overusing hip flexors with activities like running or soccer. The intense stretch also improves flexibility in the hamstrings, glutes, and IT bands. This helps with balance when doing Wheel Pose or Chair Twist. It also encourages lengthening of the deep core muscles. This helps with alignment for postures like Boat or Chair Twist. Regular practice reduces chronic lower back pain and creates balance between strength and flexibility. This leads to better function and higher athletic performance.
Conclusion
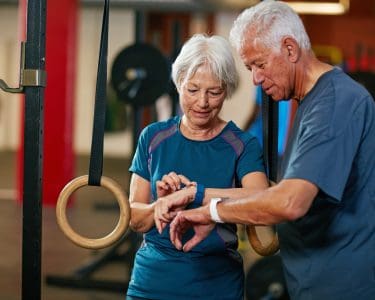
Yoga can help with back pain. See your doctor first though! You should know what your body needs and give it that. Yoga in your routine can make life better and help with long-term back pain.
Do the sequence 2-3 times a week for the best results. Try different sequences and find which works best. Practice regularly and you can manage the pain!
Frequently Asked Questions
Q: What are yoga sequences?
A: Yoga sequences are a series of yoga poses performed in a particular order with the aim of achieving a specific goal, such as relieving back pain.
Q: Can yoga really help with back pain?
A: Yes, yoga has been shown to be effective in reducing back pain. Yoga poses help to stretch and strengthen muscles, improve posture, and increase flexibility, which can all contribute to relieving back pain.
Q: Do I need to have experience with yoga to do these sequences?
A: No, these sequences are designed for all levels of yoga practitioners, including beginners. However, if you have any concerns or medical conditions, it’s always best to consult with your doctor or a qualified yoga instructor before starting any new exercise routine.
Q: How often should I practice these sequences to see results?
A: It’s recommended to practice these sequences at least 2-3 times a week to see the benefits. However, consistency is key, so practicing more frequently can lead to even better results.
Q: Can I do these sequences at home or do I need to go to a studio?
A: These sequences are designed to be done in the comfort of your own home, so you don’t need to go to a studio or have any special equipment. All you need is a yoga mat and some space to move around.
Q: What if I experience pain while doing these sequences?
A: If you experience any pain while doing these sequences, it’s important to stop immediately and consult with your doctor or a qualified yoga instructor. Pain is your body’s way of telling you that something is not right, so it’s important to listen to your body and make any necessary adjustments to your practice.