Introduction
Back pain relief without meds? Yoga’s the way! Regular yoga can reduce the tension and discomfort in your back. Here, we’ll show you some simple poses for beginners to target that back pain and get some relief. Give it a try!
Benefits of Yoga for Back Pain
Yoga has many advantages for those with back pain. It can reduce tension, enhance suppleness and boost strength. It can also reduce stress and muscle tension, which is often the cause of back pain. Additionally, yoga can improve flexibility, range of motion and core stability. These benefits help decrease back pain.
To start a yoga routine to reduce back pain, try the following poses: Child’s Pose, Cat-Cow Pose, Bridge Pose, Downward Facing Dog, and Cobra Pose.
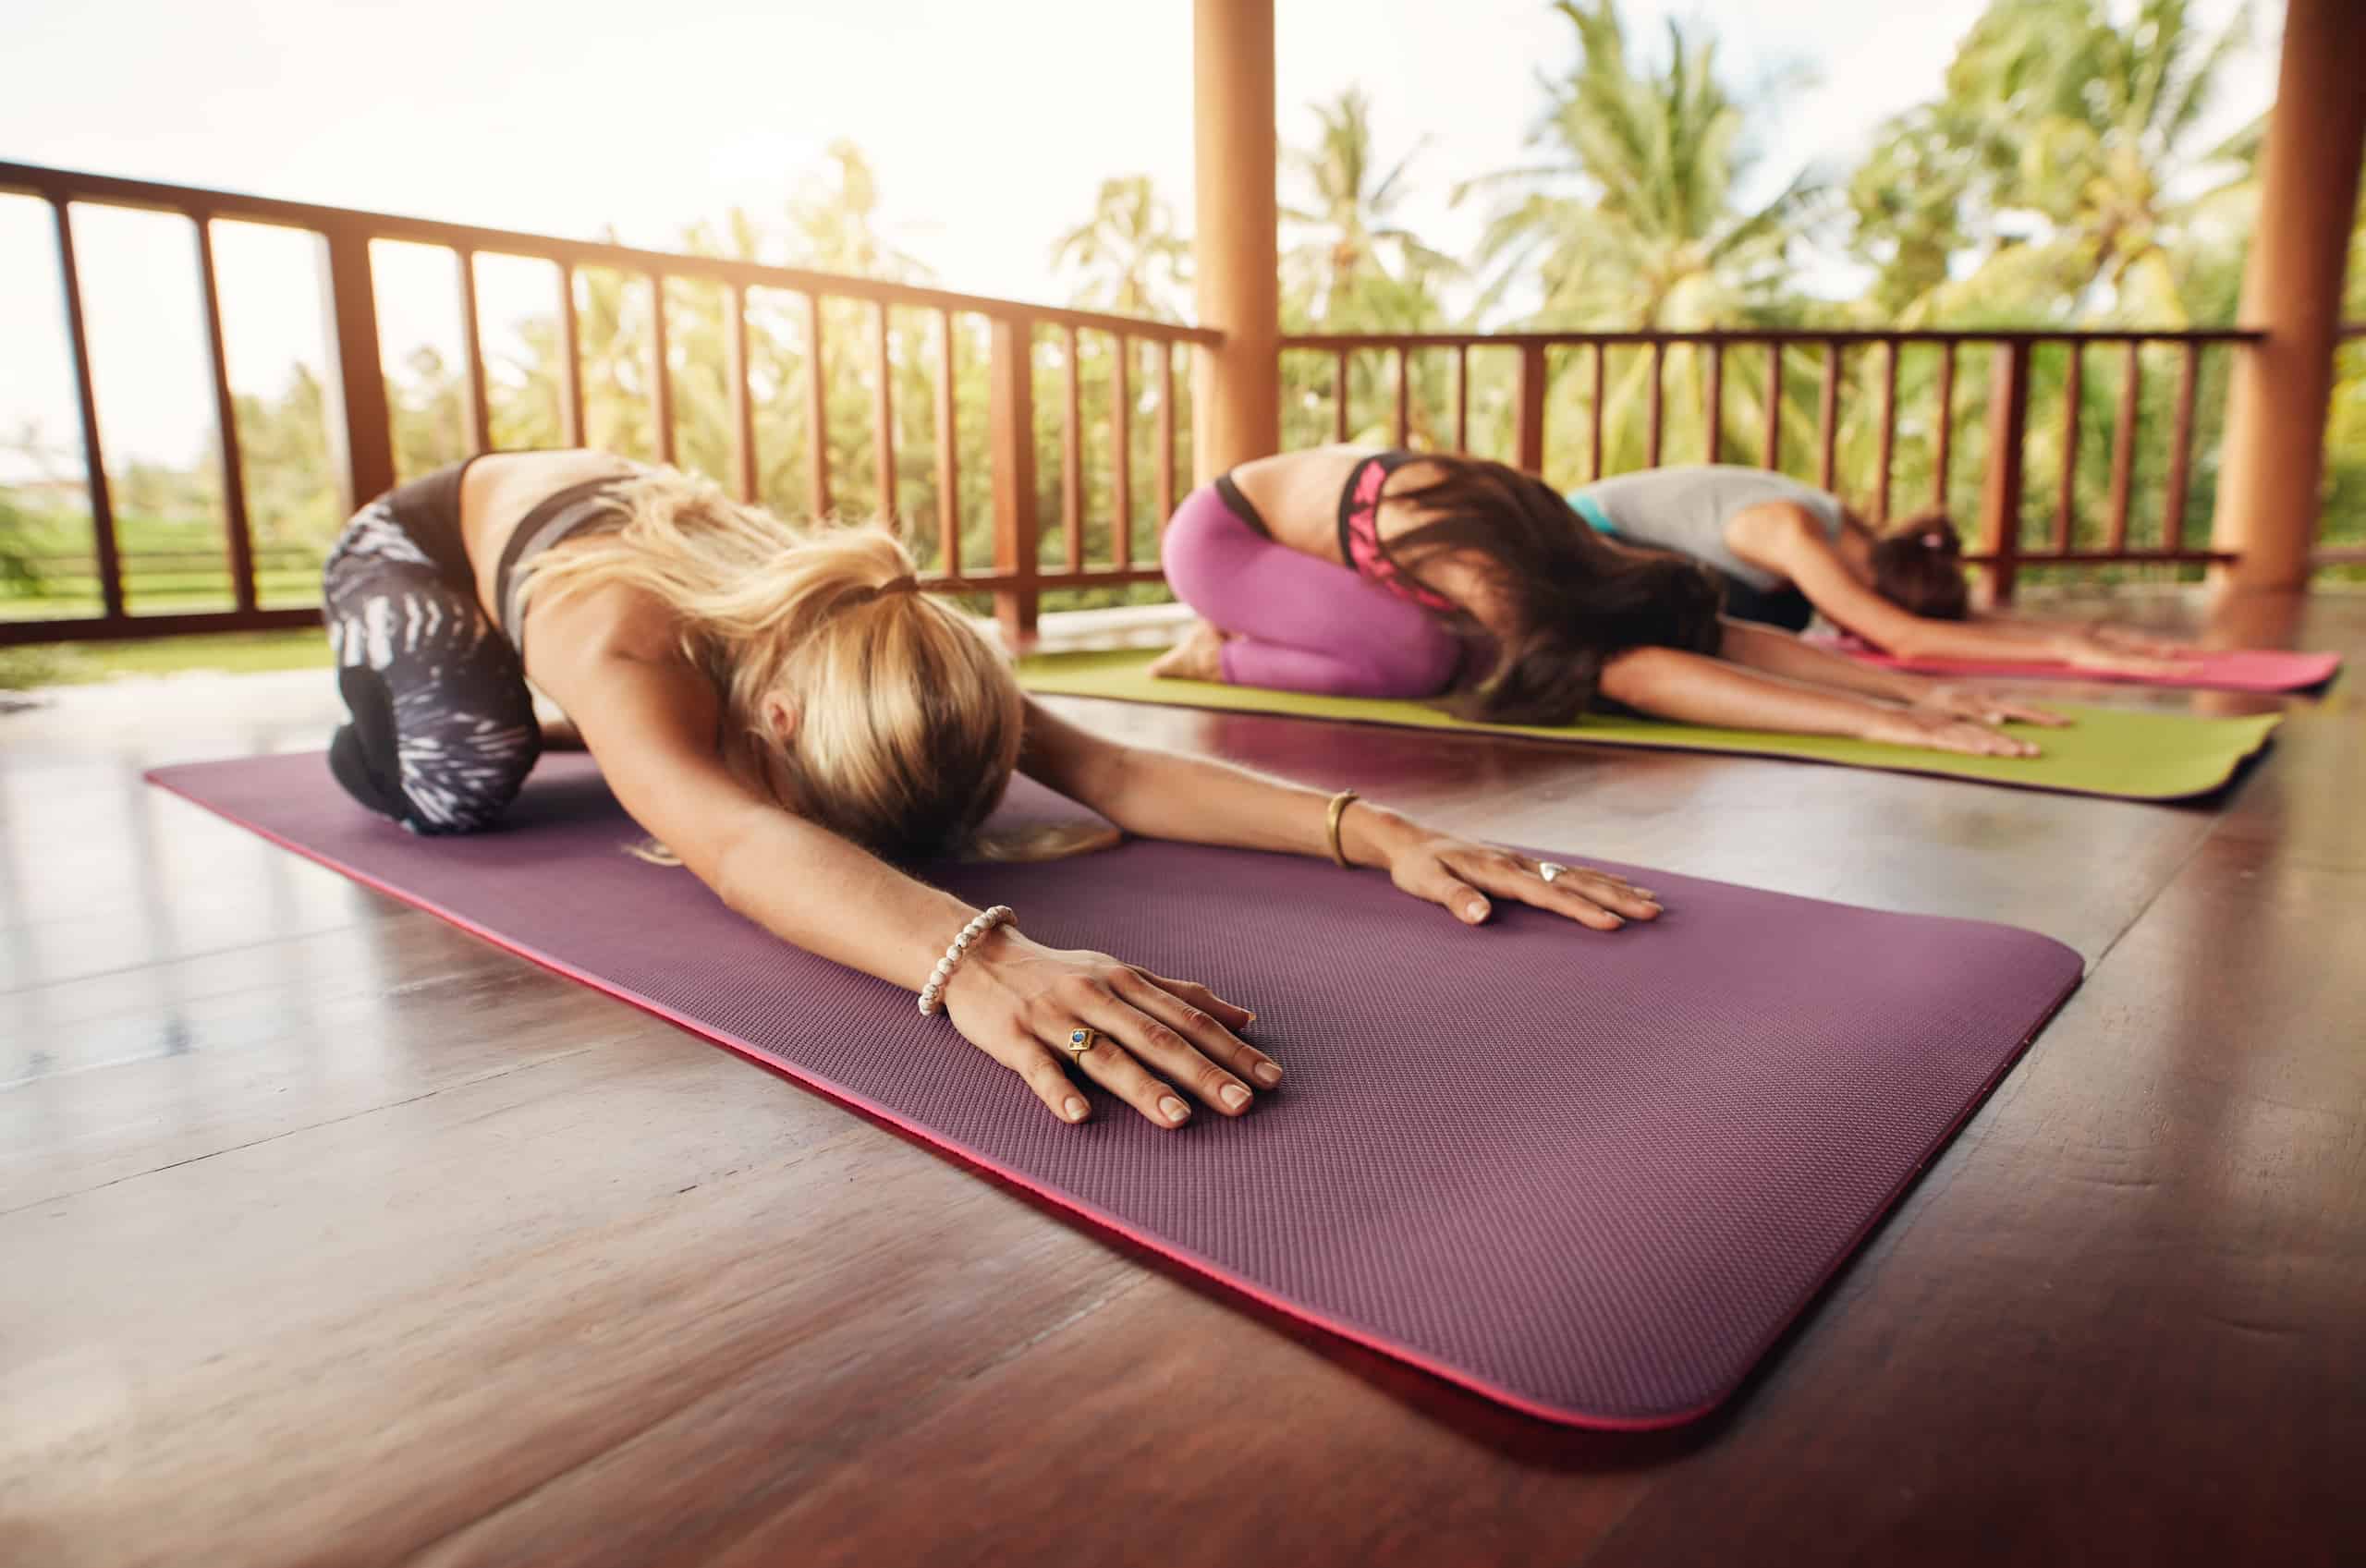
Child’s Pose stretches the muscles in the hips, thighs and ankles, while reducing lower back tension. Begin this pose by kneeling on a mat with your legs apart, toes together. Lean forward and rest your forehead on the floor or a pillow. Stretch your arms out in front, shoulder-width apart, palms flat. For an additional stretch, move your arms along either side of the body until you feel a comfortable stretch, but not discomfort or pain. Hold this for 30 seconds or longer, then release slowly with long exhales. Relax for a few breaths before resuming normal breathing.
This series will help relieve chronic lower back pain, as well as provide overall health benefits.
Basic Yoga Poses
Yoga is awesome for diminishing back pain! Poses can stretch and boost your muscles, so they can better support your spine. Here are some basic yoga poses to aid those starting out on their yoga journey:
- Mountain Pose
- Cat-Cow Pose
- Downward-Facing Dog Pose
- Cobra Pose
- Child’s Pose
- Upward-Facing Dog Pose
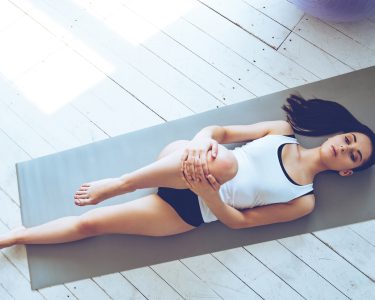
Child’s Pose
Child’s Pose, or Balasana in Sanskrit, is a relaxing pose. It helps to stretch the hips and lower back. It also calms the mind and body.
Start by kneeling on a yoga mat with toes touching. Gently sit on your heels. Lower your torso over your thighs and stretch arms out in front.
- Forehead can rest on the floor with eyes closed. Chin can be on the floor. Or, use a blanket or block between forehead and floor to reduce strain on the neck.
- Arms can be in a comfortable position – reaching forward, outward or alongside body.
Breathe deep and hold the pose for up to 5 minutes. Press thighs against sides with knees wider than hips. Release any tension by deepening breath. Soften shoulders away from ears with each exhale.
To come out of the pose, gently press back through palms. Move into seated position. Do other poses before Savasana (corpse pose) for complete relaxation.
Cat-Cow Pose
Do the Cat-Cow pose! It’s perfect for beginners. This gentle yoga pose helps with posture and reduces lower back pain. It warms you up for more complex poses, promotes spinal alignment and flexibility in the neck, torso and spine.
- Start by getting on your hands and knees on the floor. Hands below your shoulders and legs below your hips.
- Inhale deeply. Arch your back, curving it down towards the floor. Keep your head up (cat).
- Exhale and drop your chin towards your chest (cow). Arch your back so it’s convex in profile.
- Repeat this for several breaths to feel the stretch through your spine.
- Finally, bring yourself back to neutral spine position before rising into other yoga poses.
Downward Facing Dog
Downward Facing Dog, or Adho Mukha Svanasana, is an essential yoga pose. It lengthens the spine and reduces back pain. It also stretches the hips, hamstrings and calves. This pose can be modified for any level of strength or flexibility.
To practice:
- Start on your hands and knees. Feet should be hip-width apart. Keep a slight bend in the knees.
- Tuck toes under and extend legs. Quads should be engaged and heels should be rooted toward the floor.
- Lift hips up towards the ceiling. Move away from the floor through your shoulder blades. Don’t push down with force through your palms. Balance between stretching out of each limb.
- Relax into the pose for 4-7 breaths. Focus on lifting away from gravity and lengthening out evenly.
Cobra Pose
Cobra Pose, or Bhujangasana, is said to be a destroyer of physical fatigue! It stretches the front of your body and helps with digestion, stress and some types of back pain. Doing this pose regularly strengthens the spine and postural muscles and increases flexibility.
To start, lie on your stomach and lightly place the tops of your toes on the floor, with your feet together. Put your hands underneath your shoulders, palms down. As you exhale, press into your palms and slightly lift off the floor, engaging your pelvic region. Inhale deeply and lift your chest, allowing for a gentle backbend in the upper torso. Press your lower ribs back against your palms for stabilization and alignment at the base of your spine. Make sure your shoulders stay away from your ears throughout the movement. Hold this position for five deep breaths, then lower to the floor. Release any tension in your body when you have finished.
When doing Cobra Pose, remember to:
- Keep feet together
- Draw shoulder blades down
- Backbend from the space between collarbones
- Firm but relaxed thighs
- Avoid crunching up your back or arching lower than is comfortable.
Bridge Pose
Bridge Pose, also known as Setu Bandha Sarvangasana, is a great exercise. It targets the back and hip flexors. It can reduce back pain, strengthen the core and glutes, and reduce anxiety and stress.
To do Bridge Pose, lie on your back. Bend your knees and keep your feet flat on the floor. Place your arms on either side, palms up. Inhale and slowly lift your hips towards the ceiling. Keep your thighs parallel and squeeze your muscles. Push down from chest to toes instead of just lifting from your hips. Hold for a few moments. Exhale and slowly lower back down. Repeat several times for maximum benefit!
Advanced Yoga Poses
Yoga is great for toning the body and reducing back pain. Once you have a hold of the basics, it’s time to get advanced. These poses give a more intense workout and can take your practice further. Let’s discuss some of the more advanced poses and their advantages:
Upward Facing Dog
Upward Facing Dog (Urdhva Mukha Svanasana) is a great yoga pose! It helps with flexibility, strength and posture.
- Start by lying on your stomach. Place the tops of your feet flat on the floor and your palms next to your chest. Inhale and draw your shoulder blades towards each other. Lift the chest off the ground. Reach through your fingertips and press out through the thumb.
- Keep legs, thighs and inner-foots together. Squeeze the tailbone towards the pubis. Move the hip points away from the ribcage. Look forward or slightly up at the ceiling. This will protect your neck from strain.
- Press down into your hands. Engage triceps and firmly press fingers into the mat. Distribute the weight evenly across your hands. Hold Upward Dog for 1-3 breaths. Keep your back ribs long as you inhale. Don’t let your sides flaring out.
When finished, transition into Downward Facing Dog. Make sure to distribute the weight evenly across your feet. Bend your elbows outward for extra stretch. After this, jump backs onto your knees or return to Child pose.
Triangle Pose
The Triangle Pose gives you a stretch and strengthens your lower body. It also stimulates organs in the abdomen. To do it, stand tall with your feet together. Point your right foot outward at 90 degrees. Exhale and bend at the waist. Put your right hand down near the outer edge of your right foot. Extend up past the left ear and look up to the sky with a flat back. Hold for 30 seconds or longer. Release and switch sides for 30-60 seconds.
This pose strengthens the glutes, hamstrings, quads, calves, and spine. It gives you an energizing stretch in the shoulders and chest.
Extended Side Angle Pose
The Extended Side Angle Pose is an advanced yoga pose. It brings a deep stretch to the legs, spine, and torso. It also strengthens the back and abdomen muscles, while increasing flexibility and stretching tightness in those areas.
To get into the pose, stand on your mat. Take a wide step out with your right foot to 90 degrees. Make sure both feet are pointing forward. Take your right arm up towards the ceiling. Bend it down behind your head and place it on the floor near your back foot. Put your left arm at hip height. Both sets of fingers should point forward. Lift your left leg up, aligning hip to toe. Turn your pelvis open. Both legs should be straight, but not locked. Take a deep inhale. Reach both arms away from each other, expanding through the chest. Extend through fingertips, reaching forward slightly. Press firmly down into both feet with each exhale. Lengthen through the spine. Release any tension from the side body, hips, or face area. Relax there for five long breaths. Sink more deeply into the pose with each consecutive breath. Then, come back to parallel feet to finish the pose. Enjoy!
Warrior I Pose
The Warrior I Pose, also called Virabhadrasana I in Sanskrit, is great for easing back pain. It helps build strength in the legs, hips and chest. Plus, it can help make the hips and pelvis more flexible. When done right, it provides a powerful stretch in the lower body that can make a huge difference in back health.
To do it:
- Start with your feet hip-width apart and parallel. Keep your arms at your sides.
- On an inhale, step your left foot back three to four feet. Put your heels in one line, facing forward.
- Rotate your right thigh out, so it’s 90 degrees from your right ankle joint. Turn your left foot in at a 45 degree angle.
- Raise your arms above, with palms facing each other (or hold them at heart center). Step back until you’re evenly balanced. Make sure your toes face front or at 45 degrees. No external rotation or leg crossover.
- Look forward, with neck neutral. Lift up through heart center. Hold for 5-8 breaths. Then release and come back into standing forward fold.
- Engage your lower abs to keep stability and balance. This will help you reach your goals.
Revolved Triangle Pose
Parivrtta Trikonasana, or Revolved Triangle Pose, is a standing yoga pose. It stretches and opens the torso, legs, and hips. It also strengthens your core and helps digestion.
Begin in Mountain Pose, or Tadasana. Step back with your right foot, at a 45 degree angle. Bend your left knee slightly, and reach both arms out, parallel to the floor. Exhale and rotate from your core, while keeping your feet planted. Inhale and lift your right arm up. Reach down with your left hand across your right leg, to your right heel. Engage your navel for stability, and twist your torso as one unit. This pose opens up stuck areas in your chest, shoulders, hip flexors, and spine. Hold for 5 breaths. Unwind back into Mountain Pose on an exhale.
Do 3 rounds of this, then switch sides:
- Right side
- Left side
- Right side
Conclusion
Yoga, done right, can reduce stress and benefit your health. It’s also great for physical and mental health. Simple poses can help soothe back pain and get you more flexible. Doing them regularly leads to a healthier and more chilled lifestyle.
Tips for Practicing Yoga Safely
Safety is key when it comes to any physical activity, especially yoga. No need to rush – take your time and stop when you feel like it. Listen to your body; if it’s too much strain or pressure, back off.
Here are some tips for safe yoga practice:
- Move slowly and breathe deeply.
- Use props if needed – they can help with proper alignment.
- Consider beginner classes – learn how to do each pose safely.
- Keep hydrated – drink plenty of water.
- Respect your body – know when to take a break.
- Wear comfortable clothing that supports movement.
By following these safety tips, you can confidently practice yoga and work towards eliminating chronic back pain through mindful movement and breathing!
Frequently Asked Questions
Q: Can yoga actually help relieve back pain?
A: Yes, regular yoga practice can help improve back pain by strengthening the muscles, increasing flexibility, and reducing tension and stress in the body.
Q: What are some easy yoga poses that can help alleviate back pain?
A: Some simple yoga poses for back pain include downward-facing dog, child’s pose, cat-cow stretch, and sphinx pose.
Q: Do I need to be flexible to do yoga?
A: No, you do not need to be flexible to start practicing yoga. Yoga is about gradually building strength and flexibility over time with practice.
Q: How often should I practice yoga for back pain?
A: It is recommended to practice yoga for back pain at least 2-3 times per week for best results.
Q: Can yoga worsen back pain if done incorrectly?
A: Yes, if yoga poses are not performed correctly or if you push yourself too far, it can worsen back pain. It’s important to listen to your body and start slowly with beginner poses.
Q: Can I do yoga for back pain during pregnancy?
A: While it is generally safe to practice yoga during pregnancy, it’s important to speak with your doctor and a qualified yoga instructor beforehand to ensure that you are doing safe and appropriate poses for your body.