Introduction
Yoga – an exercise that can have a big impact on back pain. Through stretching and breathing, tension can be released, muscles strengthened, and spine flexibility increased. Plus mental benefits, like stress relief and mental focus.
Whether the pain is from strain, accident, arthritis, or sitting too long – exercise is necessary to ease discomfort and promote health.
The following yoga sequences can be adjusted to your specific needs. Do each pose slowly, with awareness and breathing. If you feel pain or discomfort (twinge in lower back or tightness in neck) – stop right away. Props like blocks and straps can help with alignment and stabilization.
Let’s look at these master healing yoga sequences for a pain-free back:
Benefits of Yoga for Back Pain
Yoga is a great way to reduce back pain and have a healthy spine. It relieves stress, increases flexibility, strengthens posture, and encourages relaxation and meditation. Incorporating yoga sequences into your routine can give you many benefits and pain relief.
Yoga poses designed for back pain can relax the muscles causing discomfort. Forward bends, low back extensions, supine twists, and shoulder openers can all help. Standing poses like warrior and triangle will add core strength and support.
Yoga also offers emotional relief. It can help us accept ourselves and have a more positive relationship with our bodies. Connecting with nature by practicing outdoors can be restorative.
By focusing on breathwork and range of motion with Yin-style postures, we can create a strong foundation for dynamic poses. This will increase stability around the spine and make us healthier. With practice, you’ll have improved balance, less stiffness, and better alignment.
Regular healthy movement can make us mentally relaxed, have better cardiovascular health, and bring inner awareness and outer harmony. Doing yoga every day can make you feel restored, free from pain.
Basic Yoga Postures for Back Pain
Yoga is a perfect way to ease back pain. By doing its stretching and strengthening postures, you can gain flexibility and strength. This article will tell you the fundamentals of yoga postures aiding back pain relief. It will guide you on how to do the poses correctly, which muscles they engage and how often you should practice yoga. You’ll be feeling better in no time!
Cat-Cow Pose
Start Cat-Cow Pose (Marjaiasana-Bitilasana) by getting on all fours. Place wrists beneath shoulders and spread fingers wide. Balance weight evenly.
- Inhale: Lift head & tailbone up, gaze up. Belly towards floor, open chest.
- Exhale: Curl tailbone in, round spine. Shoulder blades together like wings. Gaze down, relax neck.
Repeat 5 times. End in neutral tabletop pose. Then move into another pose or Downward Dog (Adho Mukha Svanasana).
Child’s Pose
Child’s Pose is great for calming your mind and reducing stress. It opens the hips and stretches the back torso. To do it, start in a kneeling position with knees slightly wider than your hips. Exhale and fold forward. Reach for the ground with hands stretched out. Move chest toward knees, bringing forehead to the floor or a pillow.
Inhale, lengthen through spine and reach backwards towards your heels. Exhale and sink further into the pose, gently stretching the lower back muscles. Stay in this pose for 2-5 minutes. Then, inhale and return to seated position.
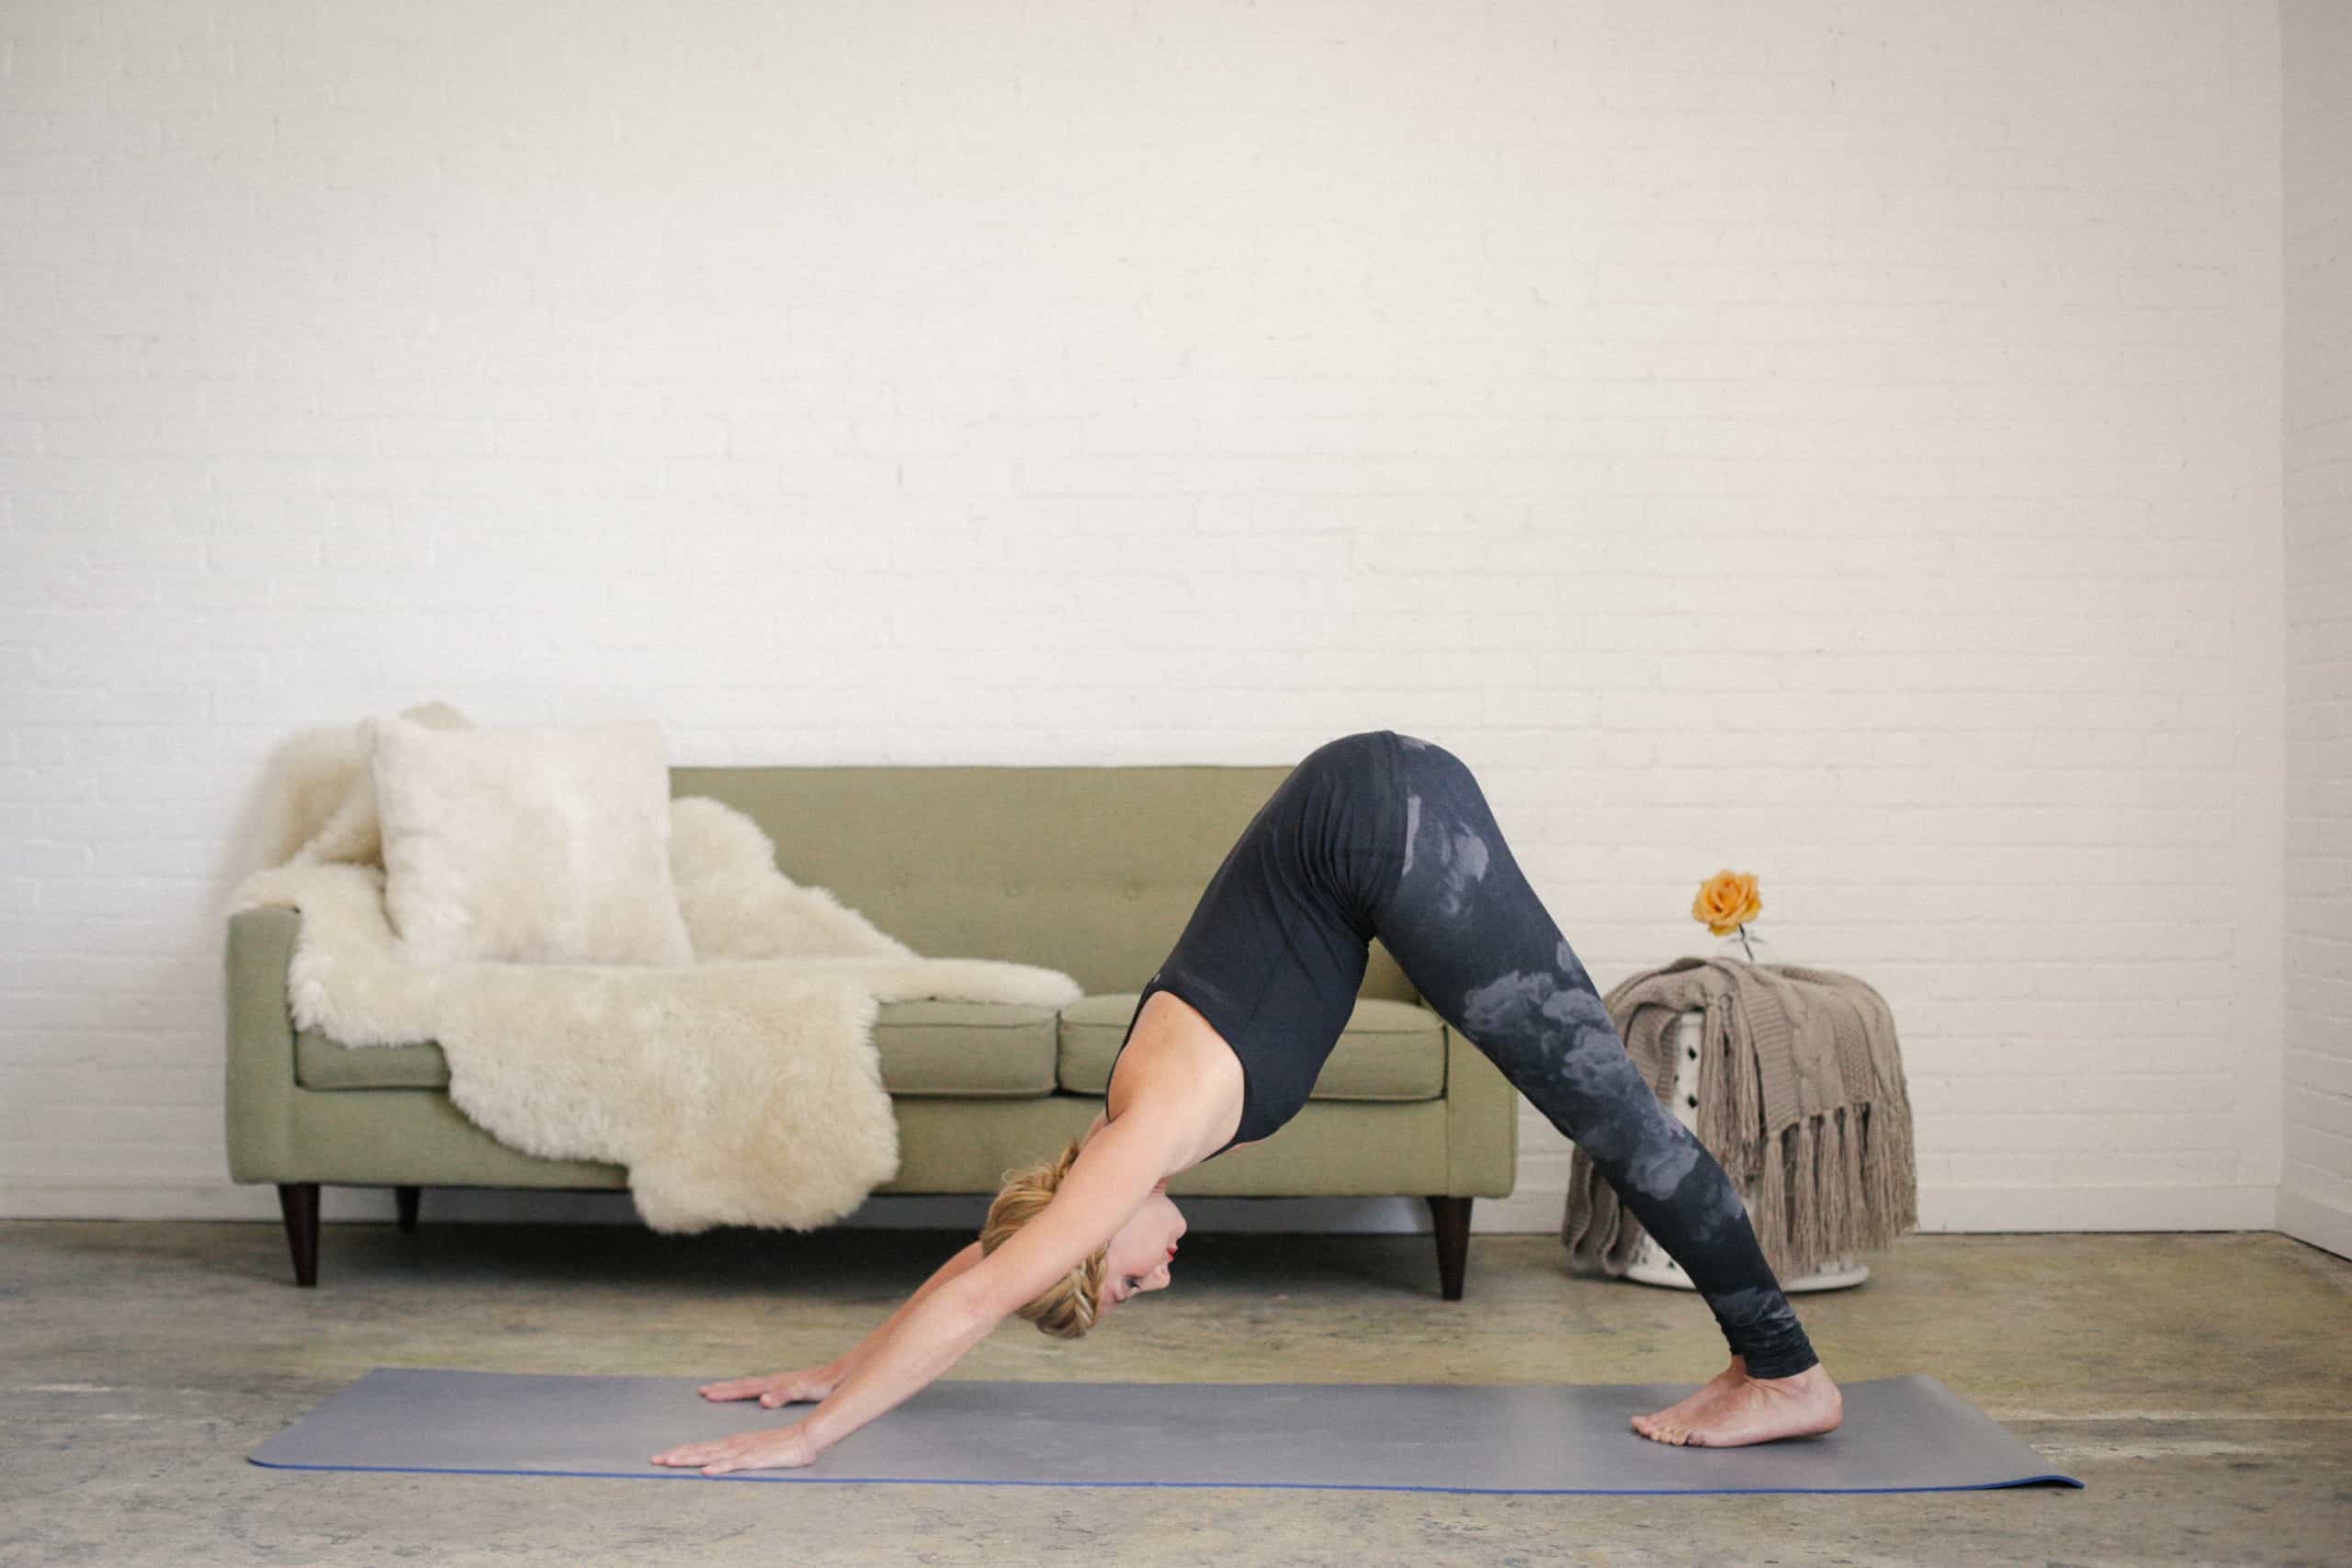
Downward Dog Pose
Downward Dog (Adho Mukha Svanasana) is a great pose! It can help relieve back pain. It stretches out hamstrings, calves and shoulders. It creates traction in the spine, which helps align the vertebrae and reduce stress and tension.
Start on your hands and knees. Place wrists below shoulders and hips above knees. Spread fingers wide and tuck toes. Lift hips towards the sky. Push palms into the floor and try to straighten arms. Keep neck long and look through fingertips. Hold for 6-10 breaths, then release or step back into Child’s Pose.
Breathe deeply and use blocks for extra support. Downward Dog can help with mild pain. Try Cobra Pose, Cat/Cow Pose, or Spinal Balance if it does not work.
Cobra Pose
Cobra Pose, or Bhujangasana, is an introductory yoga posture. It increases flexibility and strength in the back and is often used to manage back pain. Arms are bent or straightened over the head while extending the spine.
Benefits of Cobra Pose include stretching tight muscles in the neck, chest, shoulders and upper back. This reduces pressure on the back and improves posture. Regular Cobras can increase flexibility and strength in the spine. They also nurture stability in the torso and shoulder girdle.
Cobra Pose helps digestion by releasing abdominal tension. It also decreases stress throughout the body and relieves depression and fatigue. It can even aid recovery from a long day of physical exertion.
When doing Cobra Pose, keep the abdomen relaxed yet firm. Focus on drawing opposing shoulder blades towards each other. Gradually build up muscle memory until you can comfortably stay still for several deep breaths. Then, slowly unwind out of it, repeating as desired or recommended. Follow the advice of a physician or qualified health care practitioner as appropriate.
Upward Dog Pose
Upward Dog Pose (Urdhva Mukha Svanasana) is a yoga posture that stretches and tones the body. It helps open the chest, rib area and strengthens the upper back, abdominals and arms. It relieves lower back pain, sciatica and fatigue.
To begin, start in an all-fours position. Place your hands beneath your shoulders, and your knees beneath your hips. Inhale and straighten your arms. Press into your palms and lift your torso away from the floor into a slight arch shape. Look towards the ceiling. Extend through your palms to strengthen your arms. Drop down onto the tops of your feet and let them slide across the floor. Relax your neck and broaden your chest. Relax any areas of tension you might feel, especially around the lower back or neck. Engage your core muscles for full benefit.
- Repeat this pose a few times to ensure correct alignment.
- Transition onto other postures within the same sequence.
- Hold longer poses, adjust time depending on individual needs.
- Remain mindful, and stretch deeply while being flexible.
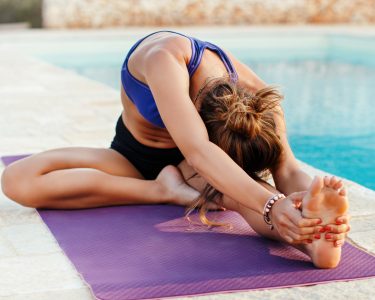
Seated Forward Bend
Seated forward bends are a common yoga pose. It can help reduce lower back pain in the lumbar area. This pose helps relax and strengthen your spine and abdominal muscles.
Start by sitting on a carpet or padding surface. Keep your feet straight out in front. Put your hands next to your legs, palms facing down, fingers pointing away. Flex your abdominal muscles gently.
Lean forward and touch the tips of your fingers to either side of your feet or shins. Keep your back flat. If you can’t reach the floor, keep a slight bend in both knees and hold onto each foot just above the ankle bone. This is known as janu sirsasana A pose.
Breathe deeply for about five breaths. Release and return to a seated position with an upright spine.
Healing Yoga Sequences
Yoga – it works! For those suffering from back pain, it’s a great solution. Incorporate it into your lifestyle to reduce tension and strengthen muscles. Let’s look at some healing yoga sequences to ease the pain and boost mobility. Ready to start the journey to a pain-free back? Let’s go!
Morning Sequence
Do yoga in the morning to reduce back pain and tension. These poses will help you relax, be more flexible, and strengthen your body. Take a few deep breaths first. Connect with your breath as you move. Afterwards, you’ll feel stronger, calmer, and more mobile! Modify poses to fit your body.
This morning sequence:
- Child Pose
- Downward Facing Dog
- Cat/Cow Pose
- Thread the Needle Pose
- Low Lunge with a Twist
- Camel Pose
- Extended Triangle Pose
- Hero’s or Seated Forward Bend
Do this every day to get relief from lower back pain. Adjust your practice as needed. By listening to your body, you can move from discomfort towards wellbeing.
Afternoon Sequence
This yoga sequence is perfect for relieving tension and discomfort in the back. Afternoon is a time many feel pain from their day’s activities, so practice this healing sequence for 20 minutes and be left feeling more relaxed and peaceful.
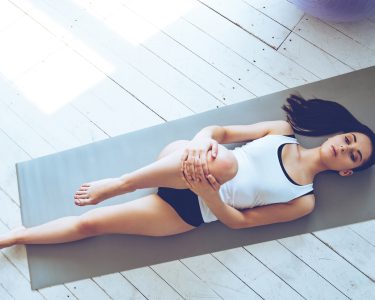
- Lie on your back and take time to fully relax, focusing on your breath. Try seated yoga stretches like Cat/Cow and Seated Spinal Twist or Figure Four Pose. These will help release tension in the spine, neck, side-waists, hips and glutes whilst calming the mind.
- Then move onto Warrior II Pose. This strengthens the core and lower body, whilst encouraging good posture throughout the day. For extra stretch, bring arms down low alongside your legs instead of high over head, breathing deeply.
- Downward Dog Pose is a popular yoga posture as it stretches the body and aids circulation. After a few breaths, return to hands & knees before Child’s Pose and Corpse Pose (Savasana). Be aware of any physical sensations or emotions, before relaxation can take place.
Evening Sequence
At the end of a long day, a relaxing yoga sequence is perfect for easing tired muscles. It helps to restore balance, promotes deep relaxation and provides a sense of inner calm for better sleep.
This sequence targets the lower back, with poses like Cobra, Bridge, Thread the Needle, Supported Child’s Pose and Hip Flexor Stretch. Each pose stretches and relaxes tight muscles.
- For Cobra Pose, lie face down. Put hands under shoulders and lift chest, keeping hips on floor. Look up and breathe deeply for 5-10 breaths. Release back down into Child’s Pose or Savasana.
- For Bridge Pose, lie on back with feet flat, outer edges touching floor. Relax shoulders and breathe softly in and out for 5-10 breaths, releasing if strain arises.
- Thread the Needle Pose is done on all fours. Slide right arm underneath left shoulder and extend left arm forward, breathing deeply into neck. Close eyes and stay for 5-10 breaths.
- Supported Child’s Pose is done by kneeling, with right knee bent, feet together and heel to hip bones. Hold outer edge of right foot and let head drop, breathing deeply for 10 breaths. Repeat on other side.
- For Hip Flexor Stretch, stack one foot over the other and lean forward, pushing heel downwards and upper body away from wall. Take 10 slow breaths and repeat another round before switching feet.
Conclusion
Remember: the master healing yoga sequences for pain-free back may take some time to become comfortable with – just like Pilates or weight lifting. With patience and dedication, you’ll likely find success. A regular practice can reduce inflammation and tension in the spine, leading to improved mobility and flexibility. Plus, the mental benefits of yoga like focus, tranquility, and mindfulness, will give you greater well-being.
Before beginning any healing yoga routine, speak with your healthcare provider. Certain poses might be dangerous. But, when done right, Yoga is a great way to wind down both body and mind, while relieving pain without drugs or surgery.
Frequently Asked Questions
1. What are the benefits of practicing Master Healing Yoga Sequences for a pain-free back?
By practicing Master Healing Yoga Sequences, you can reduce pain, increase flexibility, improve posture, and strengthen your back muscles. It can also help reduce the risk of future injuries or chronic pain.
2. Can anyone practice Master Healing Yoga Sequences for a pain-free back?
Yes, anyone can practice these sequences! However, it is important to make sure you are practicing the correct form and alignment to avoid injury. If you are new to yoga or have a specific medical condition, it is recommended to consult with a doctor or yoga instructor before starting.
3. How often should I practice Master Healing Yoga Sequences for a pain-free back?
It is recommended to practice these sequences 2-3 times a week or as needed. Consistency is key, so finding a routine that works for you and your schedule is important.
4. What are some common poses included in Master Healing Yoga Sequences for a pain-free back?
Some common poses include downward-facing dog, child’s pose, cat/cow stretch, seated twist, and cobra pose. However, the specific poses may vary depending on the sequence and individual needs.
5. How long does a Master Healing Yoga Sequence for a pain-free back typically last?
The length of a sequence may vary, but they typically last around 20-30 minutes. It is important to listen to your body and make adjustments as needed.
6. Can I still practice Master Healing Yoga Sequences if I have a back injury?
It is recommended to consult with a doctor or physical therapist before starting any new exercise program if you have a back injury. With the guidance of a medical professional, modifications can be made to the sequences to accommodate your needs.