Introduction
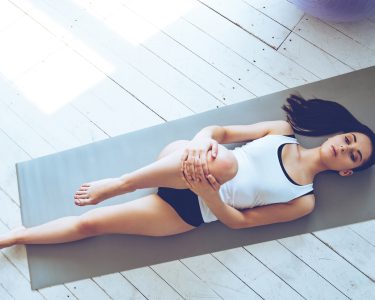
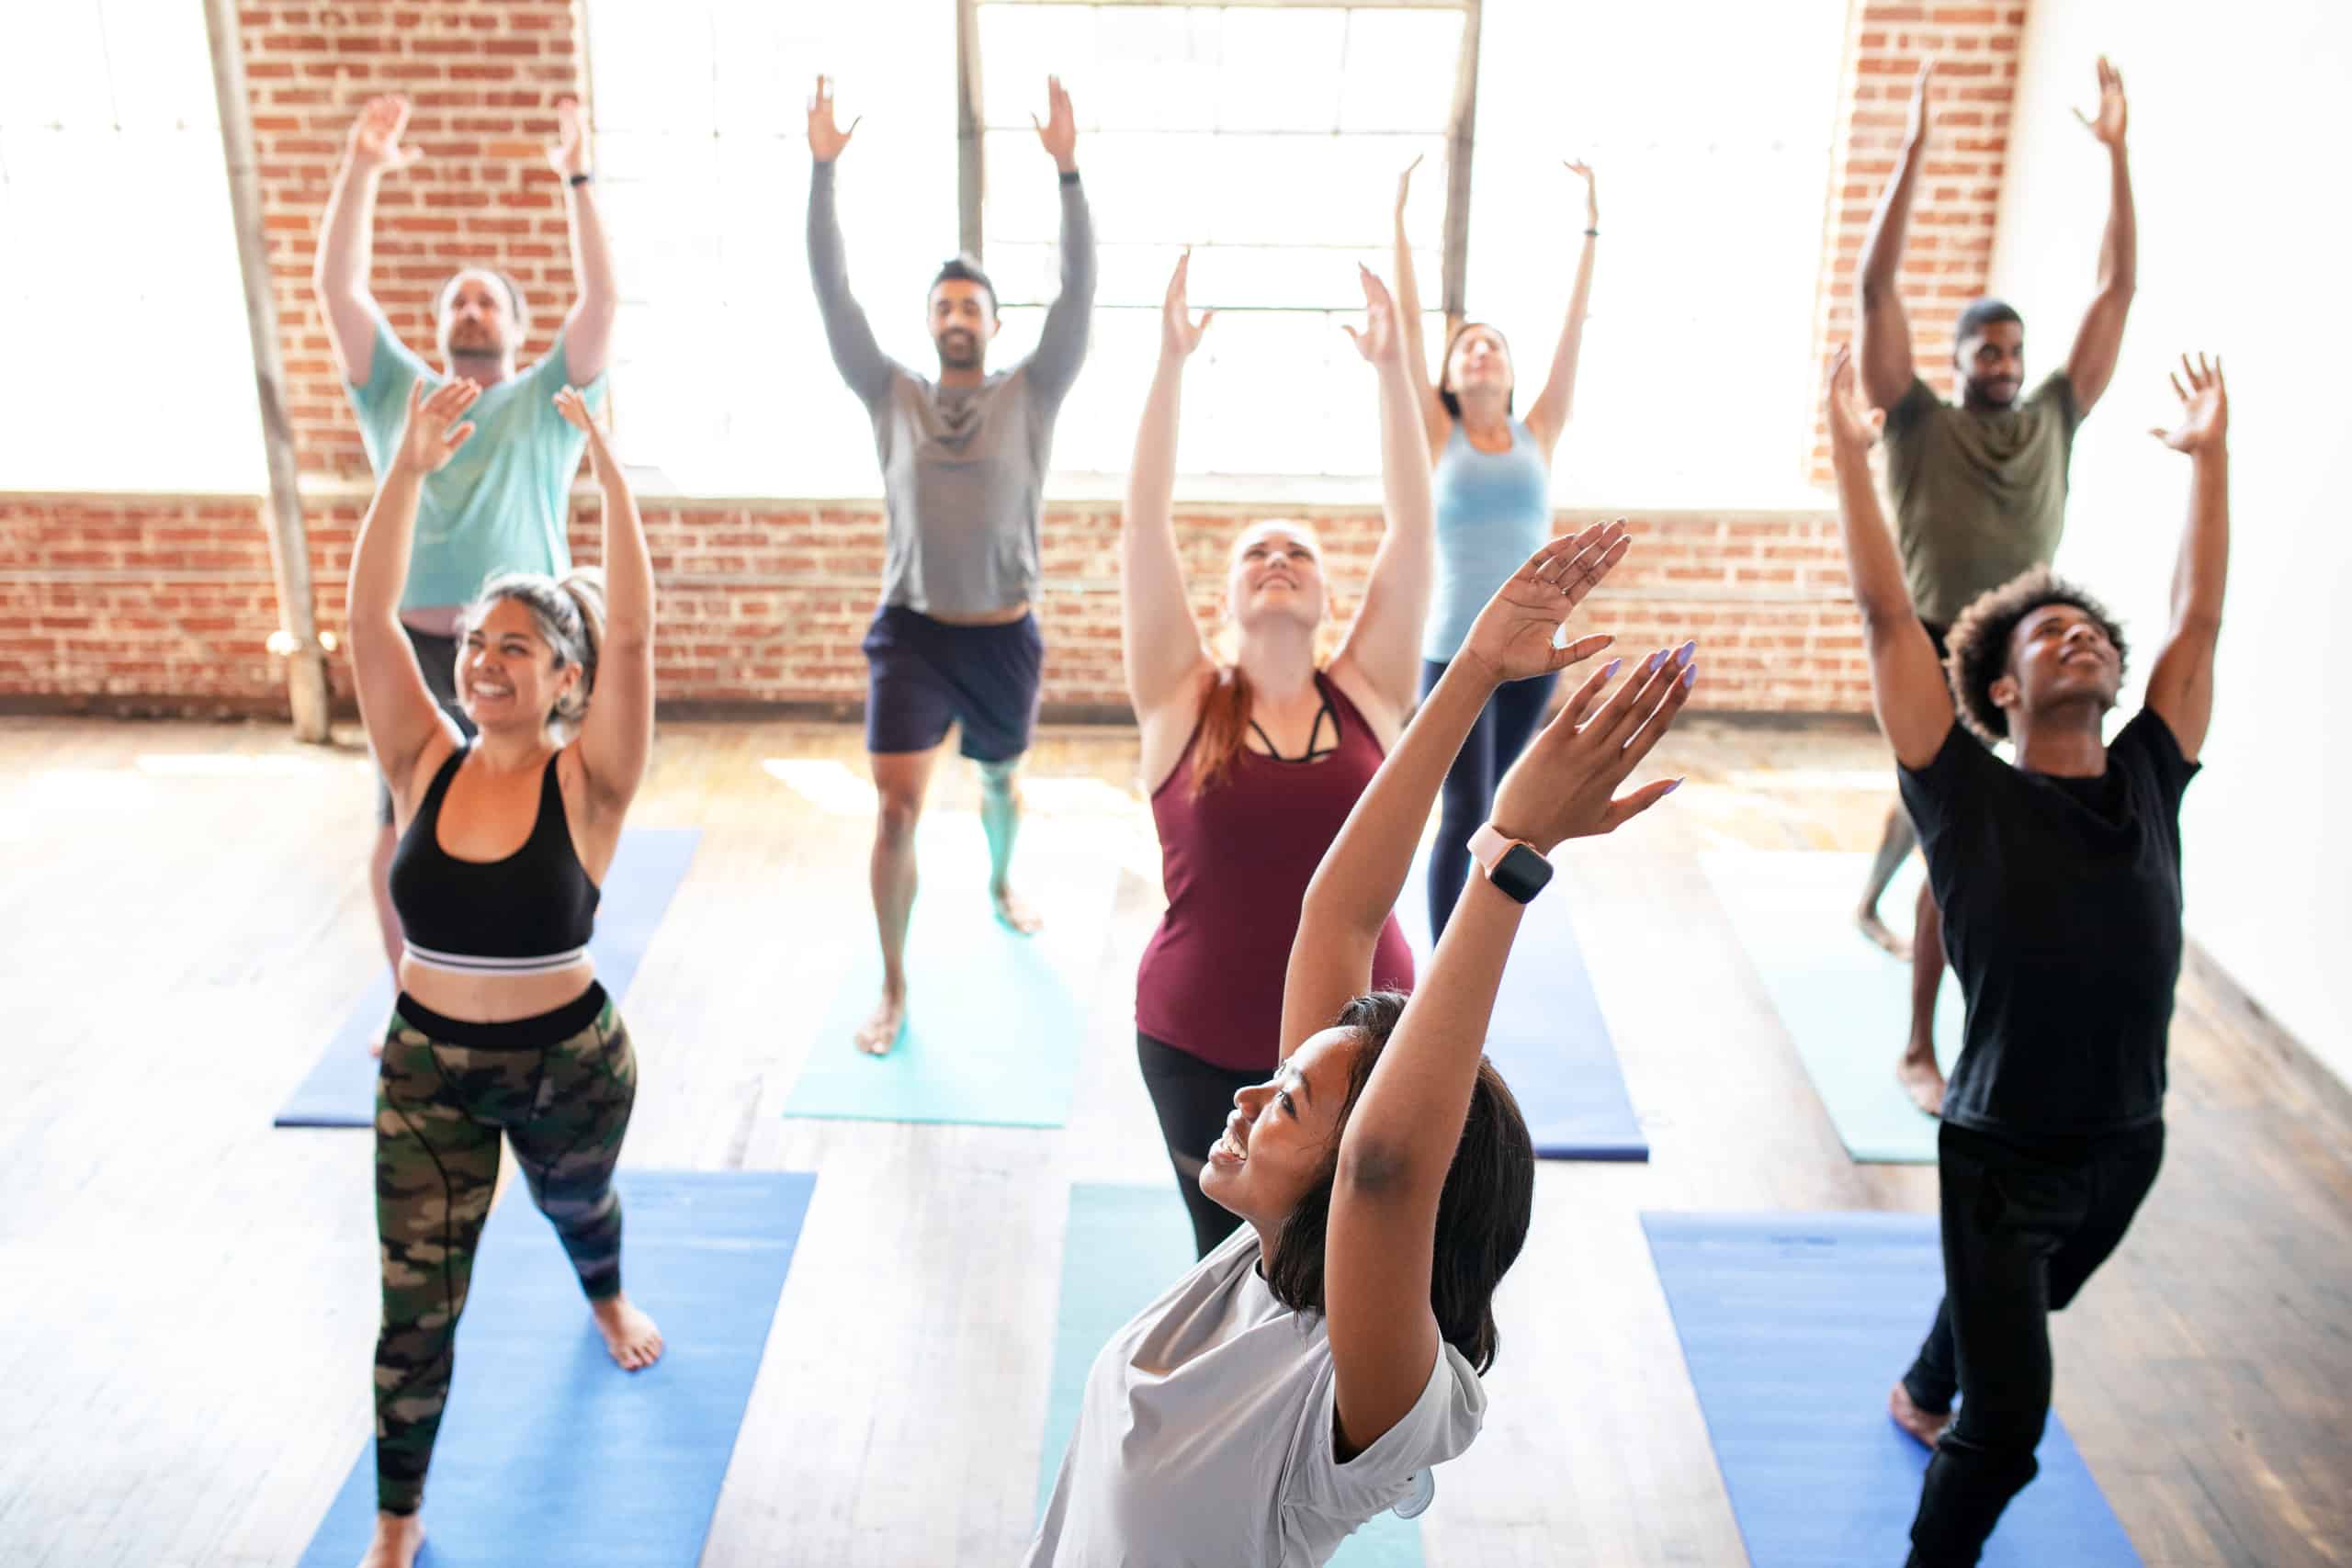
Yoga is an old custom that has been used for years to benefit physical and mental health. It can help with chronic back pain, better posture, and lower stress. To get the full advantages of yoga, though, one must have a deeper knowledge of advanced techniques.
This article looks at various advanced yoga techniques and how they can help with chronic back pain:
Benefits of Advanced Yoga
Advanced yoga brings a variety of benefits. It helps reduce or even eliminate back pain, and relieve other physical and emotional discomforts like headaches and stress. Regular practice increases flexibility, strength, balance and joint stability.
It also helps practitioners move through poses with greater security and precision. By focusing on achievable postures in a safe manner, they can relieve back pain without injuring themselves. Experienced teachers help create an appropriate progression of postures for those dealing with back issues.
Plus, advanced yoga has other benefits:
- Improved concentration;
- Better control of emotions;
- Increased lung capacity;
- Improved circulation;
- Relief from stiffness or strain;
- Better sleep quality;
- Improved eating habits;
- Enhanced body awareness;
- Reduced risk of injury after practice.
Practitioners become more mindful in their daily lives and explore all aspects of human potentials for a holistic life experience.
Types of Advanced Yoga
Advanced yoga offers relief from back pain. Ashtanga, Iyengar, Tripsichore, and Kundalini are all tailored to various levels of experience and intensity.
- Ashtanga Yoga focuses on strenuous poses to engage the body and CNS. It follows eight limbs to build energy strength and peace of mind.
- Iyengar Yoga uses props such as straps, blocks, and blankets to align the body. It is perfect for those with physical limitations or ailments, increasing flexibility and strength.
- Tristichore Yoga combines muscular strength with breath control to expand energy. This aligns spiritual energy with primary lines up the spine, activating the chakras and bringing balance.
- Kundalini Yoga increases inner awareness. Postures, breathing exercises, mantra, and meditation awaken the dormant power within us to reach higher states of consciousness, often quieting emotional turmoil associated with lower back discomfort.
Sun Salutations
Do Sun Salutations for back pain relief! They are a great series of yoga postures. All major muscle groups get activated in the sequence of dynamic poses. Strengthening and stretching the body is achieved. Get your body moving with Sun Salutations; pain will be eased!
How to do it correctly? Here’s what you need to know:
Sun Salutation A
Sun Salutation A is the first of 12 poses in the sequence. It is typically done at dawn to begin the day. Move through postures and flows with deep breaths. This helps to open your chest, stretch your body, get your blood moving and increase your heart rate. It is calming for the mind.
- Mountain Pose (Tadasana): Stand up or sit in a pose like Padmasana. Engage your abs, shoulders, neck, and upper back muscles. Feel the connection to the ground and lengthen from crown to pelvic floor. Hold for 5 breaths before Chair Pose (Uttanasana).
- Chair Pose (Uttanasana): Put your hands on your hips with palms down. On inhalation, bend at the hips and extend backward like you are sitting in a chair. Lift your arms up as you do this. Exhale into a standing plank position, lifting your chest higher than your arms. Hold for 5 breaths before Ardha Uttanasana.
- Ardha Uttanasana: Inhale deeply and bring your hands to shoulder height. Elbows should lightly hug towards midline. Look straight ahead and engage your core without overextending. Hold for 5 breaths before Upward Facing Dog (Urdhva Mukha Svanasan).
- Urdhva Mukha Svanasan: Exhale from Ardha Uttanasana. Draw your spine up towards the ceiling with legs bent. Hands should be directly under your shoulders with arms extended. Open your chest fully. Hold for 5 breaths before lowering your knees to the floor. Plant your hands flat on the floor with wrists outside shoulder width apart. Engage your abs. Move into Cat-Cow Allignment pose by arching your chest over your wrists while exhaling.
Sun Salutation B
Take a few deep breaths in mountain pose (tadasana) at the top of your mat. Inhale, reach your arms up, arch your spine, and lift your heart center. Exhale, fold at the hips, and bring your palms together in prayer pose (anjalyam). Put one foot forward between your hands and into a low lunge (anjaneyasana) while inhaling. Then, shift into plank pose (kumbhakasana). Exhale and move through cobra or upward facing dog (urdhva mukha svanasana). Inhale to get back to plank before lowering all the way down to the floor and push back into downward facing dog (adho muhka svanasana).
Step forward with alternating legs in between each breath four times until both feet meet near wrists again in low lunge pose. Inhale deeply, press firmly into your palms, and lift your torso up into upward salute pose (urdhva hastasana). Open your heart center towards the ceiling before exhaling and bringing your hands back down to the mat. Inhale and lift your arms up and over your head, arching your spine from tailbone to rotator cuff blades, lifting your ribcage open. Hold this pose for three breaths, then inhale and fold forwards, allowing your arms and torso to hang gently like a ragdoll above the mat with genuine relaxation in your body. Be sure not to bend your knees if possible during this posture or any other part of the Sun Salutation B. Press firmly into the mat, sliding your torso up and connecting back up along your spine one vertebrae at a time. Eventually, bring your fingertips together over your head, lifting your gaze above before folding forwards slightly and inhaling your crown briefly towards the ceiling. Unfold from your wrists gracefully, cutting your hands down your sides, and complete your second repetition. Exit the posture by looking back and debriefing.
Standing Postures
Yoga poses like Warrior, Mountain, Half Moon and Triangle, are a great way to increase balance, strength and flexibility. These poses offer movement which helps with back, hip and spine pain.
Let us investigate the benefits of each of these standing postures in aiding back pain relief:
Warrior I
The Warrior I pose, aka Virabhadrasana I, is a basic yoga pose. It is used in standing sequences and helps warm up the body and increase strength.
This posture opens and stretches the chest, hips, legs, shoulders, and arms. It can also help improve balance, help focus energy on one single point, and increase inner power or confidence.
To do this right, start in mountain pose with feet spread 4-5 feet apart. The wider your stance, the more stable you will be. On inhale, bend into one leg. Ensure the knee goes over ankle. On exhale, shorten both front and back leg together. Make sure your thigh presses back and tailbone lengthens toward the ground. On inhalation, lift torso up and engage core muscles. Press shoulder blades together, extending arms parallel to ground. Palms face inward, thumbs reach alongside. Feel hip crease reaching away from midline. Ankles align slightly internally. Tuck chin towards chest to lengthen neck. Remain here for 5 breaths, adjusting misalignment. Then transition out of posture or into next move.
Warrior II
Warrior II, or Virabhadrasana II, is a powerful, standing posture. It strengthens and stretches the legs, thighs, hips and back muscles. The vertical backbone helps reduce strain on the lower back while increasing stability and balance. This pose also aligns your energy and opens up your chest for other advanced poses.
To do this, start by standing with your feet together (or about shoulder-width apart). Inhale deeply and step your left foot back five to six feet. Lift your arms to shoulder height, with palms down or in a prayer position. Bend your front knee, making it a 90-degree angle with the ankle. Keep both legs straight and even pressure on both feet for improved balance and alignment. Roll your right shoulder back slightly and draw your chest forward until your left arm is perpendicular to your back leg and your right arm is parallel to the ground. Hold the pose for as many breaths as you need, keeping deep breaths all throughout.
Triangle Pose
Trikonasana, otherwise known as Triangle Pose, is a great standing yoga position. It helps the body & mind in many ways. It can stretch & open up hips, chest, back and shoulder muscles. It can also help with balance. Doing it often can give relief from chronic backache & headaches.
To do the basic form begin in Mountain Pose at the top of the mat, feet hip-width apart. Look forward & inhale. Bring arms out to the sides until parallel with the floor. Keep shoulders relaxed. Exhale & rotate right foot out 90 degrees. Plant feet firmly. Reach forward into Warrior II alignment. Extend right arm straight ahead & turn through right hip. Reach up with left arm towards the ceiling. Hold for several breaths. On inhale release back to Mountain Pose.
Do several rounds alternating sides or perform one pose. To deepen, do Triangle Revolved Pose or Half Moon Pose.
Triangle Pose is for anyone, any level. It relieves tension from stress or fatigue. Also, it opens up tight spots from sitting at a desk. Add it to your daily practice!
Seated Postures
Seated postures are powerful! They help reduce back pain. Focus on proper alignment and form. These poses bring more flexibility, strength, and balance.
This section covers different seated postures. Plus, the benefits of including them in your practice:
Half Lotus Pose
Half Lotus pose, or Ardha Padmasana, is an advanced yoga posture. It is known for reducing tension and improving body flexibility. It is an asymmetrical pose and needs strength to do it safely. It can give great back pain relief.
Some people can do the full lotus position right away. But, if you build up to it gradually, it will help your strength performance. Plus, it can open tighter hips and soothe the lower back.
To start Half Lotus:
- Sit in a comfortable cross-legged position. Your knee should be pressed against the floor. Keep your spine tall and extended. Put your hands on your thighs. Palms face up or down, depending on what feels best.
- Gently swing your other leg over top of the straightened knee. The sole of the foot should connect with the same side thigh muscle. Avoid strain in one spot.
- Make sure both sitting bones are in equal contact with the floor. If you fold forward more deeply on one side, even out the energy until balance is achieved.
- Hold for five breaths. Then, slowly unwind into an easy seated posture. Keep gentle pressure across all parts.
Full Lotus Pose
Full lotus pose, or Padmasana, is a challenging yoga posture. But it has many benefits! Physically, it stretches and strengthens the knees and ankles, and gives relief to the lower back. Emotionally and spiritually, it brings mindfulness of breath and body into your practice.
To do this pose, sit on a yoga mat with a straight back and uncrossed legs. Bend your left knee; the sole should be against the thigh. Cross your right leg over the left knee; the sole should be against the calf/thigh. Make sure to flex both feet and point the toes towards you.
Now, put your palms together, touching the thumb-tips. Place your hands in an open cup shape on each knee. This is called a mudra. Focus on expanding your breath. Inhale first with chest expansion, then with the abdominals. Feel along the lengthwise of the spine. Stay in this posture for as long as you can. It will bring physical, emotional and spiritual well-being.
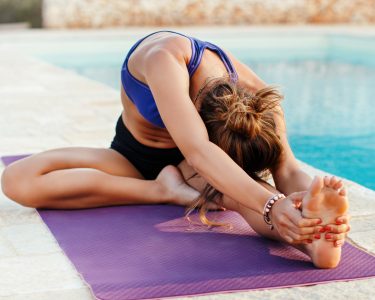
Seated Forward Bend
Seated forward bend, or Paschimottanasana (pah-chi-moh-tan-AHS-anna), is a yoga pose. It increases flexibility, strengthens the lower back and hamstrings, and improves posture. It helps relax tight muscles and restore balance in the body. It can also provide back pain relief.
To do this pose, sit on the ground with your legs outstretched. If that strains your back, cross one leg over the other. Inhale, then exhale as you tilt forward from your hips. Keep a flat spine and use gravity. Move slowly and hold each position for 4 breaths.
If you can’t touch your toes without straining, use blocks or books beside each hip for support. Massage your groin and thighs if needed. Then, return to an upright seated position. Enjoy the beneficial effects of this pose!
Inversions
Inversions are an advanced kind of yoga pose. They involve turning your body upside down, or differently inverting it. These poses can offer amazing relief for back pain and tension. They also open up your chest and counter the effects of gravity on your body.
Let’s look into the inversion poses and how they can help with back pain relief:
Headstand
Headstands, or Sirsasana, are one of the most iconic yoga poses. It takes strength and flexibility to stay balanced while flipping your body upside down. This pose has multiple benefits. It increases blood circulation, relaxes the brain, improves concentration, and boosts self-confidence.
When learning headstands, it’s best to have a spotter. Start at the top of your mat, with feet hip-distance apart. Interlace your fingers by your chest and roll onto the crown of your head for support. Make sure the top of your head is touching the mat, not the whole back of your head. Point your elbows at shoulder height, one on each side. Activate all four limbs by engaging all muscles in your arms and legs.
- Inhale and bring your legs up until they form a 90 degree angle with the floor. Hold here with no part of either leg touching the floor.
- Exhale and bring your legs up until they’re almost horizontal, ankles above hips. Stay here for a few breaths.
- Then bring your legs back down. Repeat, focusing on technique and safety.
Shoulder Stand
The shoulder stand pose, aka Sarvangasana, is an important inversion pose in yoga. It helps improve circulation in the legs and abdomen. Plus, it reduces fatigue and stress while strengthening and elongating the spine and calming the brain. Before engaging, warm up with gentle stretches.
To get into shoulder stand:
- Lie flat on your back with arms outstretched and palms facing down.
- Lift both legs off the ground, pointing towards the sky. Both legs should be at 90 degrees from the torso.
- Press down onto shoulders for support.
- Raise both legs until perpendicular to one another, placing weight onto shoulders and neck. Keep correct pelvic alignment.
- Hold for 5-10 breaths, counting each breath. Do so comfortably, allowing deeper relaxation each time.
Plow Pose
The Plow Pose, or halasana, is an advanced inversion. It targets your spine and stretches it in a therapeutic way. It’s great for folks who have chronic back pain and sciatica.
To start, lie flat on your back on a yoga mat. Then, lower your legs over your head. Place your toes onto the floor behind you. Make sure your soles face the sky.
You can either rest your arms out to the sides or place them up along your torso. Make sure there is no pressure on your neck. If needed, use extra padding or blocks under your buttocks. Raise your hips until you feel comfortable resistance in your mid-back region.
Hold for five breaths. As you do, focus on grounding yourself and respecting your own limits.
Relaxation
Yoga provides brilliant back pain relief. It works by calming you down and increasing flexibility. It opens up your chest, which is vital for dealing with pain.
To truly maximize relief, you can use advanced yoga poses. These can reduce tension in tight muscles and joints. This article will show you how to access and use them.
Corpse Pose
Corpse Pose, also known as Savasana, is a yoga pose designed to relax and energize the body and mind. It is usually done after other poses, so the body can relax and the heart rate and breathing slows down. This pose can reduce back pain as it allows the lower back muscles to rest and reduces tension.
To practice Corpse Pose:
- Lie down on your back with your arms at your sides, palms facing up.
- Spread your legs comfortably and let your feet slowly roll outward.
- Close your eyes, relax all muscles, and concentrate on your natural breathing.
- Let go of your thoughts and worries, and cease movement in any part of the body.
- Remain in this posture for around 15 minutes or until you feel relaxed in each part of your body.
- Gradually open your eyes when ready, and appreciate how Corpse Pose has eased tension in both your mind and body.
Pranayama
Pranayama is the breath practice of yoga. It is a powerful way to relax the spine. It focuses on conscious breathing, slowing the mind and relaxing the body. Long, slow breaths while focusing on your spine can reduce muscle tension and create a sense of calm. This is especially helpful if you suffer from back pain.
Dirgha Pranayama (Three-Part Breath) is one pranayama technique. It involves deep inhalation and exhalation. This can help increase breath capacity, reduce tension, remove toxins from the lungs, remove stress and promote mental clarity.
Do the following:
- Place one hand on the chest and the other on the abdomen
- Inhale deeply into both areas
- Hold for a few seconds
- Slowly release air from both regions
- Exhale from the abdomen first followed by exhaling from the chest
- Repeat as desired
Alternate nostril breathing and Kapalabhati Pranayama (Skull Shining Breath) are also options. Beginners should aim for 9-24 rounds of each inhale/exhale cycle. It is best to practice at least five minutes of yoga breathing daily for the best benefits.
Conclusion
Advanced yoga offers relief from back pain. Doing poses and stretches regularly can help build strength and flexibility. Balance and stress are reduced too. With focus and dedication, improved digestion, sleep, and health will follow. The relief attained depends on the commitment to the practice. It won’t cure all back pain, but it’s worth trying.
Before starting, check with a doctor or experienced instructor about any safety concerns and limitations.
Frequently Asked Questions
1. What is advanced yoga and how can it help with back pain relief?
Advanced yoga includes more complex postures and breathing exercises that can help enhance one’s physical and mental abilities. These postures can also be beneficial for those who suffer from back pain by improving flexibility, core strength, and posture alignment.
2. How often should I practice advanced yoga to relieve back pain?
The frequency of practicing advanced yoga for back pain relief depends on the individual’s level of pain and flexibility. Generally, practicing yoga two to three times a week can help alleviate back pain over time.
3. Are there any precautions I should take before practicing advanced yoga for back pain relief?
Before beginning a new yoga practice, it is always recommended to consult with a healthcare professional, especially if there is pre-existing back pain. Additionally, individuals should listen to their bodies and gradually ease into advanced postures, avoiding any sudden or forceful movements.
4. Can advanced yoga be harmful to those with severe back pain?
While yoga can be a helpful tool in relieving back pain, it is important to seek professional help if the pain is severe. In some cases, certain postures may exacerbate the pain and cause further injury.
5. Can advanced yoga be practiced at home, or should it be done in a studio?
While advanced yoga can be practiced in a studio with the guidance of a certified instructor, it can also be practiced at home with the use of online classes or DVDs. However, beginners may benefit from the personalized instruction and support that a studio setting can provide.
6. How long does it take to see improvement in back pain through advanced yoga?
The amount of time it takes to see improvement in back pain through advanced yoga can vary depending on the individual’s level of pain and dedication to the practice. Some individuals may start to feel relief after just a few sessions, while others may take several weeks or months to see any significant improvement.