Introduction
Yoga is great for gaining flexibility and perfecting your posture. It can also help with back pain. Try intermediate level poses to take your routine to the next level! This article will guide you on how to do these poses properly and safely. Plus, we’ll cover the importance of stretching and tips to make the most of your practice.
Benefits of Yoga
Yoga is amazing for health and wellbeing. It can give you strength, flexibility, and reduce stress. It can help with posture and back pain. But it can be hard to get into it.
Level Up Your Yoga: Intermediate Poses for a Pain-Free Back is a great way to start. It has detailed descriptions of the best poses to help you. It comes with visuals and instruction. It covers all types of poses, from gentle and restorative, to challenging ones. So you can create a balanced fitness program that is perfect for you.
Basics of Back Pain
Back pain is a common problem for yoga lovers. But, it’s easily preventable. To figure out which poses are safe, you must know the basics of back pain. When doing a pose, check that your spine is aligned. Keep your muscles active to help support your spine.
In this article, we talk about the basics of back pain and which yoga poses are best to keep your back healthy and free of pain:
Causes of Back Pain
Structural problems, medical conditions, poor posture, carrying heavy items, and physical activity can all lead to back pain. Herniated discs, sciatica, scoliosis, or spinal stenosis can cause serious pain. Osteoarthritis and fibromyalgia may also be factors. Poor posture leads to stiffness and aching in the lower back. Carrying heavy objects puts pressure on the spine. Too much exercise, or exercising with improper technique, can hurt the back.
If you have chronic muscle tension or frequent back pain, speak with a doctor first. Stretching and using a foam roller for tight areas can help reduce and prevent further pain. Yoga poses for beginners to advanced practitioners could be beneficial.
Anatomy of the Back
Your back has three main parts: the vertebrae, disks, and muscles. The vertebrae keep your torso stable and protect the spinal cord. Disks provide cushioning between the vertebrae. Muscles help you move and bend. If any of these are off-balance or injured, it can lead to back pain.
The vertebrae are divided into five sections. The cervical spine (neck), thoracic spine (upper back), lumbar spine (lower back), sacrum (base of your spine) and coccyx (tailbone). The lumbar section has 5 vertebrae. The disks in between each vertebra contain a gel-like nucleus and fibrous ring. It’s this cushioning that lets you move without pain.
Muscles are a huge part of the back, but people often don’t pay enough attention to them. Your core muscles – multifidus, pelvic floor, and transverus abdominus – are important. They help prevent injury and allow you to move better. Yoga poses focus on using these muscles to reduce injury and keep your pain levels down.
Intermediate Poses
Take your yoga to the next level! Here, we’ll look at intermediate poses. These can give you lots of benefits – like better flexibility, strength, posture and even help with back pain. Let’s investigate these poses and find out how they can help you grow your yoga practice.
Cat-Cow
Cat-Cow Stretch is ideal for transitioning from tough poses. It’s a blend of two stretching moves that help expand the mid-back and abdominal regions. Start on all fours with palms flat and shoulders over wrists.
- For Cat, press belly towards spine and round back.
- For Cow, press through palms to lift chest up and arch back while looking up.
This pose targets both sides and stretches an area. Be careful to not press too hard and cause pain or discomfort.
This stretch is great for beginners who want to align hips and knees. With practice, flexibility in hard-to-reach areas is improved for easier motion in everyday life and more advanced poses!
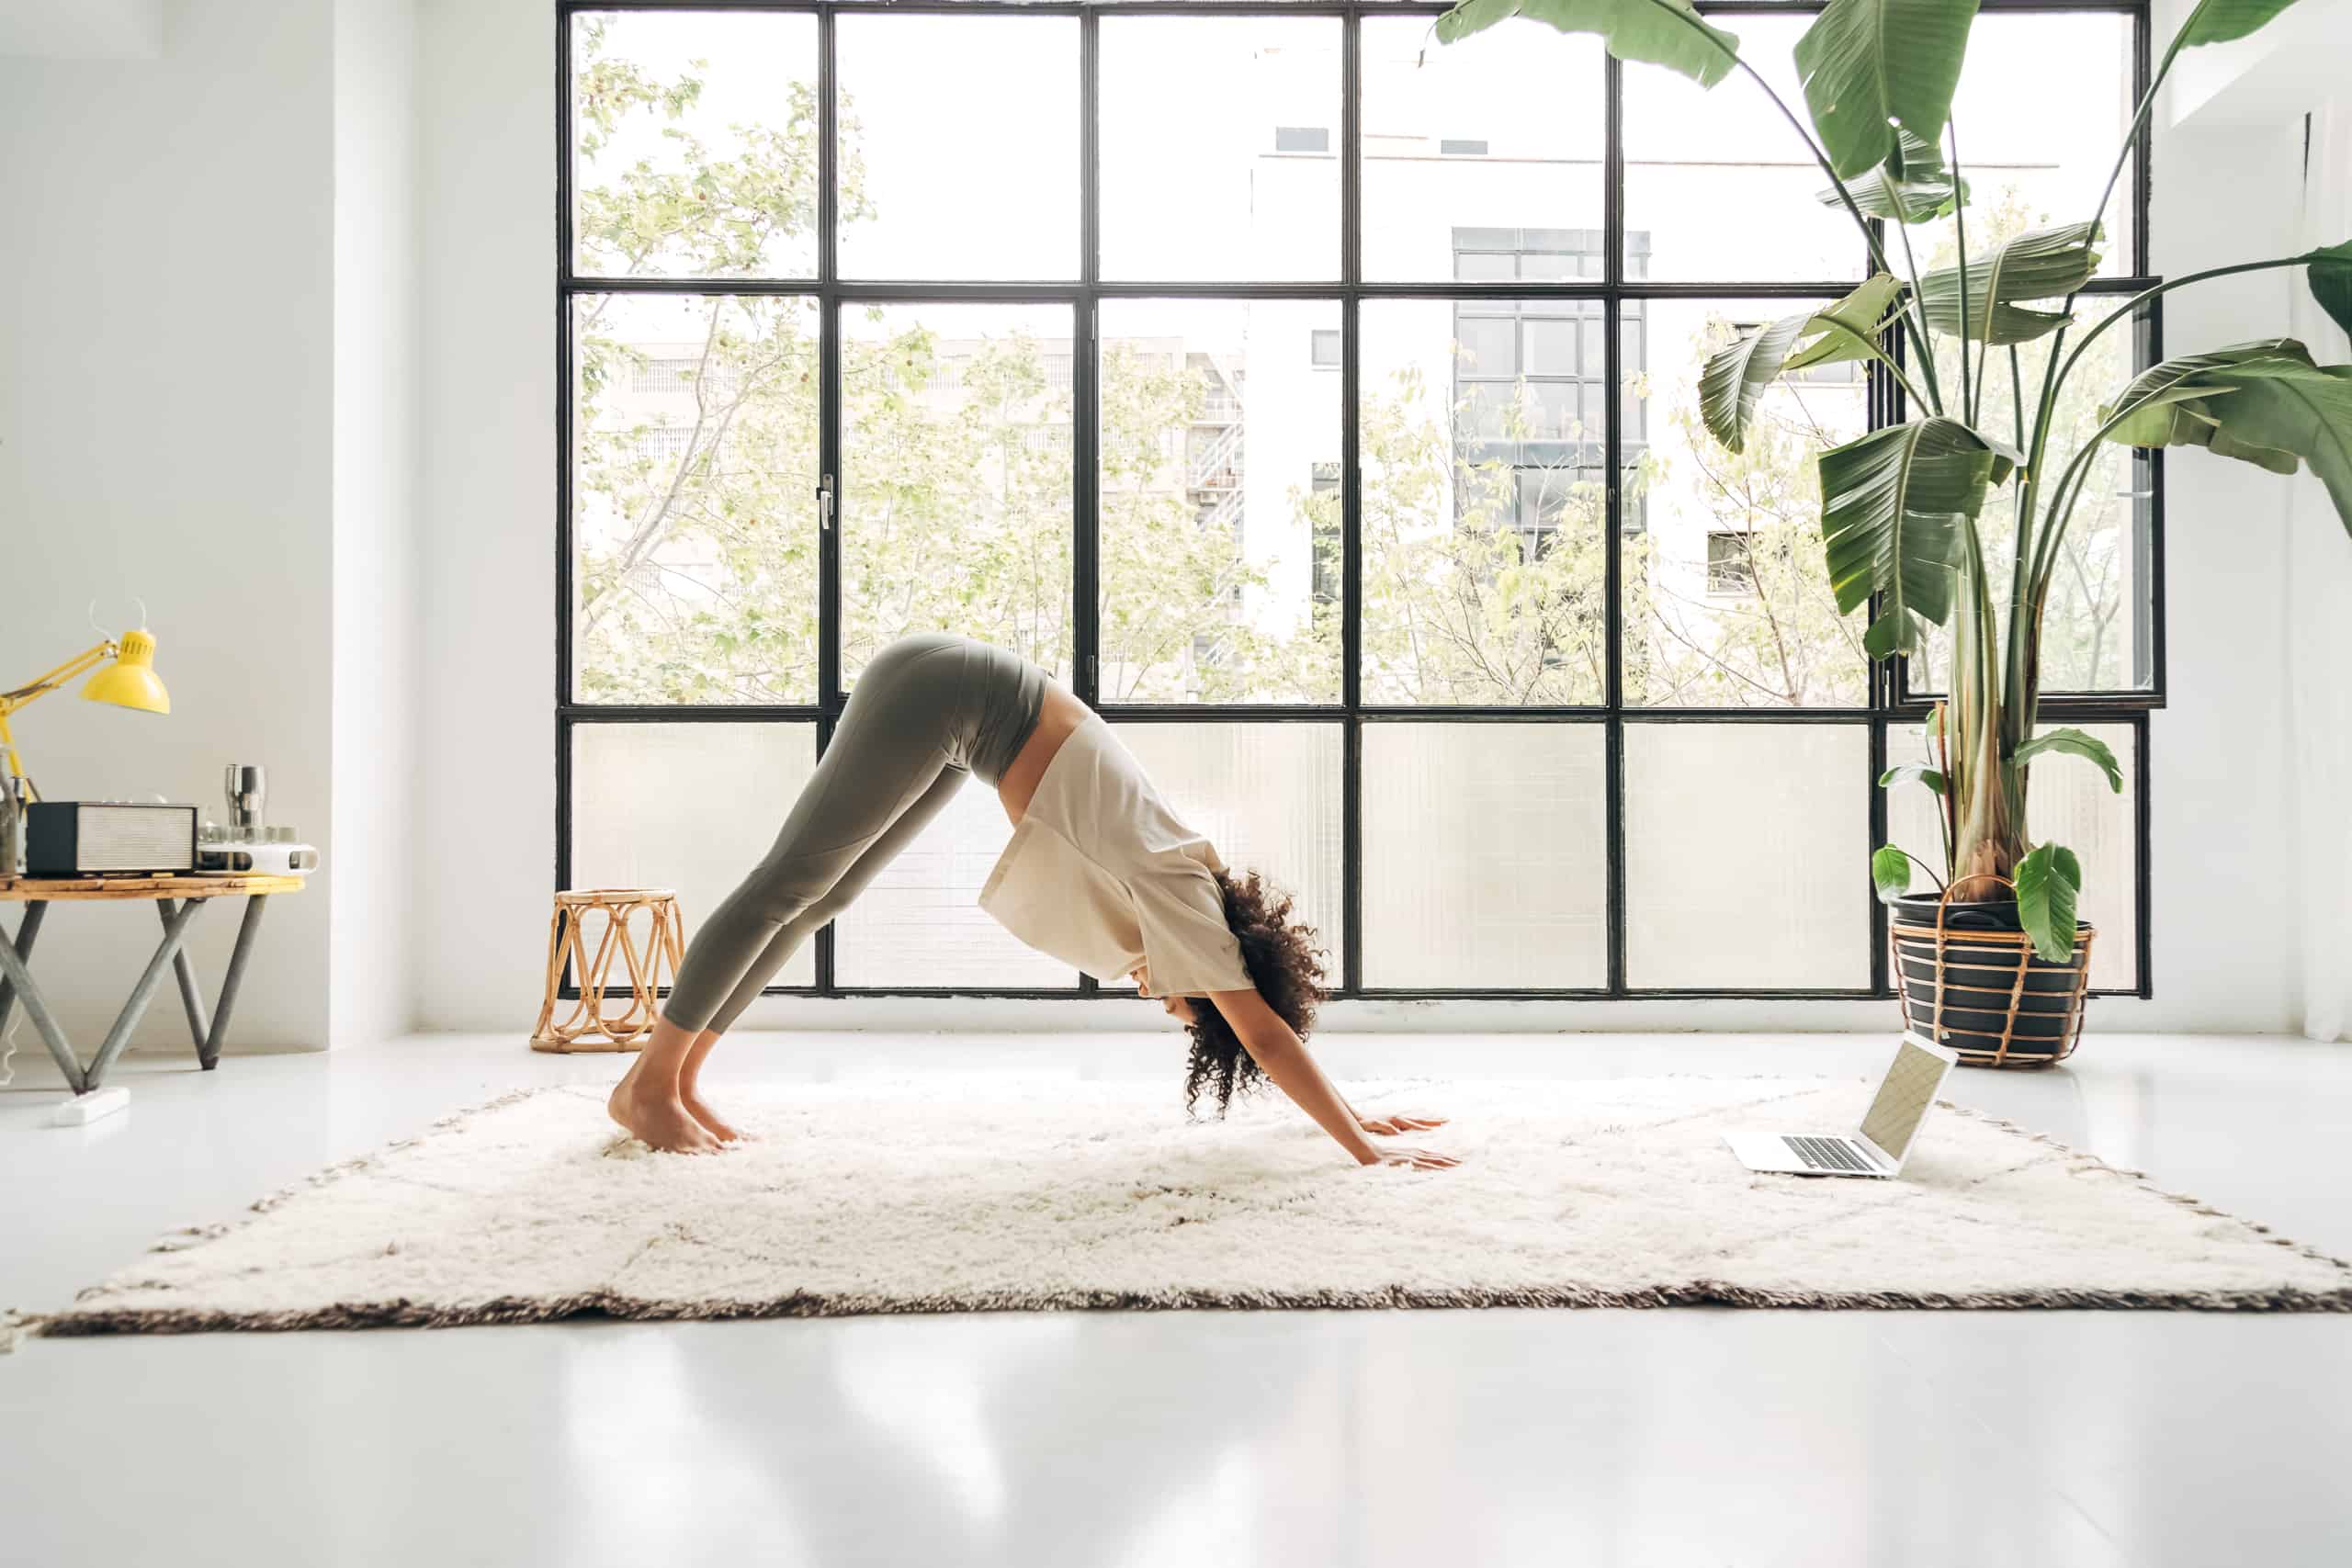
Downward Dog
Downward Dog is a pose for yogis of all levels. Line up your hands with your shoulders, shoulder-width apart. Curl your toes and lift your hips towards the sky. Both legs should straighten from the hips evenly. Avoid locking either knee or bouncing. Press back through the heels or midfoot and engage the quads. Keep length in the back body, avoiding compressions. Inhale to lengthen the spine and exhale to draw the navel towards the spine.
Cobra Pose
Cobra Pose, or Bhujangasana in Sanskrit, is an easy backbend. It’s good for beginners and those who are at an intermediate level of yoga. It makes the spine and chest more flexible and also strengthens the core and arms. Plus it helps with regular breathing and can be used to reduce stiffness in the upper back and neck.
Lie face down on your mat, feet hip-width apart. Place your hands a bit wider than shoulder-width apart on either side of your chest, palms flat on the floor. Inhale and as you exhale, press into your palms to lift your head, neck, chest, shoulders and top of ribcage off the ground. Your torso should be off the ground, but don’t overstrain. Keep it effortless and keep both shoulders relaxed away from ears.
Gently arch into full cobra expression. Keep your legs grounded into the floor, not lifting them up. This will help build strength in the lower abdomen and lower back. Remember to squeeze your navel towards your spine on every exhale, to improve posture. Keep your belly drawn up and inward. Stay here for 4-5 deep breaths.
When done, slowly lower down one vertebra at a time until your forehead meets the mat. Gently come out of the pose by lifting your legs off the ground first, followed by gradually bringing your torso onto the mat, without allowing your body to crash down. Gentle practice is key!
Bridge Pose
Bridge Pose (Setu Bandhasana) is a great way to lengthen your back, glutes, and hamstrings. It’s an intermediate yoga pose that can reverse the effects of sitting for long periods. It also strengthens the abs and encourages awareness of your breath – which is key for more advanced poses.
To do bridge pose:
- Lie on your back with your knees bent and feet hip-width apart. Place your arms down, palms facing down, and use them for support.
- As you breathe in, lift up your hips until your shoulders and hips are in line. Hold the pose for five breaths or less (if it’s uncomfortable). Then, exhale and release. Repeat if desired before continuing with other poses.
Strength is important when doing any type of physical activity. Bridge pose is an ideal intermediate move to help you get stronger and more flexible. It also strengthens joints, increases blood flow, and tones abdominal muscles. If you suffer from chronic lower back pain or tight hamstrings, bridge pose can help relieve stiffness and create elasticity.
Seated Twist
Seated twist poses are a great way to ease lower back tension. Rather than traditional crossed-legs pose, it can be hazardous for the knee joint. Use your hands to brace your lower body. Twist your upper body in one direction and pull the opposite knee towards your chest. Rather than holding the pose, use controlled deep breathing to move your body in each direction.
To increase intensity and flexibility, try lowering one hand to the ground while keeping the other arm firmly placed. These twisting motions massage the spine, making you more agile and relieving pain in a jiffy!
Advanced Poses
Do you want to improve your yoga routine? Advanced poses can help you become more flexible, have a stronger core, and loosen those hard-to-reach spots. It’s important to be aware of your body’s limits – but pushing yourself and learning balance and stability can help reduce back pain in the long run.
Let’s discover some advanced poses to level up your practice:
Warrior I
Warrior I is a standing yoga pose with intense stretches for the legs and torso. It also helps open the chest, promotes healthy breathing, and builds focus and patience. Plus, it’s great for balance!
To prepare, stand with your feet about four to five feet apart, so there’s enough room for a fist’s width between your big toes. Take a few breaths, lifting your arms overhead. Inhale and exhale deeply, lifting through your knee caps as if you’re about to jump. Keep your thighs parallel and tuck the tailbone down. Activate your abdominal muscles and keep your hands shoulder-width apart. Engage your triceps to intensify the V-shape with your hips high. Stay focused on your posture and alignment.
- Make sure your feet are firmly grounded and your weight is evenly distributed across the four corners of the base triangle.
Warrior II
Warrior II (Virabhadrasana II) is an intermediate level yoga pose. It’s great for balance, hip flexibility, and core strength. It also strengthens legs, opens the chest and heart, stretches hips & groin muscles, invigorates the abdomen, builds determination, and reduces stress.
To move into Warrior II, start in Mountain Pose (Tadasana). Take a half step back with left foot. Feet should be 4-5 feet apart. Make sure front knee stays bent at 90-degree angle above the ankle. Point left foot at 45-degree angle so heels align. Raise arms in parallel to the floor, palms facing down. Left hand looks forward and right hand looks back. Gaze forward over fingertips.
To come out of this pose, exhale and lower arms. Spin right foot inwards until both legs verge on one another in Mountain Pose. Repeat on the other side.
Triangle Pose
Triangle Pose (Trikonasana) is an advanced standing posture. It stretches and strengthens the core, spine, and legs. Also, it improves balance. It’s a great posture for pain-free backs, as it opens the chest and stretches tight muscles.
To do Triangle Pose, start in Mountain Pose. Step one foot back, making sure it’s aligned with your hips. Plant both feet firmly on the floor. Sweep arms out until fingertips meet above head. Inhale. Extend arms over head. Lengthen through fingertips. Exhale. Fold from the hips towards the floor. Keep a straight line from hands to toes. Reach forward with one hand to a block. Or, if comfortable, reach all the way down to your foot. Line up body so it forms three sides of a triangle. Either hand or knee should be resting atop the other. Keep a slight bend in both knees. Draw navel towards spine to stabilize body. Hold for five breaths. Release and repeat on opposite side.
Half Moon Pose
Half Moon Pose (Ardha Chandrasana) is a great intermediate-level yoga posture. It boosts energy, improves flexibility and strengthens the core and legs. Plus, it opens up the chest, shoulders, and back, improving circulation. Make sure to practice safely!
- Start in a standing position, feet hip width apart. Shift weight to the right foot and lift the left leg off the floor, keeping both feet on the mat. Reach hands overhead, with palms facing each other.
- Inhale and bring torso forward, keeping both hips pointing down to the floor. Lift arms up and slightly lean into them for support if needed. Tuck tailbone forward, creating length through the back line. Be careful not to overexert yourself and maintain balance.
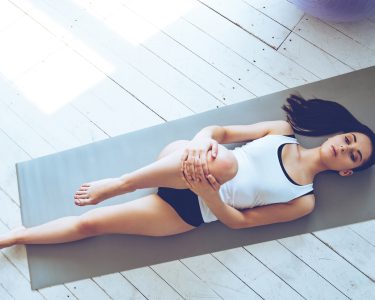
- To come out of the pose: Inhale, bringing arms above head and pressing down through feet. Exhale and come back to the starting position. Balance weight between legs and transition to more poses or take time for Savasana – Reclined Corpse Pose!
Extended Side Angle
Extended Side Angle, or Utthita Parsvakonasana, is a powerful advanced yoga pose. It can give you a strong back and improved flexibility. This pose helps massage inner organs and stretch legs, hips, back, and chest muscles. It can even lift your spirits.
To begin, stand in a mountain pose with feet together. Step your left foot back two feet from the right, and angle it open at 45 degrees away from the right foot. Lift your arms into a ‘T’ shape with palms facing down.
Take an inhale and bend your right knee. Draw your ribcage closer to the thigh. Reach up with the left arm (keeping it straight) to shoulder height. Allow your right hand to descend to either side of the right foot or take hold of either side of the leg. If taking hold of the back leg is not possible, come closer with every practice.
Take 5 deep breaths. Ground into both feet with even weight distribution. When ready, press yourself up to standing. Repeat the pose on the other side.
Conclusion
Intermediate yoga practitioners should try backbends and advanced poses. This can boost strength, flexibility and even willpower! Also, correct postures help reduce back pain and promote good health. So, why add them to your routine?
Recap: these poses are great for strength, flexibility, willpower and health.
Tips for a Pain-Free Back
For a healthy back, practice complete body awareness and engage your muscles correctly. Here are 5 tips to remember for any intermediate poses:
- Strengthen your core. Planks and bridges can help.
- Evenly distribute weight.
- Keep breathing. Otherwise, your spine will be strained.
- Don’t overextend. Choose the range of motion that’s comfortable.
- Align hips, shoulders and neck properly. Focus on alignment before going deeper.
Frequently Asked Questions
1. What are some intermediate yoga poses that can help alleviate back pain?
Some intermediate yoga poses that can help alleviate back pain include Sphinx pose, Locust pose, Bridge pose, Camel pose, and Reclining Hero pose.
2. Can beginners try intermediate yoga poses for their back pain?
It is recommended that beginners start with basic yoga poses and gradually work their way up to intermediate poses. It is important to listen to your body and not push yourself too far, as this can lead to further injury.
3. How often should I practice intermediate yoga poses for my back pain?
Aim to practice yoga at least three times a week. Consistency is key when it comes to seeing results from your practice.
4. What are some other ways to prevent back pain while practicing yoga?
Other ways to prevent back pain while practicing yoga include using props, such as blocks or straps, to help support your body and maintain proper alignment. It is also important to focus on engaging your core muscles and keeping a neutral spine during poses.
5. When is it best to seek medical advice for back pain?
If you experience severe or chronic back pain, it is best to seek medical advice from a healthcare professional. This can help identify the underlying cause of your pain and provide appropriate treatment options.
6. Can yoga alone cure back pain?
While practicing yoga can help alleviate back pain, it is important to remember that it is not a standalone cure. Incorporating other healthy habits, such as maintaining proper posture and regular exercise, can also help prevent and manage back pain.