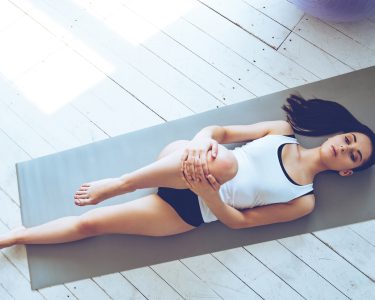
Introduction
Want an easy, affordable way to maintain your back health and comfort? Try yoga! It’s an ancient form of exercise that focuses on strength, flexibility, and breathing. It can improve overall health, plus reduce back pain.
Practicing yoga postures can help reduce tension, improve posture and alignment, and balance your body. Yoga postures stretch and strengthen muscles that support the spine. With regular practice, you’ll improve balance, coordination, focus, and joint health. Plus, it can help with weight management by boosting metabolism, aiding digestion, and increasing energy, while calming your mind.
This guide has some helpful yoga poses to relieve back pain, either at home or in a class. Do the poses with controlled movements and deep breathing, and modify them for comfort. Let’s get started!
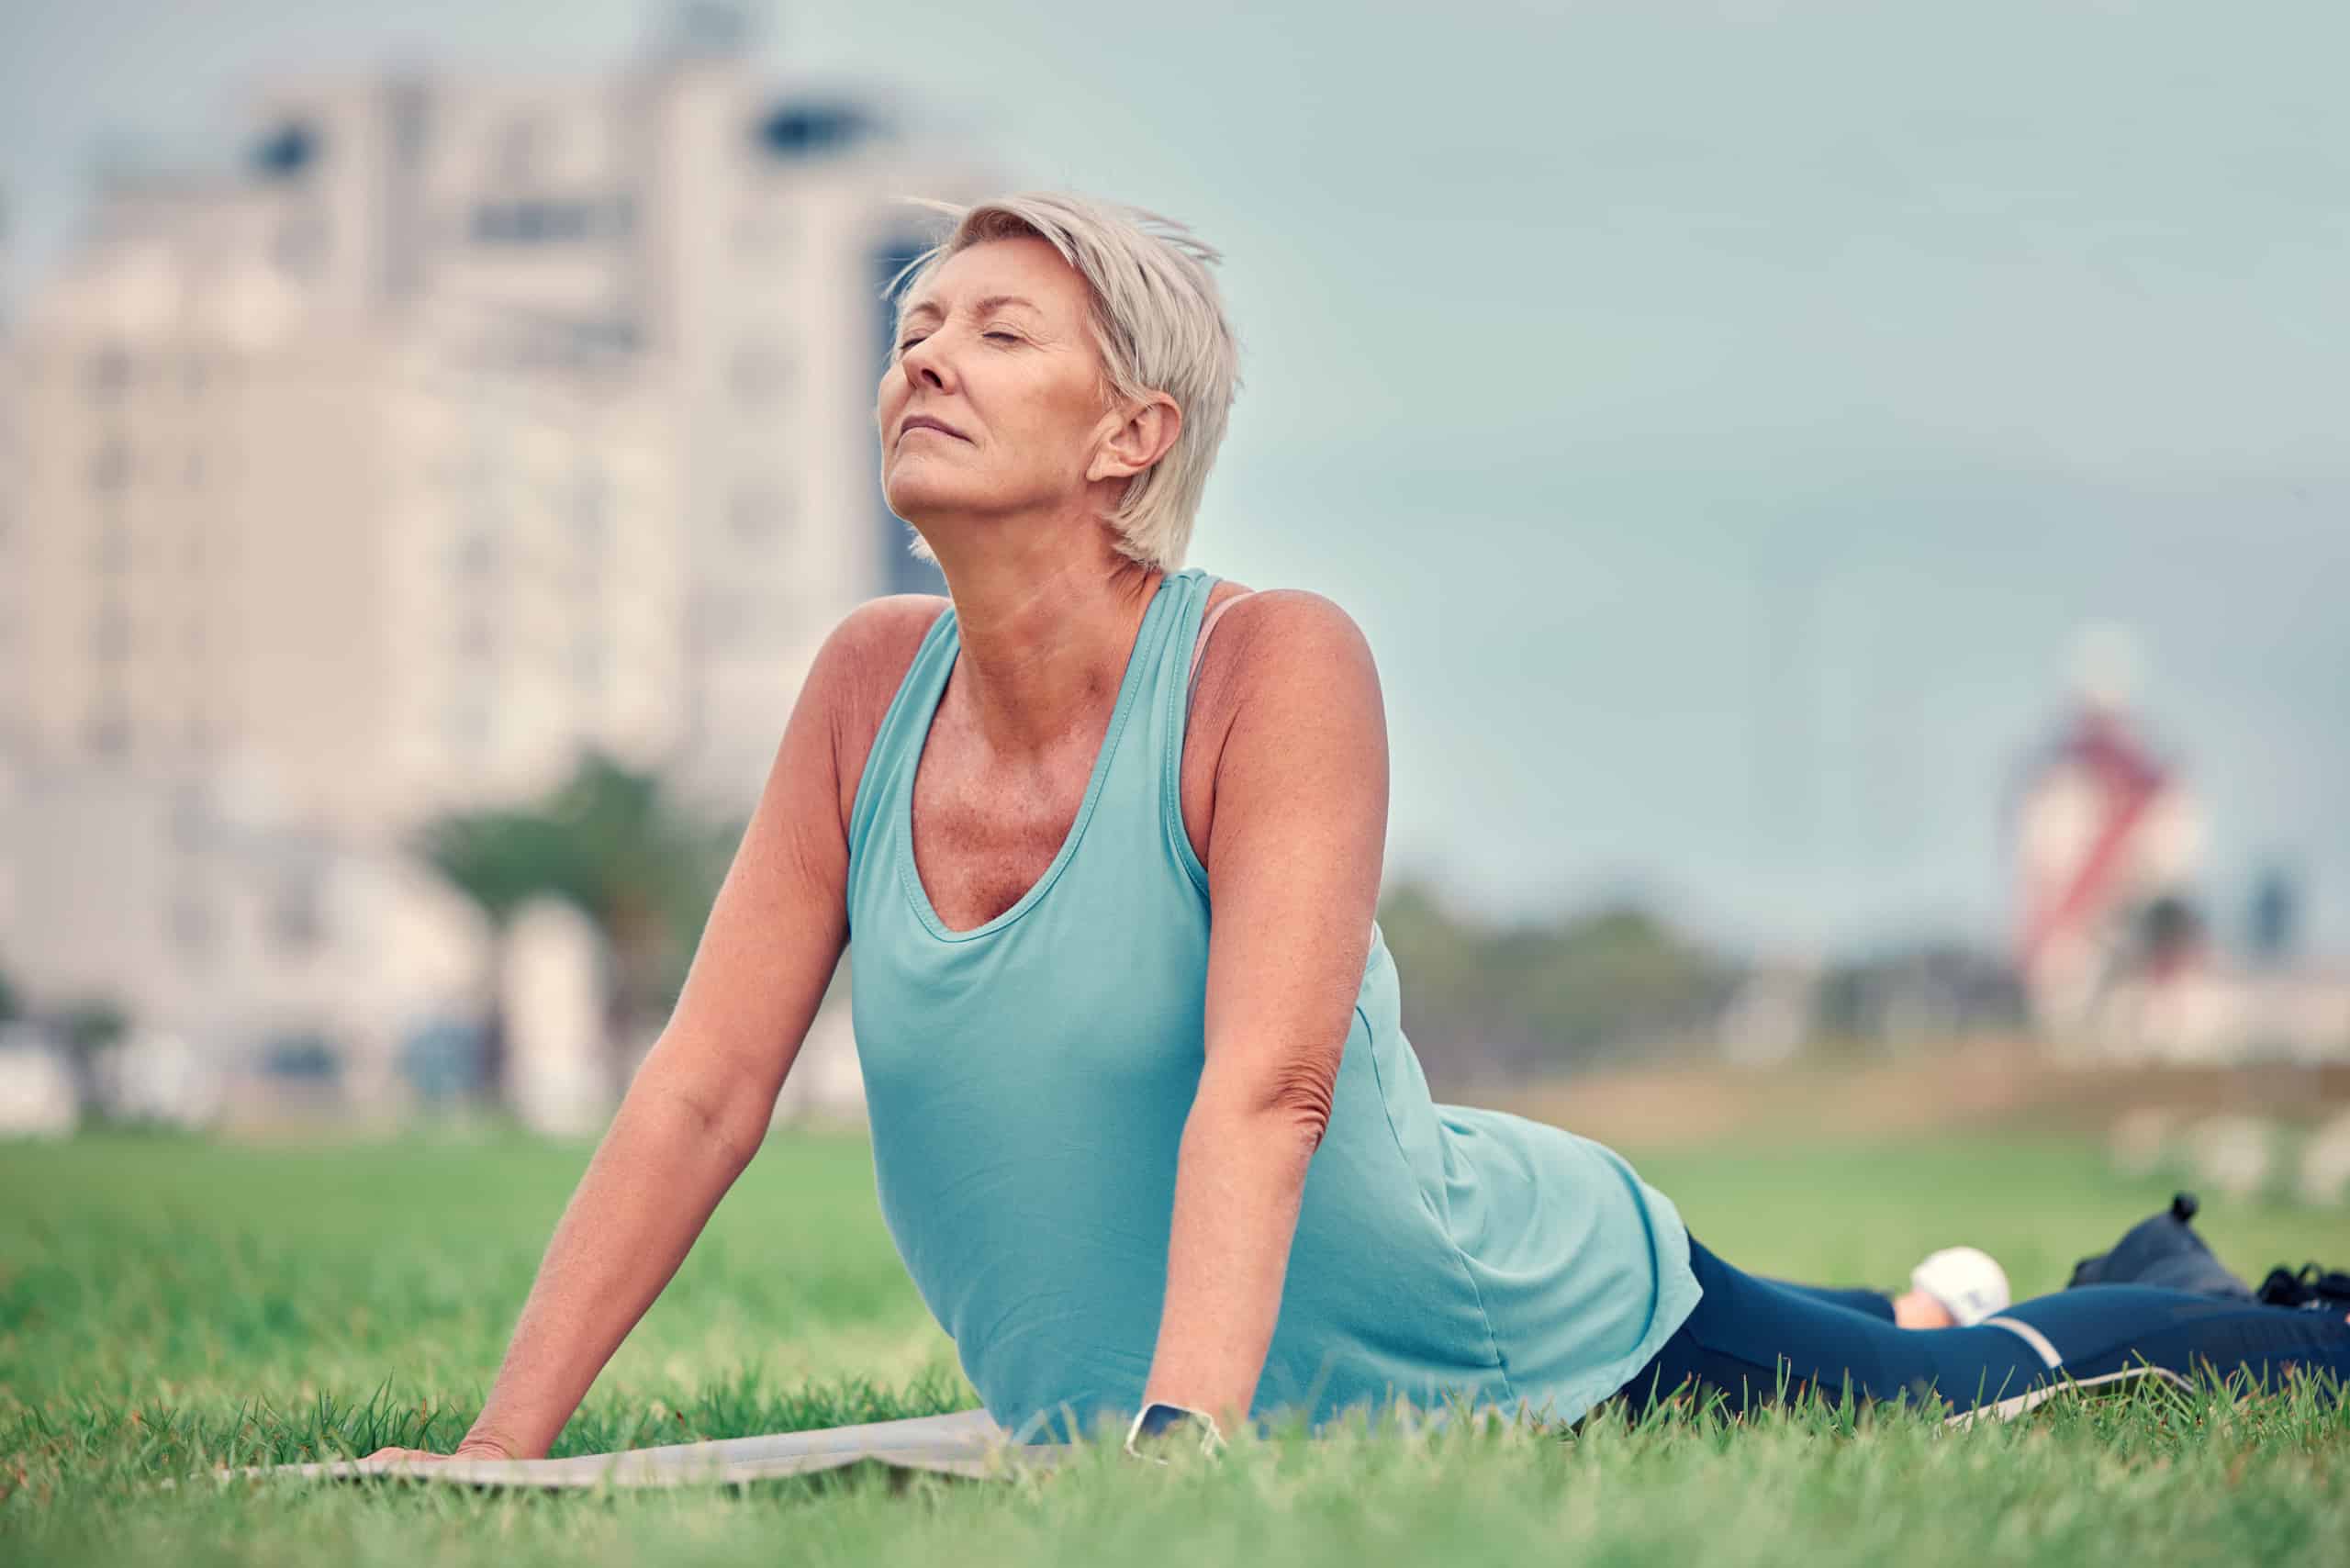
Cat-Cow Pose
The Cat-Cow pose is an awesome yoga move. It’s great for clearing out back pain. Strengthens your lower back muscles and boosts flexibilty. Also reduces tension in the spine. Stretching and massaging your spine can reduce inflammation and increase mobility.
Let’s learn how to do the Cat-Cow pose right!
Benefits
The cat-cow pose brings many advantages! It helps improve posture, flexibility in the spine, and reduces back and neck aches. Plus, it releases tension in the upper body. This exercise is suitable for everyone – from newbies to advanced yoga practitioners.
Benefits include:
- More flex in the spine.
- No more lower backaches due to activating certain muscles in this area.
- Neck and shoulder tension relief through stretching key muscle groups.
- Abdominal muscles get stronger, improving core stability and strength.
- Better digestion by stimulating organs in the abdomen region.
- More mobile spine, which may reduce injury risk during running or weight lifting due to improved posture.
How to do it
Cat-Cow Pose is two poses combined. It stretches your spine. Start with hands beneath your shoulders, and knees beneath hips.
- Get on all fours with a flat back.
- Exhale and pull in abs. Round spine up, chin towards chest. Hold for five breaths.
- Inhale and broaden collarbones. Drop back to floor. Move shoulder blades down. Press hands and feet into ground. Tip head back and gaze behind you. Hold for five breaths.
Repeat these poses. Rest in Child’s Pose with legs together or bent. Take deep breaths. Return to Tabletop position or release onto belly or back with arms out wide. Move again when ready.
Cobra Pose
Say hello to Bhujangasana, or the Cobra pose! This yoga asana is here to help you strengthen and stretch your back. Plus, it can reduce lower back pain, stiffness, and bad posture. A great way to reduce stress, it’ll also help calm the mind.
Let’s take a peek and learn how this pose can banish back pain for good.
Benefits
Cobra pose is a classic hatha yoga pose practiced worldwide. It strengthens and stretches the back muscles, improving flexibility and relieving tightness. Besides promoting muscular balance, cobra pose provides physical, emotional, mental and spiritual benefits.
Physically, cobra pose increases joint mobility of the spine, providing relaxation and relieving back pain. Studies show this posture reduces nerve pain in the legs. Research further suggests it’s effective for respiratory issues such as asthma or emphysema, due to its effect on chest muscles.
Emotionally, cobra helps reduce anxiety by calming the mind and body. Deep abdominal breathing stimulates creativity, self-expression and harmony with one’s true nature, boosting courage and confidence.
Mentally and spiritually, cobra pose allows one to let go of stress-causing patterns, providing a direct path to enlightenment. This brings about happy musings, enabling one to find serenity amidst chaos in daily life.
How to do it
Cobra Pose can help with your spine and core muscles. To start, lie down on your stomach, arms at your sides and forehead resting. As you breathe in, press down through your hands and lift your chest. Your palms should be pushing, not lifting off the mat. Keep a natural curve in your lower back. Avoid straining or jerking movements. Stay in this position for 12-15 seconds.
When ready to release, exhale as you lower yourself back down. Take deep breaths throughout Cobra Pose. Make sure to relax afterwards in Shavasana for a few minutes. Proceed with other postures or activities of choice.
Downward-Facing Dog
Downward-Facing Dog is an iconic yoga pose that can help boost your core, decrease back stress, and upgrade your posture. It’s a must-have pose that’s the building block of many yoga sessions. Want to say goodbye to back pain? Let’s discuss how this pose can help!
Benefits
Downward-Facing Dog, or Adho Mukha Svanasana, is highly cherished by many yogis. It has various benefits! It can improve posture and strength, stretch the lower back and relieve pain, increase flexibility, release neck and shoulder tension, and energize and boost circulation.
Regularly performing Downward-Facing Dog can reduce stress and sharpen concentration. It stimulates several organs, making digestion better. It also strengthens arms, wrists, and legs as it involves bearing your bodyweight on them for a while.
How to do it
Crazy-Facing Dog yoga pose, also called Adho Mukha Svanasana, is a popular and familiar position of the classic Hatha yoga practice. Everyone can adapt it to their ability level.
Downward-Facing Dog promotes nerve health. It sends fresh blood to the spinal cord which helps regulate metabolism and encourages good circulation in the body. It also relieves pain in the lower back, neck, shoulders and upper back.
To do it:
- Start on all fours at the top of your yoga mat. Keep wrists below shoulders, and knees below hips.
- Exhale as you tuck toes under and lift up. Keep knees bent as you raise each heel to 90 degrees.
- Reverse into a “V†position (with toes pointed). Slowly straighten legs.
- With each inhale, press heels downwards. With each exhale, spread fingers wide apart.
- Neck should stay neutral. Raise it up or lower it slightly.
- Hold for two minutes before releasing into Child’s Pose or downward direction, with an exhalation.
Bridge Pose
Bridge Pose is awesome for targeting low back ache. It relaxes the spine, and may lower sciatica and disc-related back pain. This pose is said to give balance to body and mind.
How to do it?
- Lie flat on your back.
- Bend your knees, with feet flat on the floor.
- Engage your glutes.
- Press feet and arms into the floor.
- Inhale as you lift your hips.
Benefits
Bridge pose is a hatha yoga posture. It can act as a soft backbend that assists the body to open up through the front area. Its advantages are numerous!
- It helps to reinforce your spine and upper back muscles, thereby improving posture.
- It stretches the chest, neck, and spine muscles.
- It helps digestion, stretches the lungs to boost breathing.
- It reduces stress and fatigue by calming the mind.
- It increases blood flow to reduce stiffness in the legs and provide relief from menstrual pain or other abdominal issues.
- It stimulates abdominal organs and strengthens gluteal muscles, which helps in reducing hip pain.
How to do it
Bridge Pose (Setu Bandhasana) is a great way to open your spine and build muscle strength in your legs, arms, and abs. It offers many health benefits, like relief of lower back pain and soothing tired feet.
To do it, start by lying on your back, arms at your sides and palms down. Bend your knees and put your feet flat on the mat, about hips-width apart. Inhale, then exhale and press down through your feet to lift your hips. If it’s comfy, hold onto either side of the bent knee with a block or strap. Press through your arms to lengthen into the sky, lifting higher until your body is suspended off the ground. Place high blocks beneath your hands for support, if needed.
Move your shoulders away from your ears, keeping your neck long. Feel your head light upon your neck matrix and access a free-flowing, lifted strength away from the atmosphere. Find equilibrium between mystic energy forces, and experience energetic freedom. Feel a nice openness and heart lightness come through, connecting through emotional vibrations and bringing forth goodness.
When done, slowly lower back down and release any blocks or straps. Take a few moments to relax completely in savasana before you get up. Namaste!
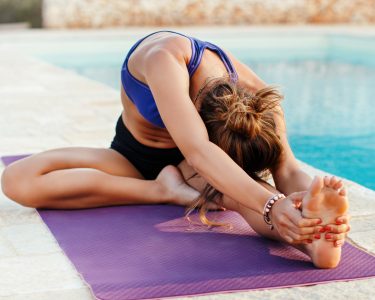
Seated Spinal Twist
The seated spinal twist is a strong yoga pose. It stretches and lengthens your spine. No more tension, improved posture! Not only does it help with back pain, but digestion and lower back stiffness too!
Here’s what you need to do for the pose:
- Execute it properly!
Benefits
The seated spinal twist is a great stretching and toning exercise. It can be done while sitting, making it great for new yogis. This pose has many health benefits, such as:
- Helping with lower back pain and sciatica.
- Improving flexibility and balance.
- Reducing stress.
- Aiding digestion.
This pose increases circulation in the spine, activating the lymphatic system. This helps flush out blockages and increases oxygen levels in the muscles. The pose tones and strengthens abdominal organs, helping to balance digestion and get rid of toxins from the muscles and joints. Its twisting motion can help relieve stiffness, like with sitting or standing at a desk all day. Plus, it has a calming effect on the mind and body, to reduce depression and other mental discomforts.
The pose is great for those with lower back pain, as it strengthens abdominal muscles, improving posture and supporting the spine. It’s also beneficial for those with sciatica, reducing pressure around the sciatic nerve. Regular practice will help develop strength in the core and increase flexibility throughout the body.
How to do it
Sit on the floor with your feet flat. Squeeze your sit bones into the ground and lift your spine up, with your shoulders away from your ears. Put one hand behind you and use the other to pull your opposite knee in.
With each inhale, press into your bottom and lift your spine, with each exhale sink further into the twist. To deepen more, grab any part of your leg or place a block or blanket under your top thigh for extra help. Turn towards that shoulder to release tension from the spine. Stay here for up to a minute. Then take a few deep breaths as you go back to center.
If you’re comfortable, take a second twist on the other side. Finally, continue with your practice or day!
Conclusion
Yoga is great for relieving back pain and increasing strength. Speak to a doctor before starting, but many poses stretch the spine and reduce pain.
We hope this guide was helpful. Cobra Pose and Child’s Pose can be used daily. With patience and consistency, these stretches should give a lasting solution to aches and pains.
Frequently Asked Questions
1. What are some yoga poses that can help banish back pain?
Some of the yoga poses that are known for their ability to reduce back pain include cat-cow stretch, downward-facing dog, cobra pose, child’s pose, pigeon pose, and the bridge pose.
2. Can yoga alone help with severe back pain?
It depends on the severity of the back pain. In some cases, yoga may be enough to provide relief, while in others, additional medical treatment may be necessary. It is always best to consult with a healthcare professional before starting a new exercise regimen if you are experiencing severe back pain.
3. How often should one practice these yoga poses to relieve back pain?
It is recommended to practice these poses at least a few days a week to see results. Consistency is key, so incorporating them into your regular exercise routine can be helpful in preventing future back pain as well.
4. Are there any precautions one should take while practicing yoga for back pain?
Yes. One should always listen to their body and avoid any poses that cause pain or discomfort. It is important to consult with a yoga instructor or healthcare professional to ensure proper alignment and technique to avoid exacerbating any existing back conditions.
5. Can these yoga poses help with other types of pain?
While these poses are specifically geared towards back pain, some of them can also help with other types of pain, such as neck pain, shoulder pain, and knee pain, among others.
6. How long will it take to see results from practicing these yoga poses?
The results will vary depending on the individual and the severity of the back pain. Some people may see results within a few days, while others may take up to several weeks. It is important to remain consistent and listen to your body to see the best results.