Introduction
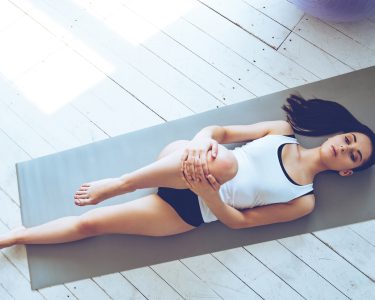
Yoga is a great way to get your back healthy! Not only that, but it’s also a great way to de-stress and connect with your body. Intermediate poses can help reduce back pain, while also improving spinal flexibility and strength.
Let’s look at the benefits of intermediate yoga poses for a better back!
Benefits of intermediate yoga poses
Intermediate-level yoga poses can help reduce back pain, keep you limber and strengthen your body. They offer controlled stretching, twisting and tension release for your back. Intermediate poses create a strong base for more difficult postures, helping to avoid injury.
These poses need awareness, stability, mindfulness and focus on alignment. You can balance on one or two feet, depending on the pose. The variety of intermediate-level postures gives clarity to your practice and opens up mind and body.
Intermediate postures create a strong bond between mind, body and breath. You can find freedom in each movement structure and when still in the posture. Balancing postures like Half Moon Pose or Tree Pose help improve flexibility and balance. You’ll also be able to prevent injuries as you progress into harder poses.
Connecting to your breath strengthens musculoskeletal stability, giving you more energy in daily activities. With regular practice, you’ll feel flexible, with more joint mobility and energy after your yoga practice.
Basic Guidelines
It’s key to speak to a doctor before altering your yoga practice. This ensures you’re fit to do yoga. Additionally, each posture must be done accurately and safely. To avoid harm, follow these guidelines when attempting intermediate level poses:
- Ensure your body is warmed up before attempting any poses.
- Listen to your body and adjust the pose if it feels uncomfortable.
- Breathe deeply and focus on your breath throughout the pose.
- Be patient and don’t rush into the pose.
- Know your limits and don’t push yourself too far.
Warm up before starting
Before attempting intermediate yoga poses, it’s essential to warm up the body to avoid injury. Warming up increases the temperature of the muscles and blood flow, prepping the body for movement.
Suggestions for a warm-up include:
- Stationary stretches
- Light jogging
- Dynamic stretches like high knees, butt kickers and arm circles
These exercises should focus on boosting heart rate and stretching all major muscle groups. Movements should be done gradually and with control, until your heart rate increases and you feel relaxed and ready to do intermediate yoga poses.
Move slowly and mindfully
Yoga poses require mindful, slow movement in order to prevent injuries, strain and soreness. Connect your body and mind with intentional breathing and focus on the sensations you’re feeling. Take your time in each pose, this can help open up tight spaces and give you a chance to explore internally. Adjust if something feels off and don’t push past your boundaries.
Patience and commitment are necessary for growth, but don’t let them be an excuse to ignore your body’s messages.
Listen to your body
Focus and attention are needed for intermediate poses. To make your practice more difficult, take it slow and mindfully. Breath and alignment should be your priority. Move in and out of each pose with your breath. If your body needs rest, take it. Modify each pose to suit your body. Don’t try to reach an ideal that is different for everyone.
To make poses easier, halve Downward Dog. Use props like blocks or straps. Take Child’s Pose if you get tired. Stop or exit a pose if pain appears. Listen deeply to other feelings. Gradually extend your limitations over time.
Standing Poses
Wanna improve your back health? Try standing poses! These postures can strengthen core muscles, increase balance and stretch the front body muscles.
So, let’s dive into the best standing poses for back health:
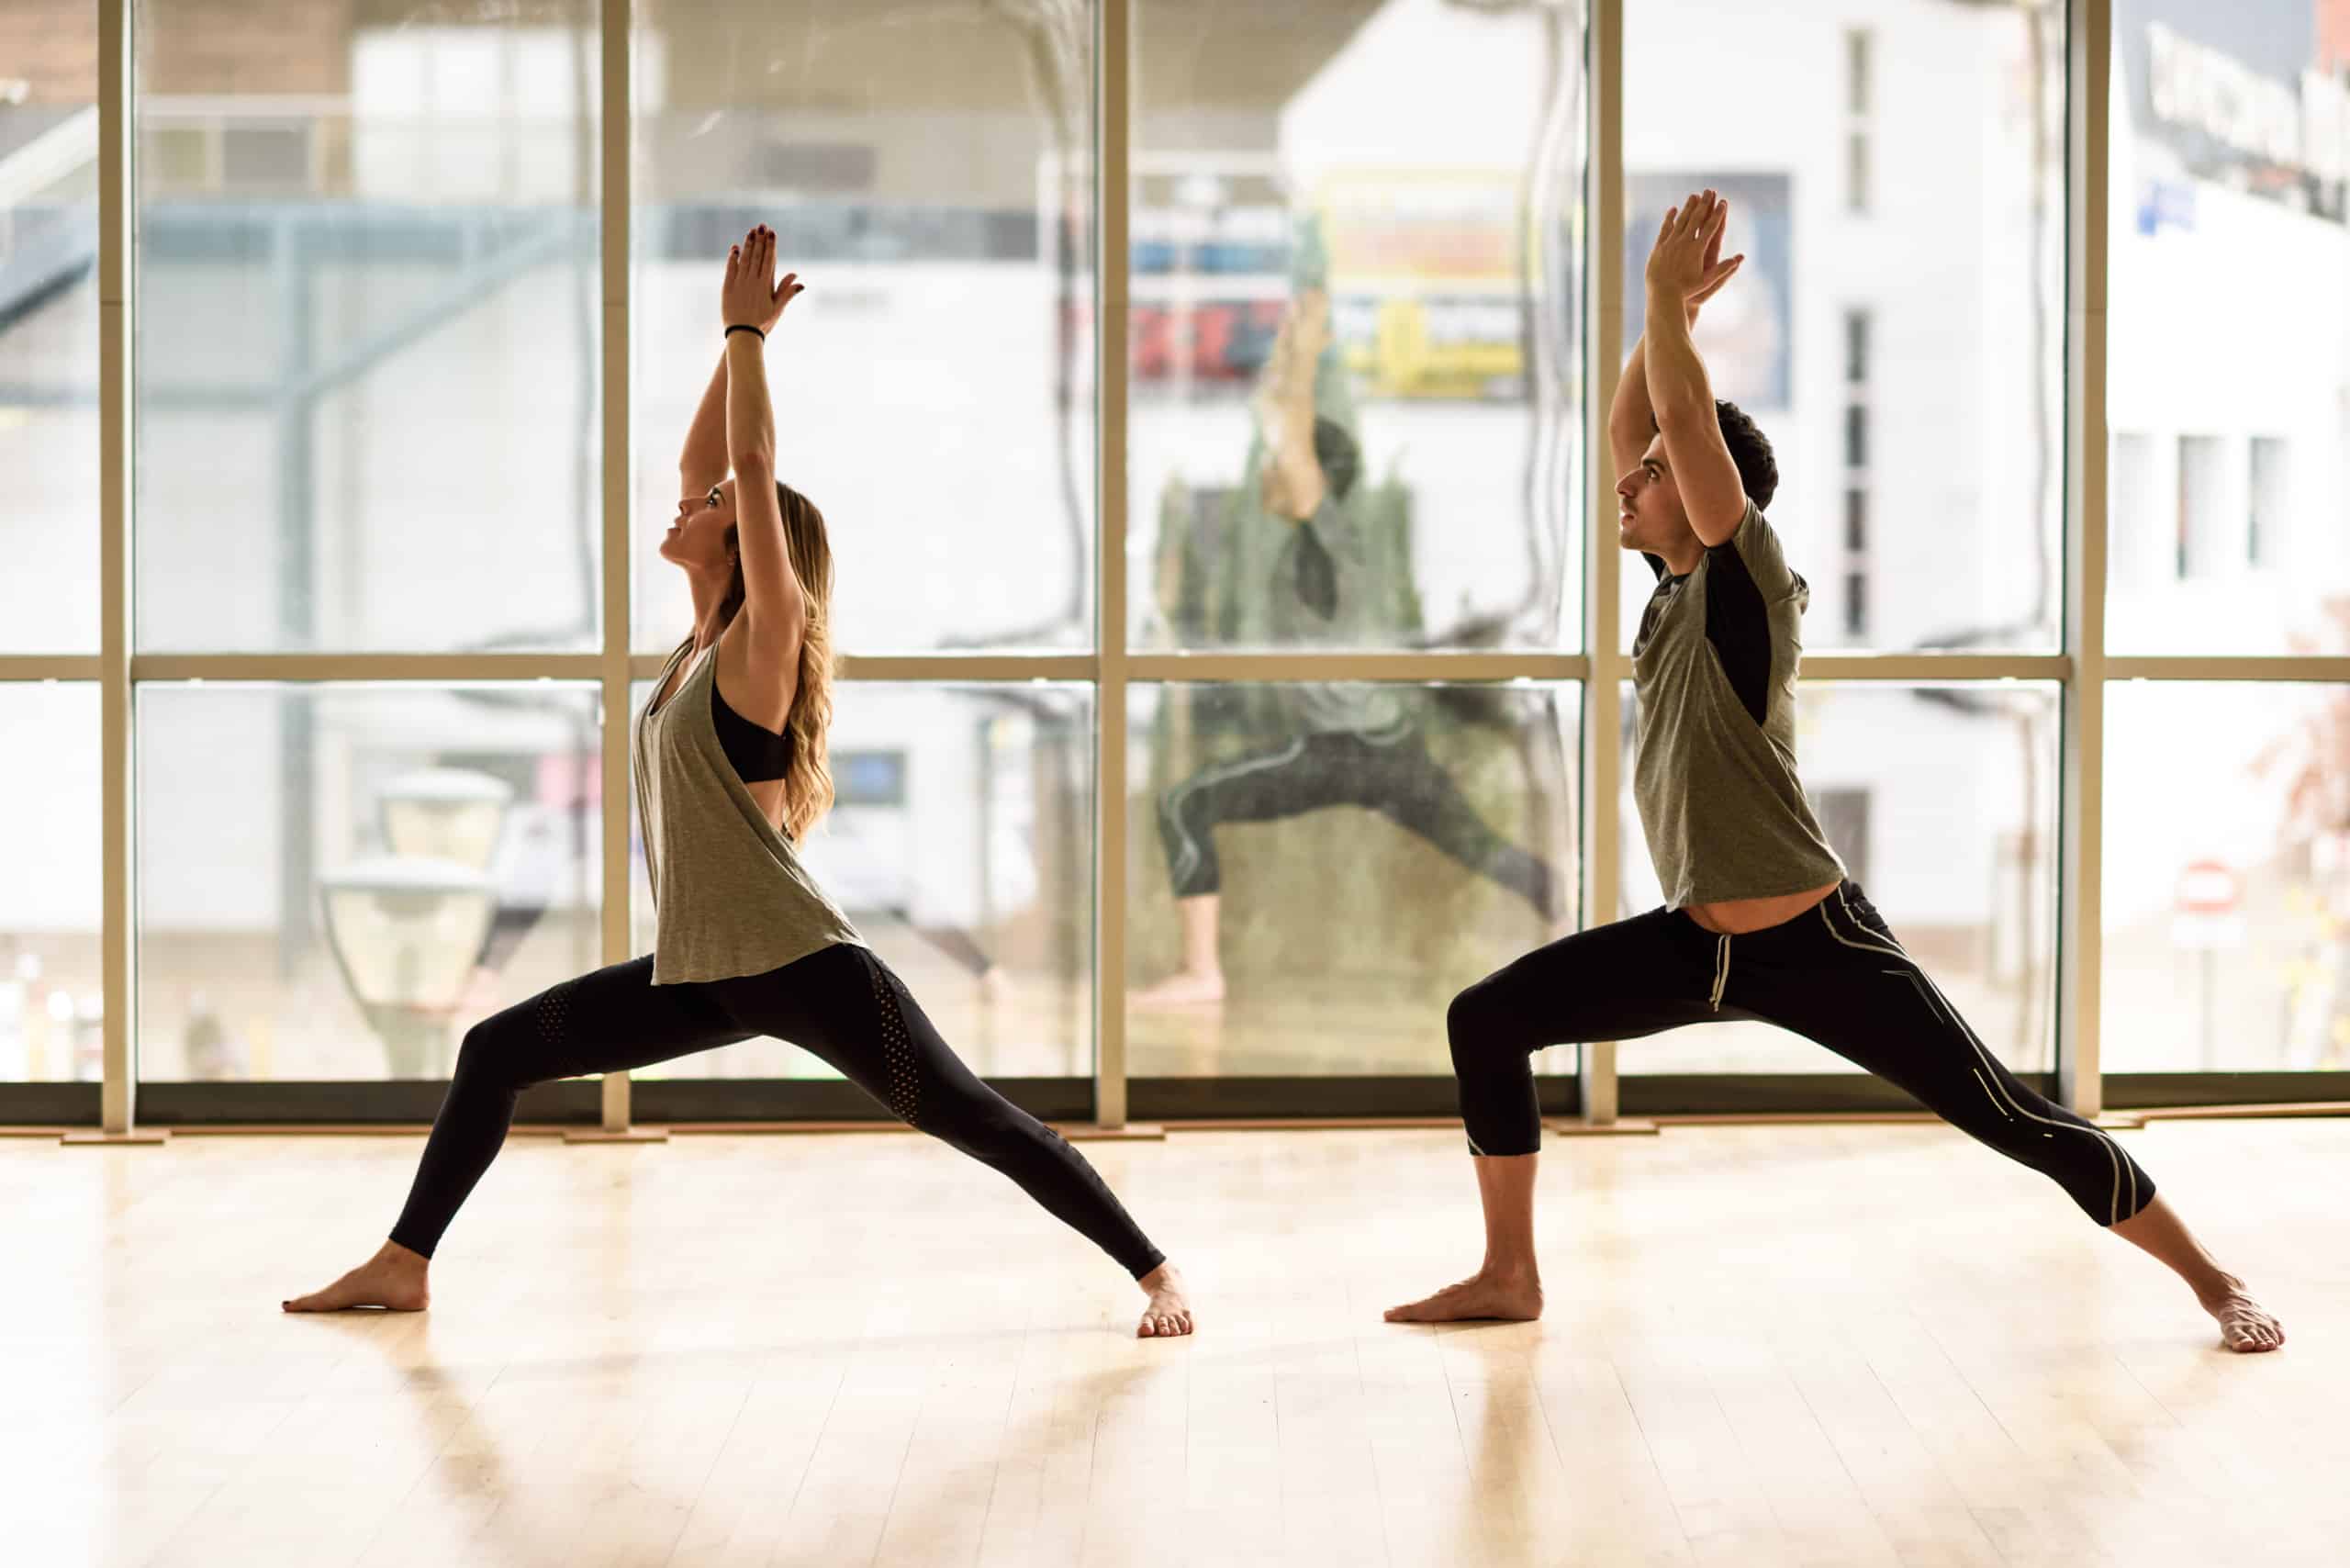
Warrior I
Warrior I, or Virabhadrasana I, is a standing yoga pose. It strengthens and stretches the legs, and helps posture. Part of the sun salutation series, Warrior I brings dynamic balance. It activates many muscles at once. And builds awareness of the whole body.
This pose needs strength and flexibility in the legs, hips, chest, and shoulders. As you move from side to side keep your core active. And keep your hips level. The breath is powerful in this standing pose. Inhale when rising, exhale when coming out.
It can improve spinal posture. Enhancing awareness of the body. Plus, it’s good for lower back health. For an energy boost, add this pose to your practice!
Warrior II
Warrior II is an intermediate standing yoga pose. It aims to strengthen the shoulders, legs, arms, and back. Also, it helps build stability and balance.
To do this pose, stand with feet slightly wider than hip distance apart. Point the left leg to the left side of the mat and keep both legs straight. Shift weight into the left leg and bend the right knee outward. Keep the knee over the ankle so both legs make 90 degrees.
- Inhale and lift both arms out to the sides. Keep them parallel with the ground and form a “T” shape. Palms should be facing down. Lift up through the chest. Maintain a strong core and stretch the arms and front torso.
- Exhale and lower back down. Hold for one minute each side. Release and repeat on the other side.
Triangle Pose
Triangle Pose (Trikonasana) is an excellent choice for anyone wanting to strengthen and stretch. Start standing, press feet into the ground and spread toes wide. Interlace fingers, then slowly angle one side of the body. Slide out and down with the hand and shift hips to the opposite side. Hold the diagonal line: no swaying. Arms bee-line straight from shoulder blades, and walk the front foot back. Angle forward at hips and look past the extended hand. Rotate neck up for a deeper chest opening. Ground down on both feet and hold for 5 breaths.
- Hook elbow gently on thigh or use a block above the shoulder joint.
- Open chest and surrender into the stretch.
- Exhale and come back to neutral. Om!
Half Moon Pose
Half Moon Pose (Ardha Chandrasana) is an intermediate yoga pose which builds balance, strength and stamina. It stretches and strengthens the muscles of the back, hamstrings, abdominals, and quadriceps. It also improves concentration.
To achieve it, start in Mountain Pose (Tadasana). Center yourself by rooting your feet into the ground. Slide your feet apart to hip-width distance. Tilt your tailbone up. Reach your arms overhead, as if pushing away a heavy weight. Come onto the balls of both feet. Bend your front knee and track this movement with an inhale. Reach your front arm forward to counterbalance the weight of your torso leaning over the bent leg. Place your bottom palm flat against a wall or block for balance. Or, reach it up high if it’s comfortable. Gaze up toward at least one finger-width beyond with each inhale/exhale cycle until comfortable. Then, switch sides evenly left to right.
This standing pose can be challenging, yet very gratifying when done correctly!
Seated Poses
Seated poses are a must for yoga! They help strengthen your core and back, plus give the body time to relax and let go of stress. Forward fold, sphinx, and wide-legged straddle stretch muscles in the back, hips, and legs. Also, they help boost back health.
Let’s look at the advantages and how to modify these poses:
Boat Pose
Navasana, also known as Boat Pose, is an intermediate yoga pose. It tones and strengthens the core muscles, stretches hip flexors, and calms the mind.
To practice:
- Sit on your mat with legs stretched out in front of you. Flex your feet and point your toes away.
- Place hands near hips and lean back slightly, keeping spine straight. Exhale and lift both feet so they’re parallel to the floor. Extend arms forward, parallel to one another. Balance with subtle shifts, maintaining a strong core. Hold for up to one minute, breathing evenly.
- Bring down arms and legs together or release after holding for as long as comfortable.
Be cautious with this pose if you have low back pain. Speak to a qualified practitioner before attempting.
Boat Pose strengthens abdominals and builds stability throughout body. It is great for overall balance needed in active poses often practiced in yoga!
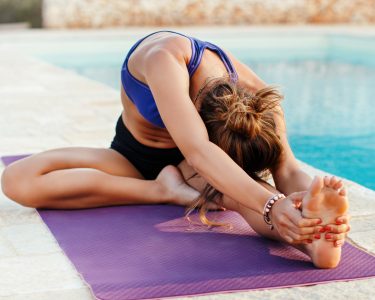
Seated Forward Fold
The seated forward fold is an intermediate yoga pose. It stretches both the spine and legs. Use a blanket, towel, or block for support if needed.
To do this pose:
- Sit on the floor with legs outstretched and toes pointing up.
- Inhale and sit up tall. Broaden across your collarbone and chest. Draw your shoulder blades towards each other.
- Exhale and lean forward from your hips. Rotate from side to side at your waist if possible.
- Reach for your shins, ankles, or feet with both hands (or a strap if needed). Adjust the level of the stretch to your liking.
- Stay in the pose for 5-15 breaths or as long as comfortable. Come out of the pose by beginning to lengthen through your spine. Bring awareness back into all parts of body. Release everything down onto ground before exiting the pose.
Seated Spinal Twist
Seated spinal twist is a fab way to become more flexible and reduce discomfort caused by bad posture. This stretch helps to ease lower back and hip tension.
- Sit up on a yoga mat or comfy surface with your legs in a “V” formation.
- Bend your right knee so it touches the outside of your left thigh.
- Wrap your left arm around your right knee and lightly grasp your right foot or shin.
- Rotate your torso towards your right side, and extend the crown of your head to the left. Create an elongation along the spine.
- To deepen the pose, press down on both legs with both hands and gently squeeze them together as you inhale and exhale slowly.
- Then, slowly return to center. Repeat on the other side for evenness.
- Hold each side for up to five minutes for best results. This can be done daily for optimal benefit.
Core Poses
Advanced poses are great for yoga, but they’re not always easy for beginners. If you’re just starting out or looking to soothe back pain, try intermediate poses instead! We’ve got core poses here that’ll help you have a strong and healthy back. Give ’em a try!
Plank Pose
Plank pose is an intermediate yoga pose that boosts core strength, stability, balance, posture and self-confidence.
To perform it correctly, align your body in a straight line from the crown of your head to your heels. Start in a pushup position with your hands firmly under your shoulders; feet hip-width apart, toes rooted into the floor; legs straight, but not locked; lift your thighs towards the ceiling; pull your navel up and in towards your spine; open your chest and keep your shoulders away from your ears.
Make sure to keep this physical structure while in the pose – don’t sink into your lower back or hunch up your chest. Take deep breaths in through your nose, hold for 5-7 breaths, then release through your mouth as you exit the pose.
Plank pose can be modified for more challenging levels, like high plank (on your toes) or low plank (on your forearms). For optimal results, focus on proper alignment and steady breathing.
Side Plank Pose
The Side Plank Pose (Vasisthasana) is great for developing balance and building strength in our backs and abdomen.
To start, lie on your left side. Flex your feet and point them back towards your hips. Place your left arm under the shoulder and your right hand on your right elbow. Engage your core muscles. Lift up through the lower ribs and press firmly into both hands. Keep your body in a straight line from heels to shoulders. Make sure your neck is in alignment with your spine. Hold this position for 5-10 breaths. Keep equal weight distributed through both hands. Then, release back down onto the floor. Repeat on the other side for an even workout.
Bridge Pose
Bridge Pose or Setu Bandha Sarvangasana is an intermediate level backbend. It’s a great way to open and build strength in the chest and shoulders while improving spine flexibility. It’s also used in conjunction with other poses for better awareness.
To start, lay down on your back with knees bent and feet hip-width apart on the floor. Relax into Savasana (Corpse) with your hands by your sides. Now, take long slow deep breaths and shift your hips towards the sky. Wrap your hands around your ankles or the ball of your feet, interlacing your fingers lightly. On an exhale lower your chin slightly towards your chest, keeping your throat open and expanding your chest towards the sky. Gently point your toes and direct energy through your legs towards the sky. Move your shins in all directions forward and press your gaze straight ahead between your brows. Firmly press through the four corners of your body and lift your sternum towards your chin, while also pulling elliptically towards your navel center.
- Take a creative approach and notice what feels good in your body.
- Stabilize your legs to create a firm foundation and cultivate prana (life force) with upwards movements.
- Close your eyes and connect to new parts of your body.
- Take a few moments to allow your consciousness to sink further.
- Feel the presence of gentle emotional connection and enjoy the benefits of the practice.
- Seal the enlivening energy with the Shakti Mudra (symbolic hand gesture).
- Feel the ever-present presence and relish the connected spirit.
- Allow the pose to unfold and be in peace.
Inversions
Yoga inversions are poses with feet higher than the heart. They have many advantages, such as strengthening, balance, opening chest and shoulders, and building stamina in your upper back and spine. This helps with stance, posture and mobility.
Let’s look at the perks of inversions and some common poses.
Downward Facing Dog
Downward Facing Dog (Adho Mukha Svanasana) is a popular yoga pose. It is great for beginners, as it teaches alignment and breathing. Physically, it stretches the back body and arms, legs, spine, as well as opens up the chest and shoulders. It also increases strength in the arms, legs and core.
This pose looks like an upside down “V†from the top. To start, come onto all fours with your palms flat on the ground, shoulder-width apart. Slide your hips back towards your heels as you exhale and drop them downwards. Reach your tailbone up and press firmly into each hand while extending your arms. Gently tuck your toes under and draw up through your knees while keeping your sit bones soft.
Breathe deeply here for 5-7 breaths. Make sure your hands and feet are active, to support stability and alignment of spinal curves. Also, release neck and shoulders for optimal inner relief from tension or pain. A certified instructor can offer modifications based on personal anatomy to help healthy movements and peak mental and physical wellbeing.
Headstand
Headstand, also known as sirsasana, is an intermediate yoga posture. You balance on your head while supporting your body with arms and neck.
Regular practice of headstand can help improve circulation, digestion, strength and spinal movement.
Build strength and stability before attempting headstand. A spotter may help when first starting out.
For safety, wear a band across forehead or use folded-up blankets beneath elbows to keep pressure off neck. Keep shoulders engaged by pressing back away from ears, not rounding forward.
As soon as palms meet floor, you can ease out of traditional version or move into one of variations:
- Variation A (forearms on ground)
- Variation B (hands set behind head)
Hold or attempt variation for 8-10 breaths. Then lower down by releasing one elbow at a time. Finally release fully onto back in rest position (savasana).
Shoulder Stand
The Shoulder Stand is a must-do intermediate yoga posture. It helps strengthen the legs and core, while giving your organs a massage. Align your head, shoulders, hips and heels when practicing. Begin with feet against a wall if you’re new to the pose.
Lie on your back with arms at your sides and feet on the floor. Inhale as you contract abdominals and lift feet off the floor. Curl onto palms beneath each shoulder. Draw legs straight up into Inversion Position A (with bent knees).
Raise legs higher until over head (Inversion Position B). Press firmly through four corners of each foot. Separate lower legs outwards through each ankle.
Option 1 is better for those tight in their hips or IT bands. For those comfortable, slide hands down lower back until above sacrum. Slowly lift legs fully overhead (Inversion Position C).
Press firmly through all four corners of each foot. Activate hip flexors and abdominals to lengthen spinal muscles. Don’t add stress to neck or shoulders. Stay for five breaths and release!
Final Thoughts
Let’s review the significance of yoga for back wellness. We’ve learned about intermediate poses that help with posture and movement. Practicing these poses frequently can help increase flexibility, strength, and lessen pains.
Here are some final insights on the subject:
Cool down and relax
Cool down and relax after your yoga routine. This helps body and mind balance. Try these poses:
- Uttanasana (Forward fold): Breath here. Stand up slowly after.
- Supta Matsyendrasana (Easy twist): Exhale to go deeper into the pose. Don’t force it!
- Viparita Karani (Legs up the wall): Lie on back. Put bottom close to the wall. Rest legs against the wall. Breathe easily for five minutes or more.
This sequence makes you strong and supported, both mentally and physically. This energy can leave the mat and help in work, relationships and time for yourself. Listen to your body and adjust when needed. Om Shanti!
Stay consistent with your practice
Trying to stay consistent with practice is key for a better body and mind. Doing your yoga journey several times each week, or at least every few days, will help you receive deeper benefits. Achieving peak back health is all about having a stronger and more flexible spine. If you keep up your training, you can expect improvements in posture and core strength which will help overall health. The saying goes “practice makes perfect“.
Starting yoga, it is essential to remember that mastering poses takes time and dedication. Picking poses that fit your body type and don’t cause strain or pain to target areas, like your back, will ultimately become a part of your daily routine. If you feel strain on your muscles or joints, particularly your back, slow down or stop. Assess what’s going on and adjust technique or modify the pose to find less strain and more comfort. This mindful approach will prevent injury and make sure to have a steady improvement over time. All this helps prepare for more advanced techniques as you move confidently through each stage of this practice.
Frequently Asked Questions
1. What level of experience is required for intermediate yoga poses for improving back health?
Intermediate yoga poses for back health require prior experience in basic yoga poses and a strong foundational knowledge of yoga techniques.
2. What are some beginner yoga poses to start with before moving on to intermediate poses?
Beginner yoga poses like Cat-Cow, Child’s Pose, Cobra, and Downward-Facing Dog, are an excellent start before moving on to intermediate poses like Boat Pose, Half-Lord of the Fishes Pose, and Locust Pose.
3. Can intermediate yoga poses for back health be performed by individuals with preexisting back injuries?
It’s essential to consult with a healthcare professional before starting any yoga practice. They can provide guidance on which poses may or may not be suitable, depending on the nature of the preexisting back injuries.
4. How long should I practice intermediate yoga poses for maintaining peak back health?
It’s essential to maintain a consistent practice for achieving optimum back health. Practicing three to four times a week, for about 30 to 60 minutes per session, is recommended.
5. Can intermediate yoga poses for back health be incorporated into an existing workout routine?
Yes, intermediate yoga poses for back health can be included in an existing workout regimen. The primary goal of incorporating yoga poses into existing workout routines is to increase flexibility, improve endurance, and reduce the risk of muscle strains and injuries.
6. Are there any restrictions for practicing intermediate yoga poses for back health?
Individuals with certain medical conditions such as severe spinal stenosis, osteoporosis, and herniated discs should avoid some intermediate yoga poses for back health. It’s essential to consult with a healthcare professional before starting any new yoga practice.